Ripple Custody (Wallet) uses a zero-trust security model. Every new wallet is deposit-only by default. The platform blocks all outgoing transactions until you explicitly configure what is allowed. This design prevents unauthorized transfers, but it also means you must complete the steps on this page before your wallet can send anything.
Three conditions must be met before a wallet can send outgoing transactions:
- At least one transaction policy exists for the asset you want to send.
- At least one address book entry exists for the destination (required for external addresses only — not needed for transfers between wallets in your organization).
- Outgoing transactions are enabled on the wallet.
All three must be in place. If any one is missing, outgoing transactions are blocked.
Only users with the Owner or Administrator role can create a transaction policy. Other roles don't see Add a new rule. If you don't see it, ask an owner or administrator in your organization.
A transaction policy defines the rules for what outgoing transactions are permitted from a wallet. Without a policy for the asset you want to send, the platform rejects the transaction.
- Open your wallet and go to the Policy tab.
- Click Add a new rule. The Add policy rule form opens with six steps: Direction, Rule, Conditions, Scope, Advanced, and Confirm. (On a new wallet, you can also click Add policy rule in the Set up your rules banner.)
- On the Direction step, keep Outbound selected, then click Next.
- On the Rule step, keep Limit selected, then click Next.
- On the Conditions step, select the Asset you want to create a policy rule for.
If the asset you need isn't listed, click Add asset and enter the asset's details, such as its standard, contract address, and symbol.
- Enter the Value limit, then under Apply limit to, select how the limit applies:
| Option | What it controls | Example |
|---|---|---|
| Per transaction | Maximum amount for any single transaction | "No single transaction can exceed 10 ETH" |
| Rolling | Maximum amount within a time window | "No more than 100 ETH per 24 hours" |
| Max total value | Lifetime cap on total withdrawals | "No more than 1,000 ETH can ever leave this wallet" |
- Click Next. On the Scope step, under To, select the allowed destinations. Choose which counterparties or addresses can receive funds under this rule:
- All counterparties and wallets — Permits transactions to any registered address or internal wallet. This is the broadest option and the default.
- All counterparties — Permits transactions to all counterparties and all of their registered addresses.
- Selected counterparties — Permits transactions only to specific counterparties and all of their registered addresses.
- Selected addresses — Permits transactions only to specific addresses from your address book.
- Selected wallets — Permits transactions only to specific wallets within your organization.
- Click Next. (Optional) On the Advanced step, under The initiator, select User or API credential to restrict which initiator can create transactions under this rule. The default, All, applies the rule to every initiator.
- Click Next. On the Confirm step, review the rule and click Add policy rule.
If your organization has an approval group for policy rules, the rule shows Inactive | Approval pending on the Policy tab until it's approved. It takes effect after approval.
For sandbox testing, start with a per transaction policy with a reasonable limit and all counterparties and wallets as the destination. You can create more restrictive policies later.
The policy engine evaluates every outgoing transaction against your active policies. A policy rule takes effect as soon as it's active: immediately, or after approval if your organization requires approval for policy rules. Any transaction that exceeds the policy limits or targets an unpermitted destination is blocked.
You can create multiple policies for the same asset in a wallet. When you send a transaction, the platform checks all matching policies. The transaction must pass every applicable policy to proceed.
See Policies to understand how policies work, and Manage policies for step-by-step instructions.
If you only plan to transfer funds between wallets within your own organization, skip this step. The address book is required only for transactions to external addresses.
Only users with the Owner or Administrator role can add counterparties and addresses. Other roles don't see Add counterparty or Add address. If you don't see them, ask an owner or administrator in your organization.
The address book stores information about external counterparties and their blockchain addresses. Ripple Custody (Wallet) requires every external destination to be registered in the address book before you can send to it.
The Address book page has two tabs: Counterparties (to manage counterparties) and Addresses (to manage individual blockchain addresses).
- Navigate to Address book in the console sidebar.
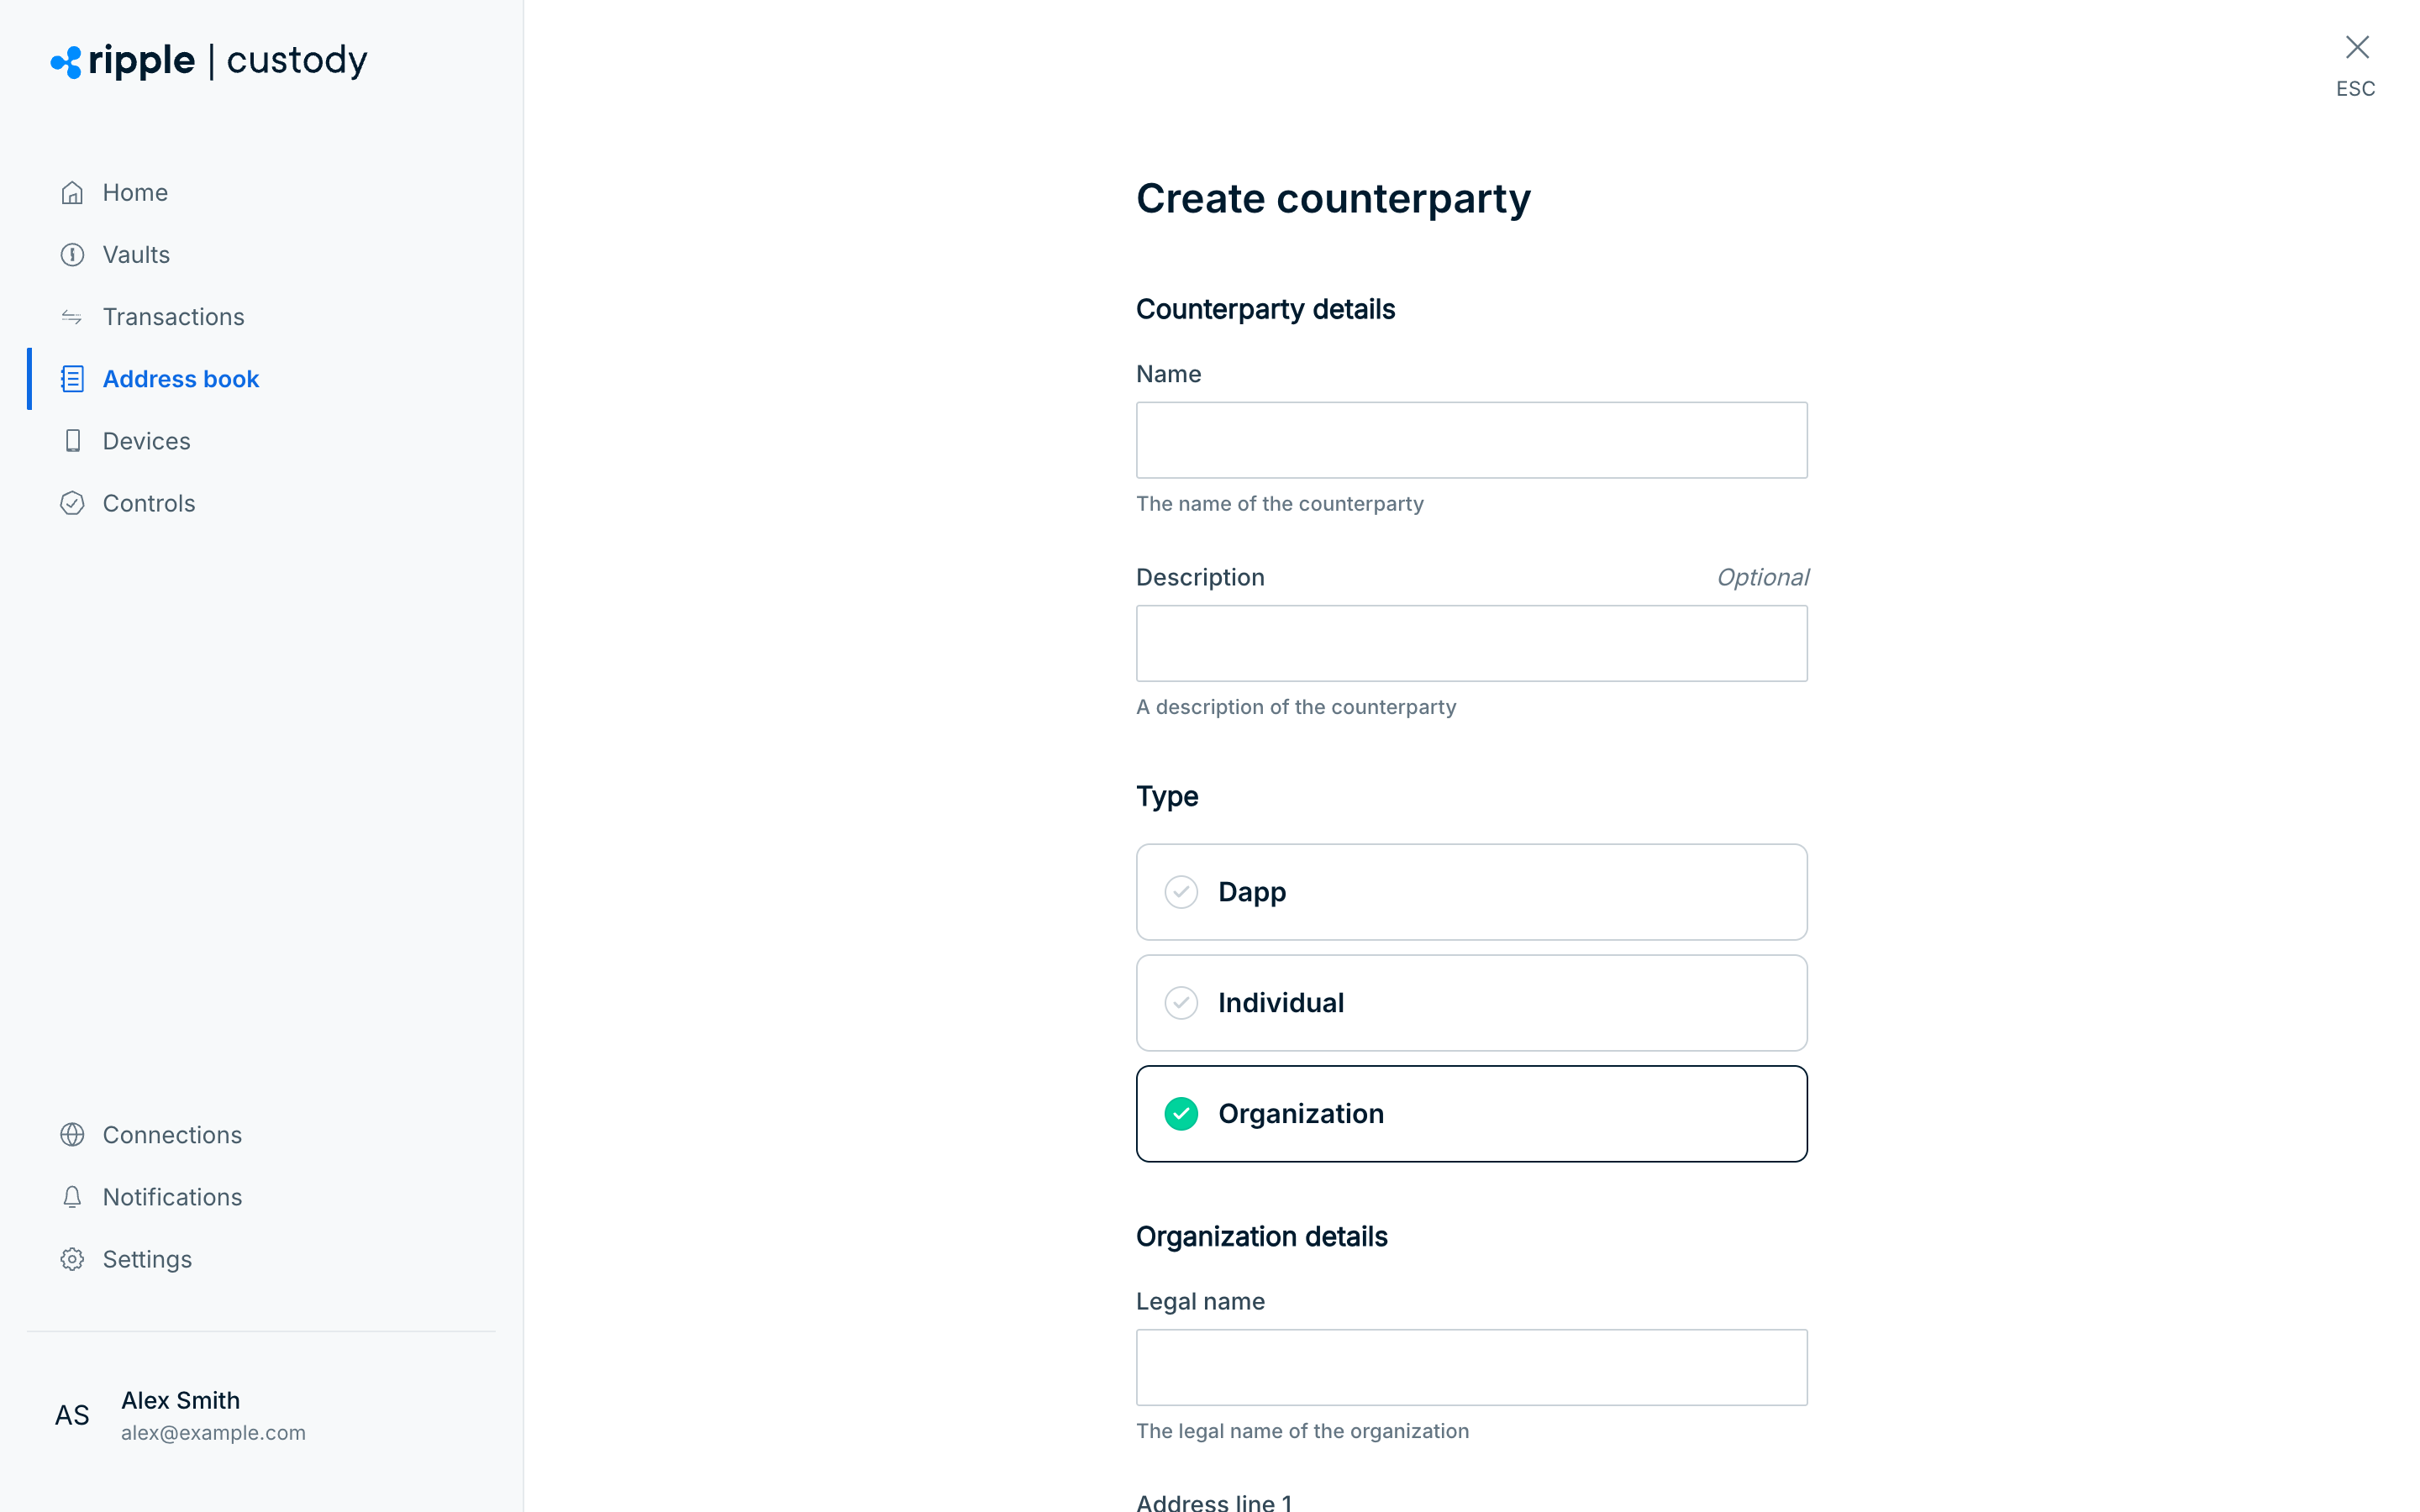
- On the Counterparties tab, click Add counterparty.
- Enter the counterparty's Name and, optionally, a Description.
- Under Type, select the counterparty type:
- Dapp — A decentralized application or smart contract.
- Individual — A single person. Enter their first name, last name, and postal address.
- Organization — A company or other business entity. This is the default. Enter its legal name and postal address.
- Click Next to create the counterparty.
- Open the counterparty from the Counterparties list and click Add address to register a blockchain address.
- Enter the Wallet address, select the Supported blockchains, and enter a Name for the address. A description is optional.
- Under Add third party custodian details?, keep Do not add custodian details or add the custodian's details.
- Select the confirmation checkbox under Submission, then click Add address.
If your organization has an approval group for addresses, the address shows Inactive | Approval pending until it's approved. Addresses may also be subject to compliance checks before you can use them.
Make sure the address is correct and belongs to the right blockchain. Sending funds to an incorrect or wrong-chain address can result in permanent loss of those assets.
See Address book overview and Manage address book for the full reference.
Required role: Owner, Administrator, or Proposer.
By default, outgoing transactions are disabled on new wallets even after you set up policies and addresses. You must enable them explicitly.
- Open your wallet. A new wallet shows the Disabled status and a DEPOSITS ONLY label.
- Click Enable transactions.
- In the Enable transactions dialog, click Enable. The wallet status changes to Enabled.
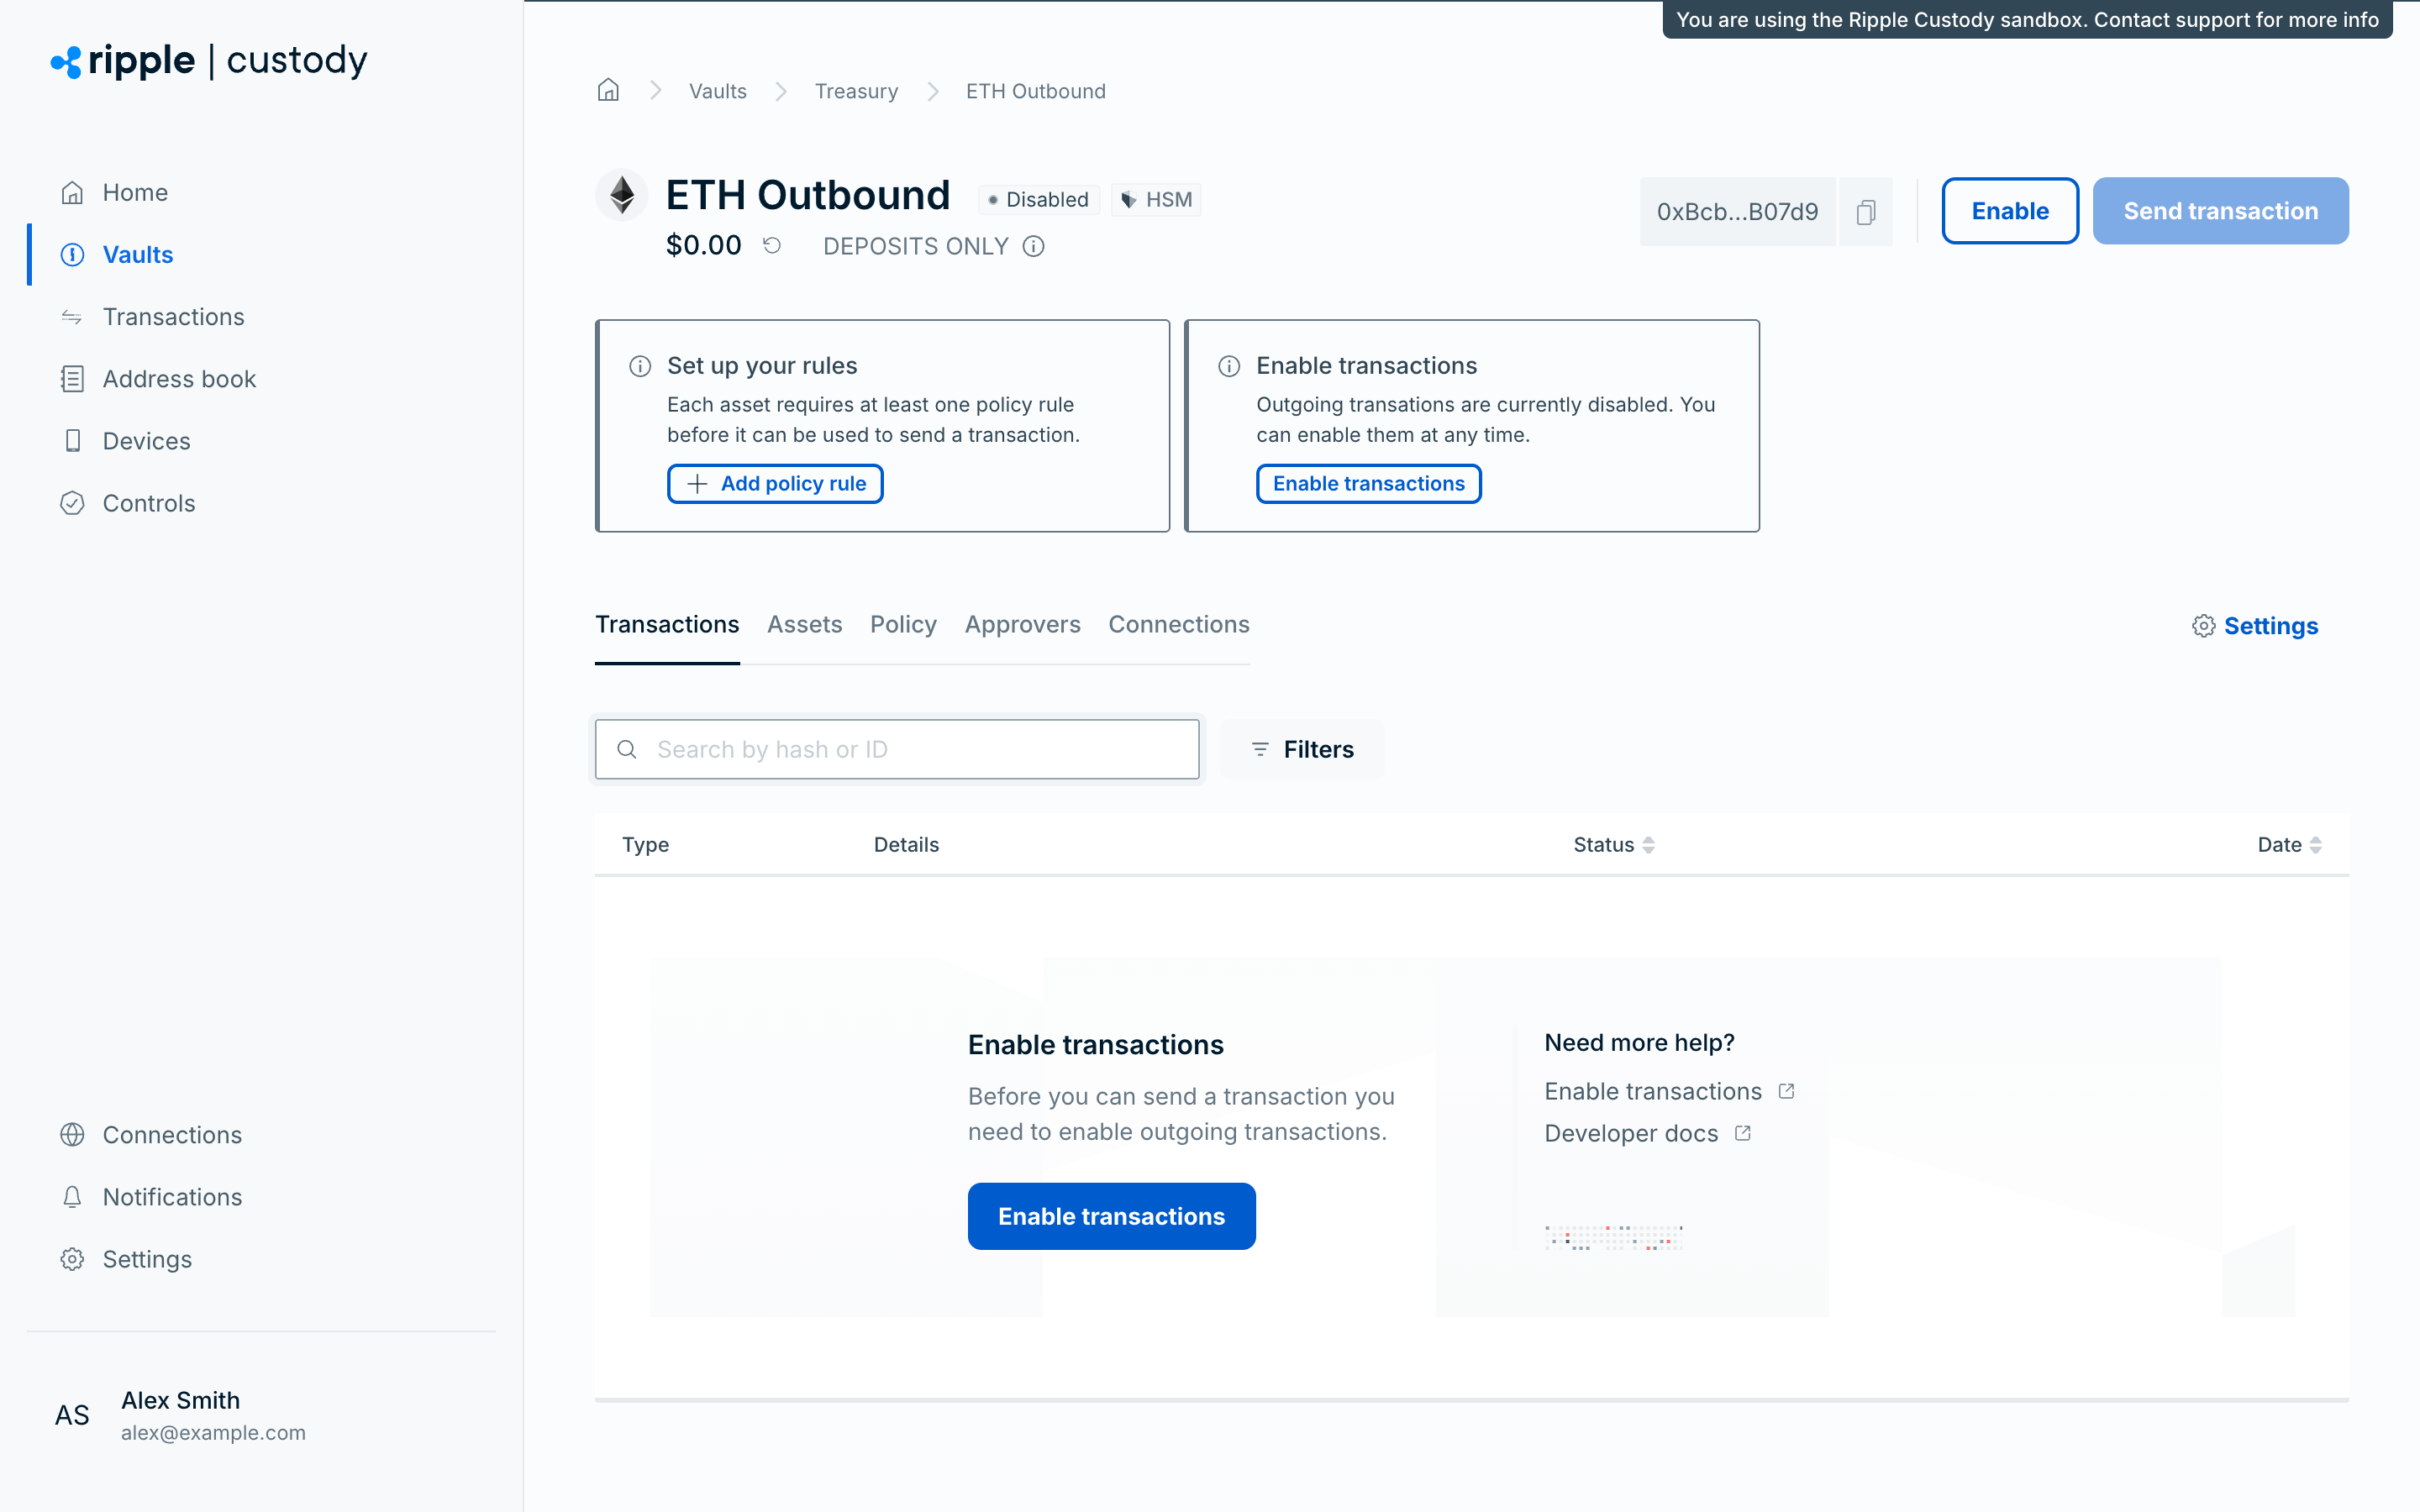
You can disable outgoing transactions at any time from the wallet's settings (Settings > Transactions > Outgoing), or by clicking Disable at the top of the wallet page.
Before you send your first transaction, confirm that all three conditions are met:
- Policy — Your wallet's Policy tab shows at least one active policy for the asset you want to send.
- Address book — The Address book contains an entry for your intended destination (skip this check for internal wallet-to-wallet transfers).
- Transactions enabled — Your wallet shows the Enabled status.
Send your first transaction: