A vault is a logical container that groups related wallets together. You must create at least one vault before you can create any wallets.
You can't move a wallet between vaults after creation, and you can't delete a vault. You can rename a vault later from its Settings > Details tab, or through the API. Consider how you want to organize your wallets before you start.
You can organize vaults however you like. A common pattern uses three vaults to separate funds by purpose:
- Treasury vault — Holds long-term organizational funds. Wallets in this vault only transact with wallets in the Outbound vault. No API credentials have access to this vault, which limits exposure.
- Outbound vault — Holds funds earmarked for external transfers. Wallets receive funds from the Treasury vault and send to external addresses. API credentials can access these wallets for programmatic transfers.
- Customer vault — Holds funds on behalf of customers in omnibus-style wallets. These wallets receive deposits from customers and process withdrawals. API credentials can access these wallets for sweep operations.
For sandbox testing, a single vault is enough to get started. You can create additional vaults at any time.
Required role: Owner, Administrator, or Proposer.
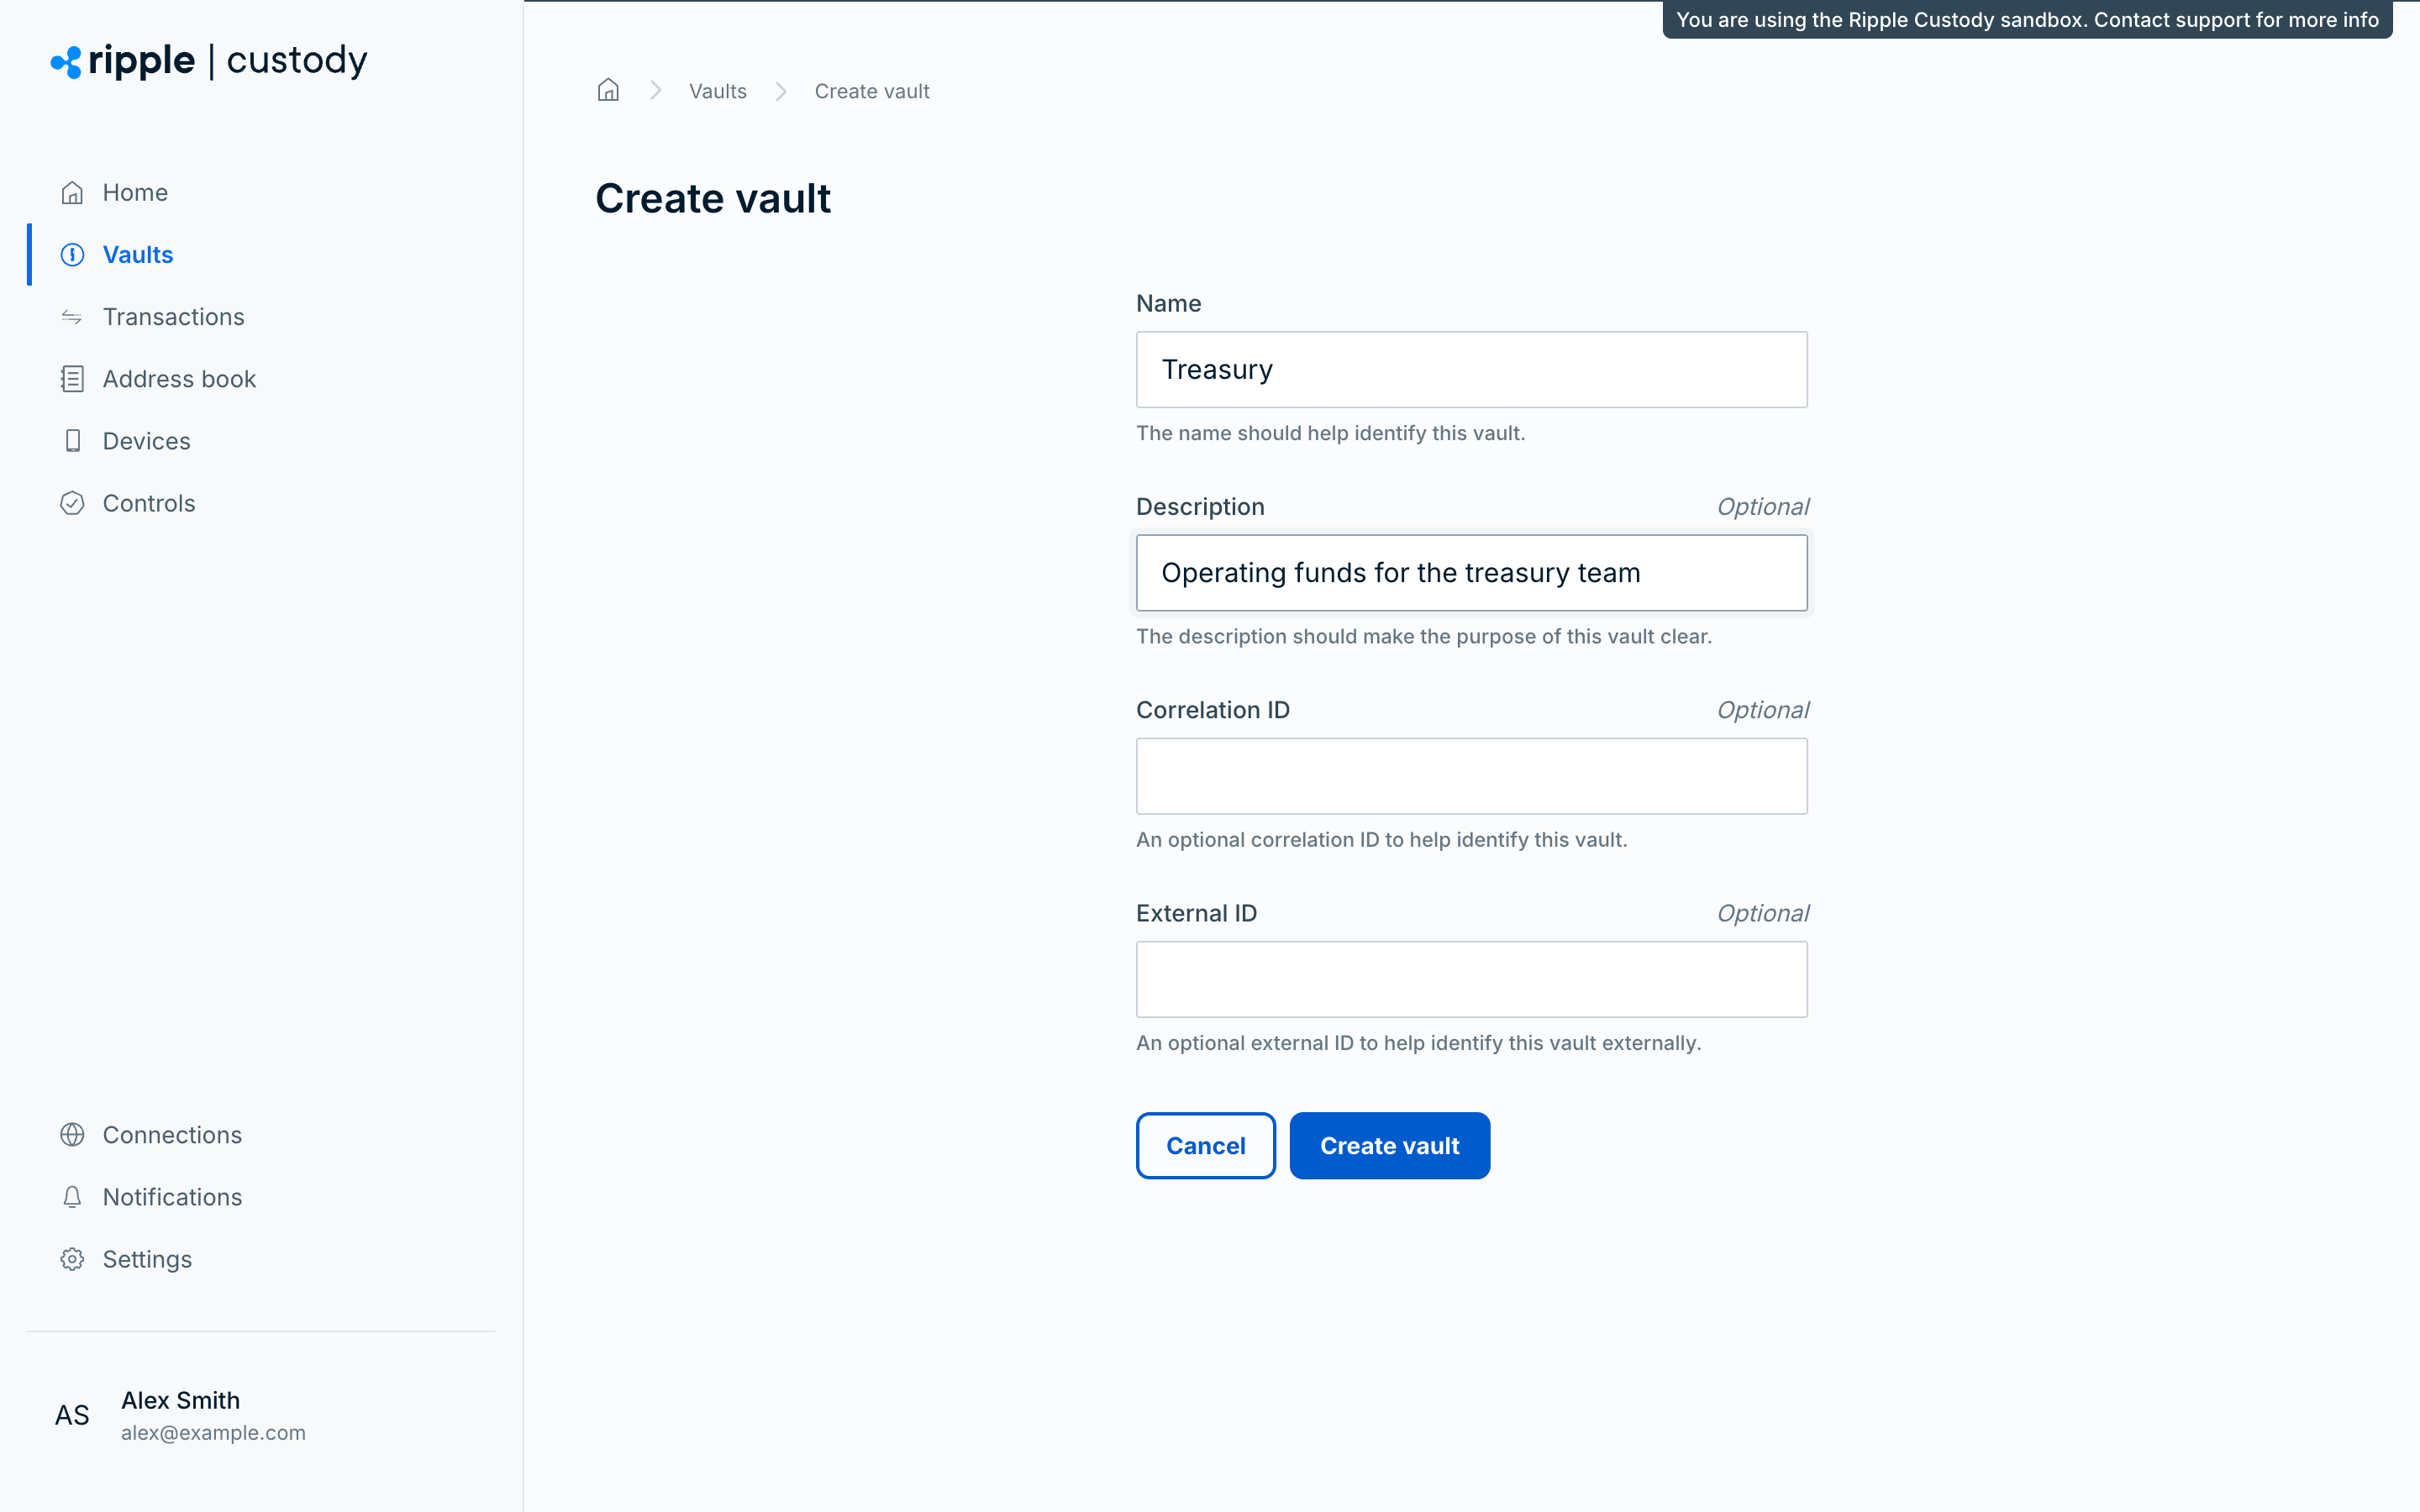
- Navigate to Vaults in the sidebar and click Create vault.
- Enter a name that identifies the vault's purpose (for example, "Treasury" or "Sandbox Testing"). Maximum 50 characters.
- (Optional) Enter a description that explains what the vault is for and what types of wallets it holds. Maximum 100 characters.
- (Optional) Enter a Correlation ID or External ID if you use external tracking systems.
- Click Create vault.
The console confirms that the vault was created and opens the new vault, which is ready for wallets.
Create a wallet inside your new vault: