Webhooks send real-time notifications to your systems when events occur in your Ripple Custody (Wallet) organization. Use the Ripple Custody (Wallet) console to create webhooks, choose which events they subscribe to, view them, and delete them. For what webhooks are and how delivery works, see Webhooks. To verify signatures and handle retries on your endpoint, see Receive webhook deliveries. For event types and payload formats, see Webhook event reference.
Only owners and administrators can configure webhooks.
| Action | Console role | Console procedure | API procedure |
|---|---|---|---|
| Create a webhook | Owner, Administrator | Create a webhook | Create a webhook |
| Add subscriptions to a webhook | - | - | Add subscriptions |
| List webhooks | Owner, Administrator, Auditor | View webhooks | List webhooks |
| View a webhook | Owner, Administrator, Auditor | View webhooks | Get a webhook |
| List subscriptions | Owner, Administrator, Auditor | View webhooks | List subscriptions |
| Delete a subscription | - | - | Delete a subscription |
| Delete a webhook | Owner, Administrator | Delete a webhook | Delete a webhook |
Permissions: In the console, owners and administrators can create, update, and delete webhooks, and owners, administrators, and auditors can view them. See User roles and permissions. The API procedures need an API credential of type MONITORING. See Prerequisites.
Required role: Owner or Administrator.
Before you start, develop an HTTPS endpoint on your server to receive webhook events. Your endpoint must:
- Use HTTPS.
- Return a
2xxresponse, such as200 OK, to acknowledge receipt of each webhook. See Retries.
For the full set of endpoint requirements, see Endpoint requirements.
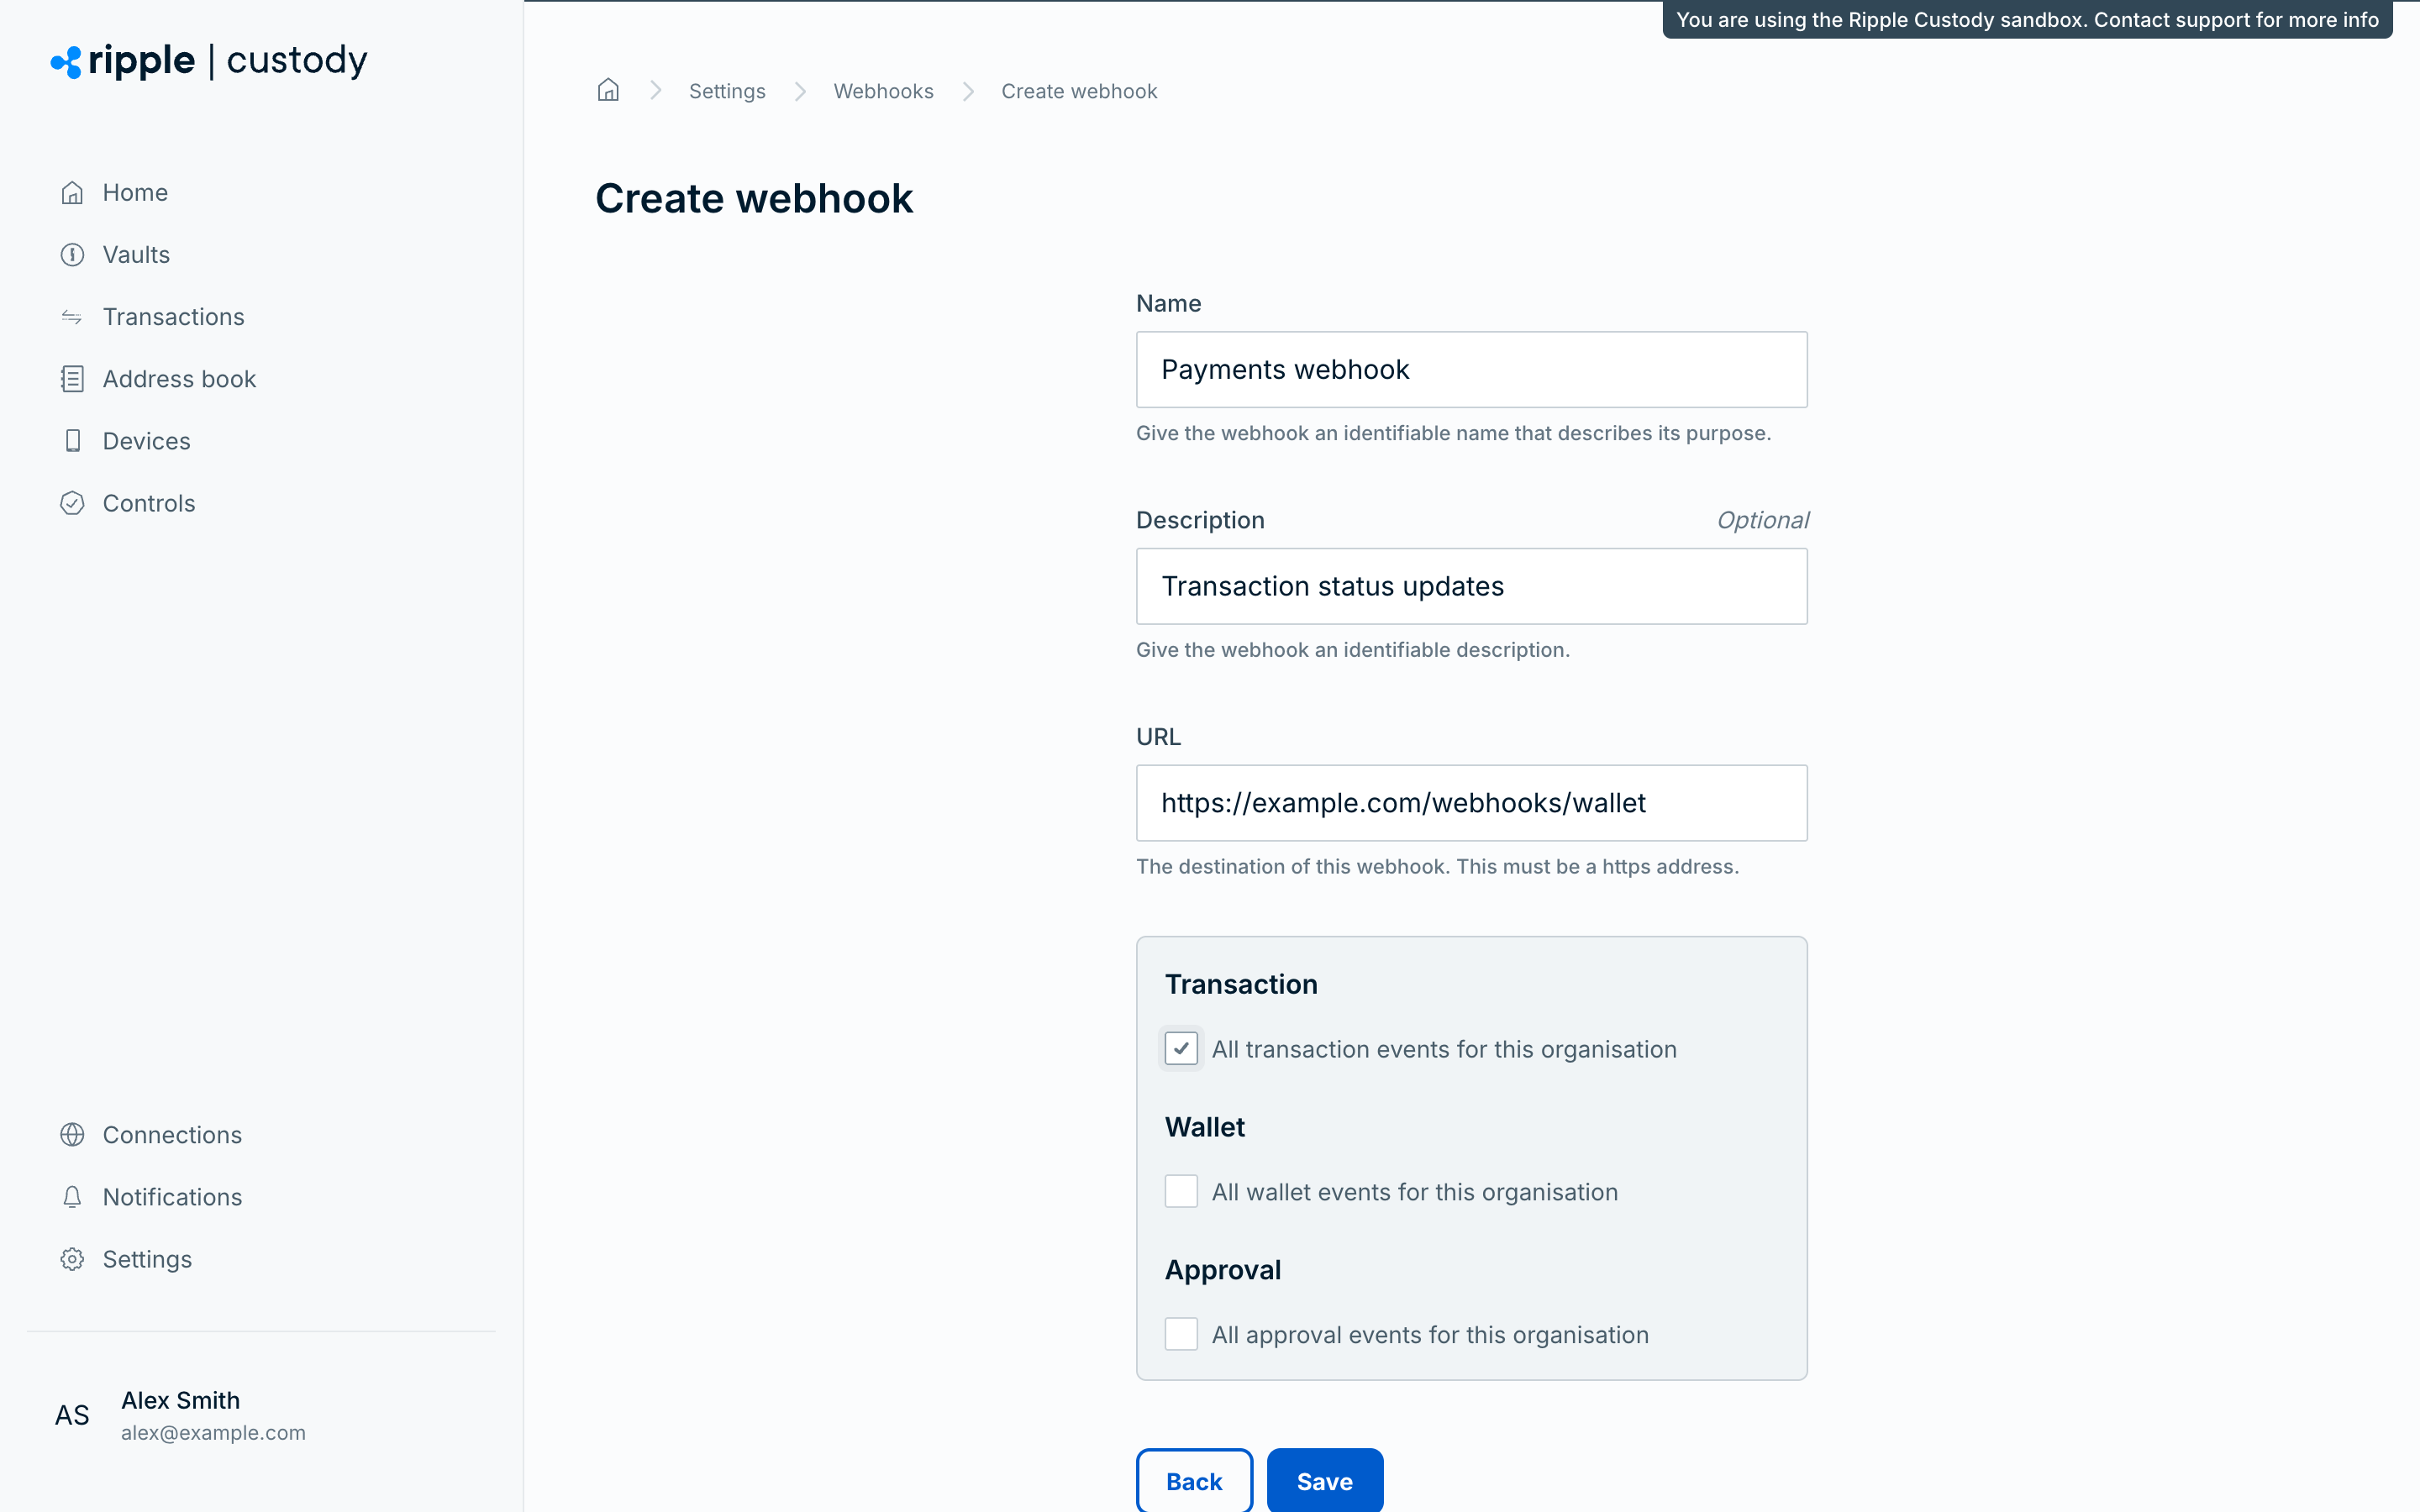
- Go to Settings > Webhooks.
- Select Create webhook.
- Enter a name (5–50 characters) that describes the webhook's purpose. The name must be unique in your organization. Several webhooks can share the same URL.
- Enter an optional description (5–100 characters).
- Enter the URL — the HTTPS endpoint that receives webhook deliveries. The URL must use HTTPS.
- Select one or more subscriptions — the event categories that trigger deliveries:
- Transaction — All transaction events for this organization
- Wallet — All wallet events for this organization
- Approval — All approval events for this organization
- Select Save.
You must select at least one event subscription. To change a webhook's subscriptions after creation, add or delete subscriptions through the API. See Manage webhooks via the API.
After you create the webhook, copy its public key from the View webhook page so that your endpoint can verify each delivery. See Verify the signature.
Required role: Owner, Administrator, or Auditor.
The console lists your webhooks in a table on Settings > Webhooks after you create them. To find a webhook, use Search webhooks, or select Filters to narrow the list by name, description, endpoint, ID, last success, last failure, or date created or updated. To view a webhook, select its name. The three dots in the Actions column open a menu with View and Delete webhook.
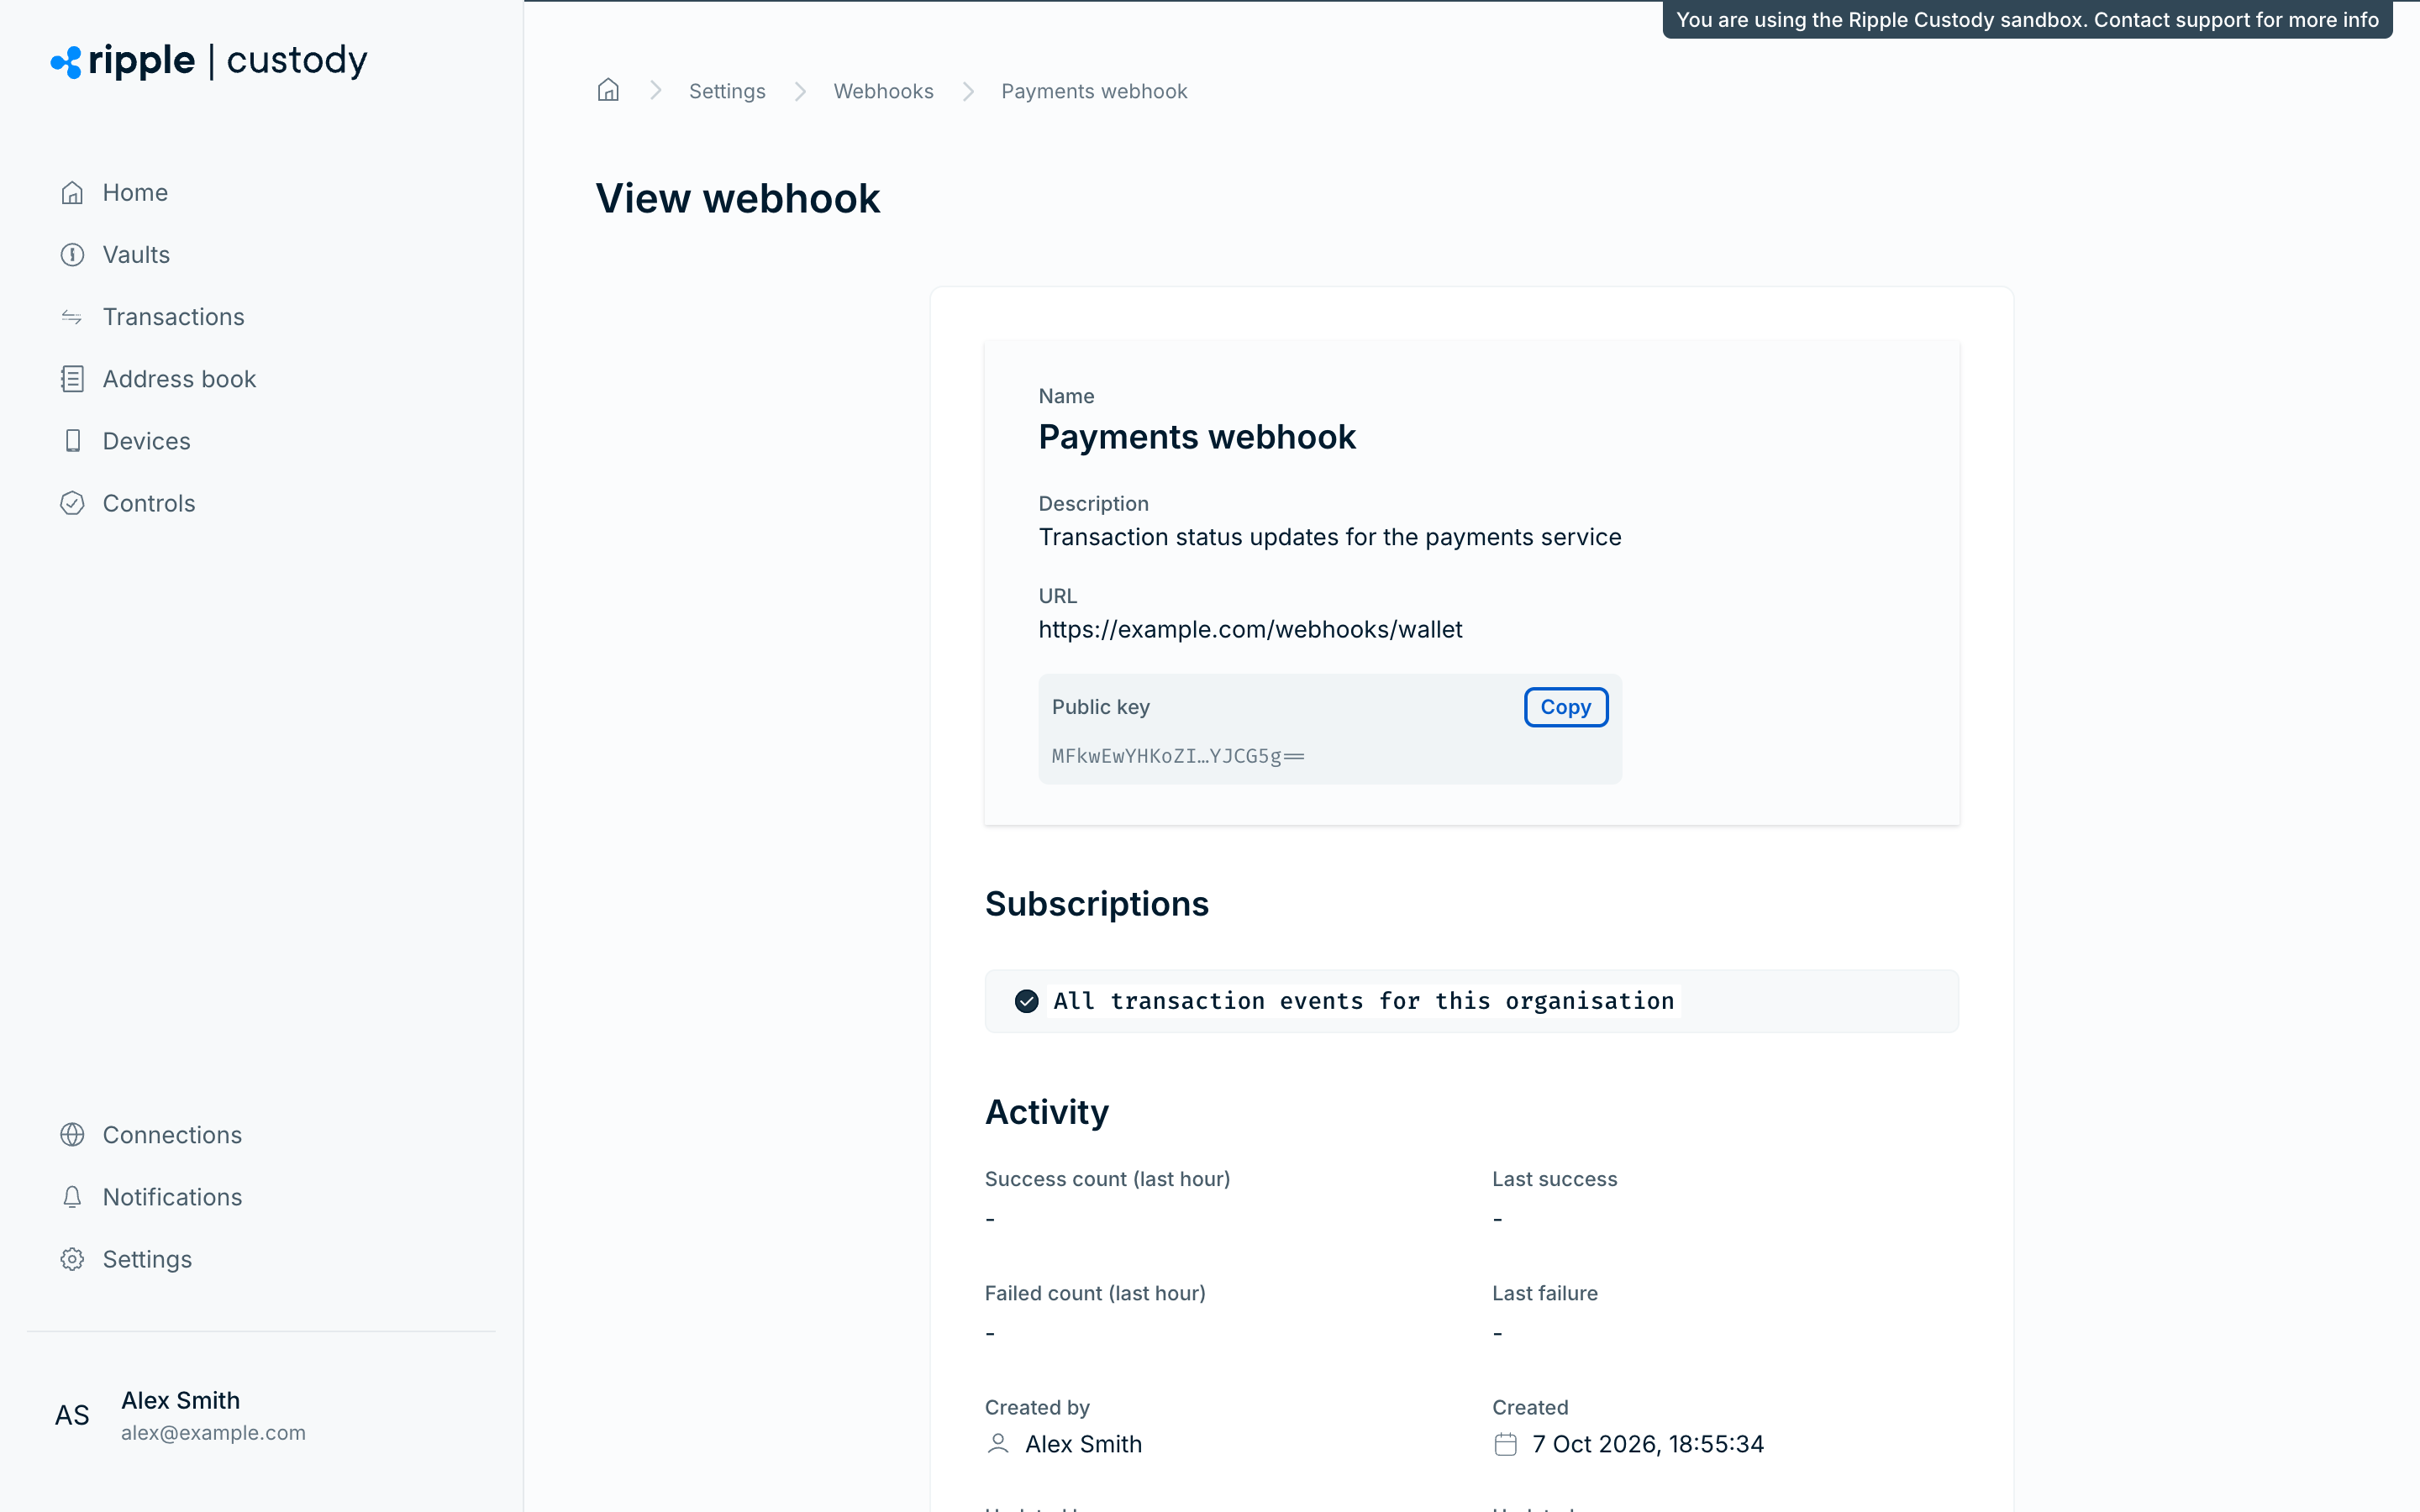
When you view a webhook, you see the following information:
- Name
- Description
- URL
- Public key, which your endpoint uses to verify each delivery. Select Copy to copy it. See Verify the signature.
- Subscriptions: the event subscriptions configured
- Activity: success and failure counts for the last hour, and the time of the last success and last failure. See Monitor failures.
- Who created and last updated the webhook, and when
You can't edit a webhook's name, description, or URL in the console or through the API. To change them, delete the webhook and create a new one. The new webhook has a new public key, so update your signature verification.
To change which events a webhook receives, add or delete subscriptions through the API. See Manage webhooks via the API.
Required role: Owner or Administrator.
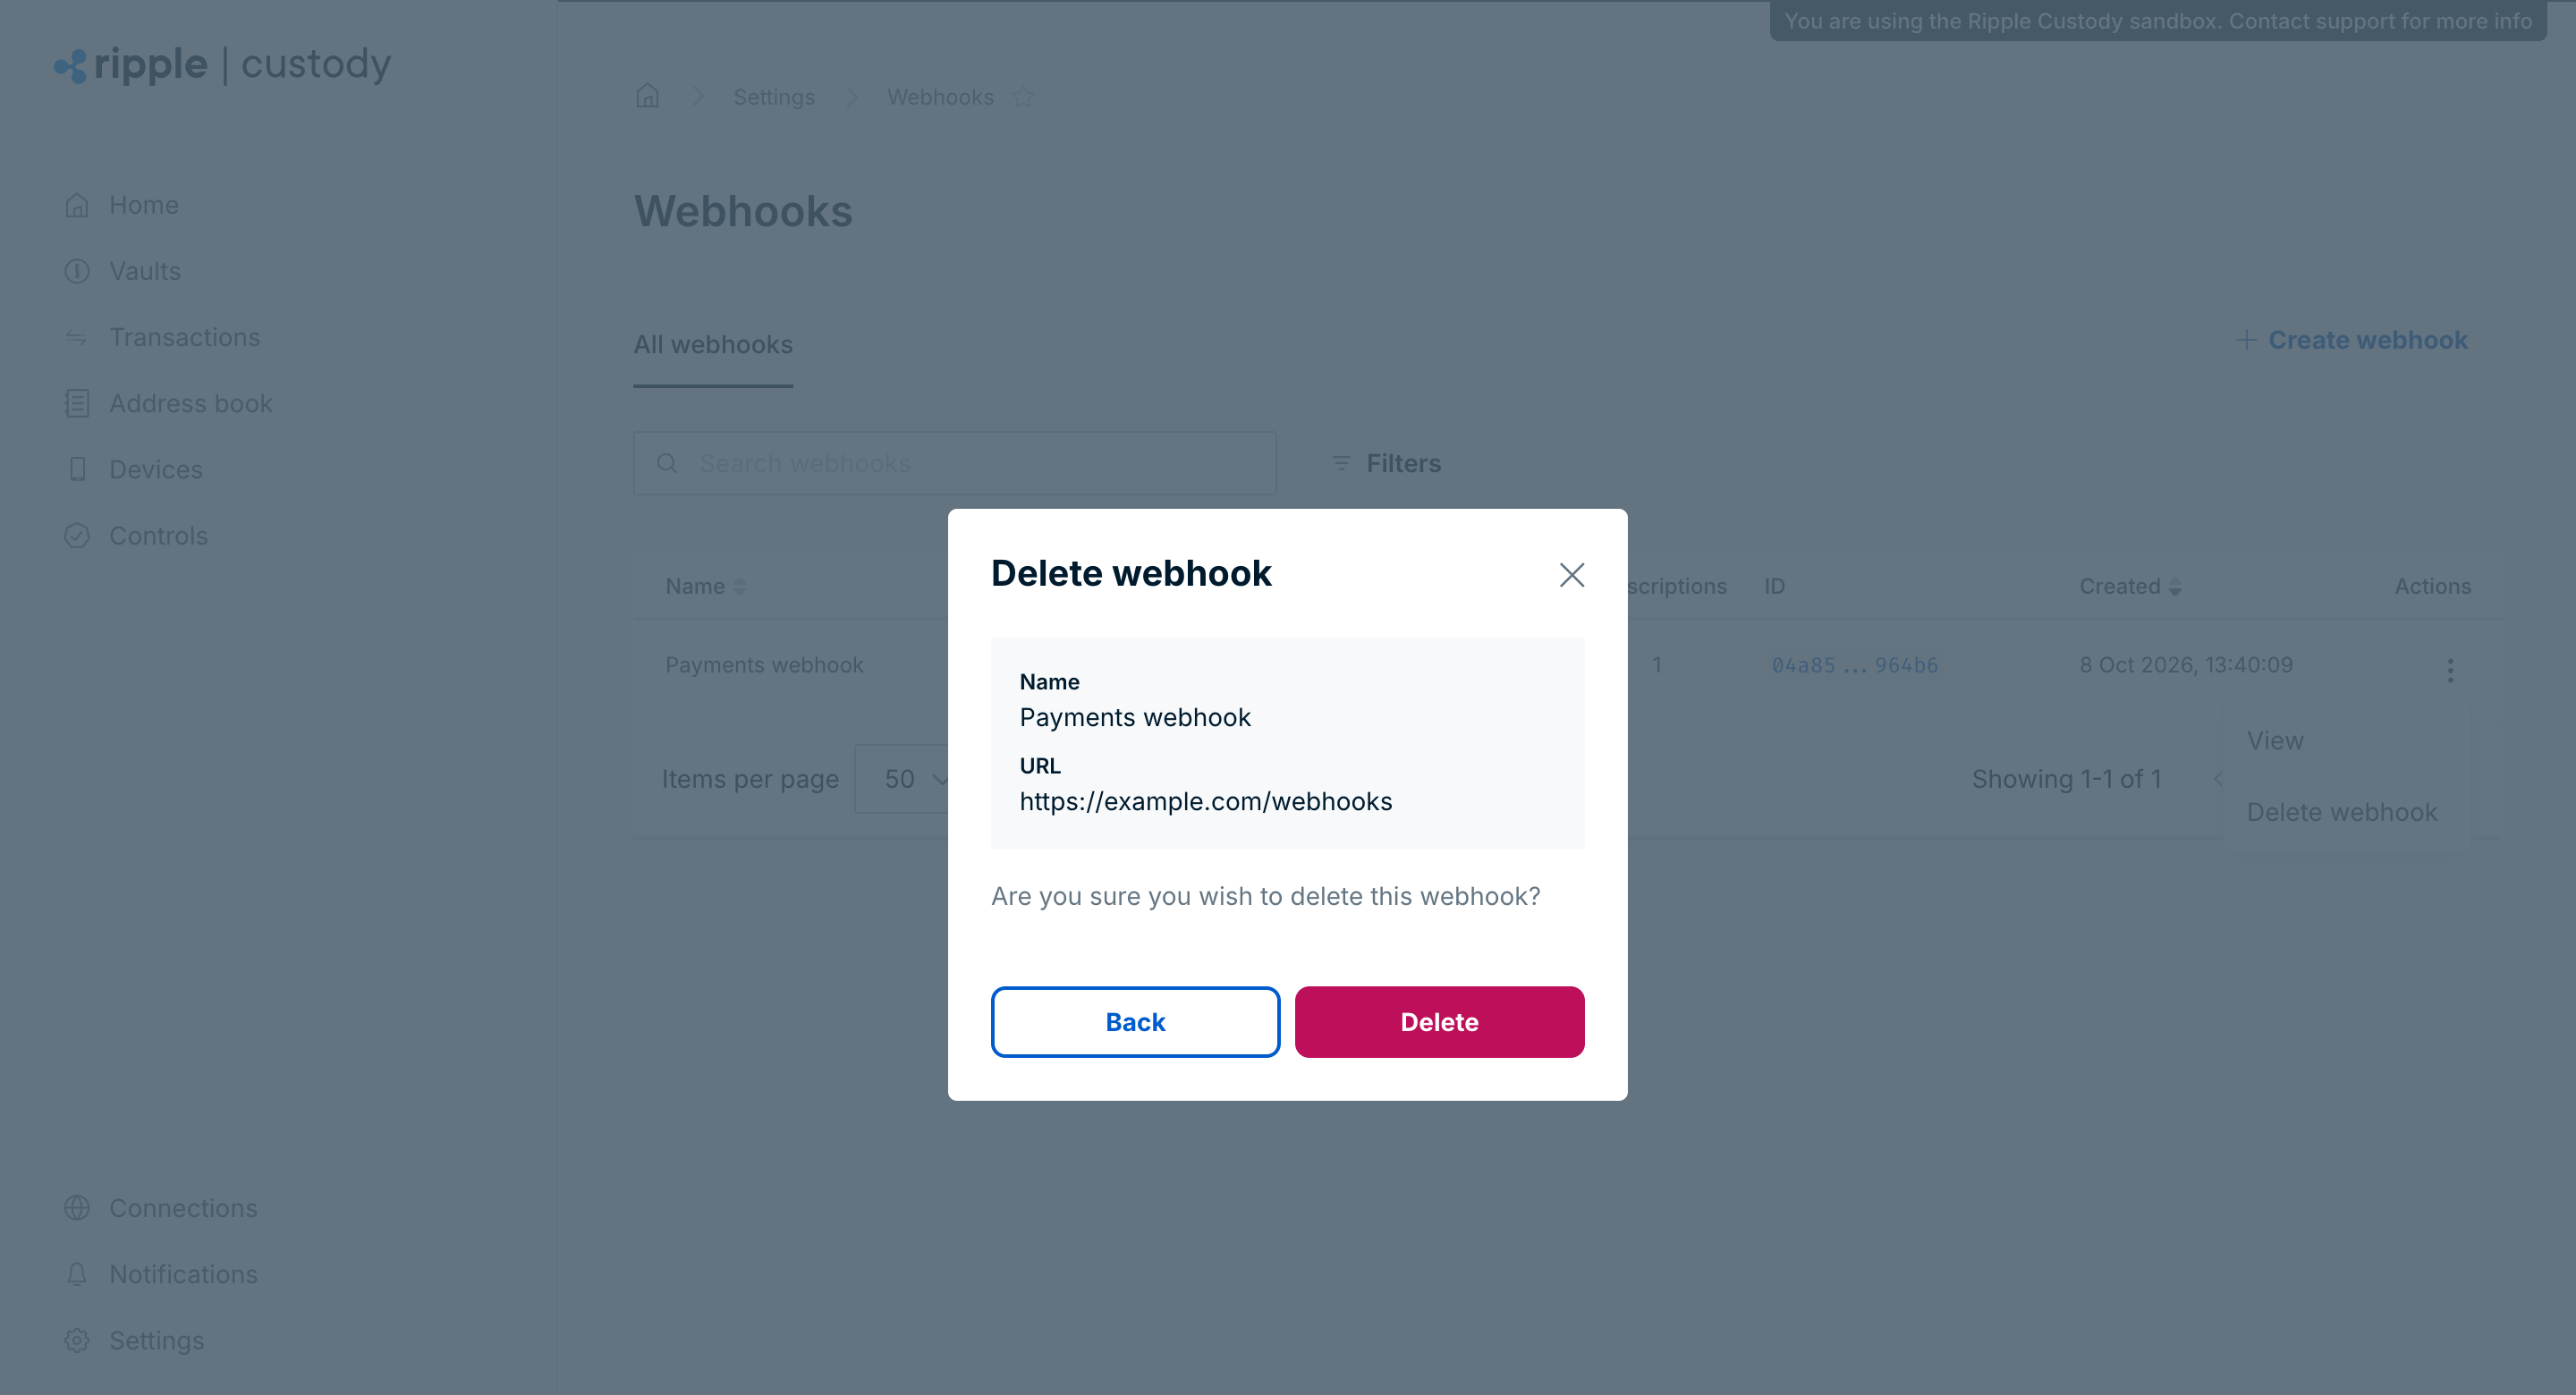
- Go to Settings > Webhooks.
- Select the webhook, or select the three dots in the Actions column of the table.
- Select Delete webhook.
- Select Delete to confirm.
Ripple Custody (Wallet) stops sending deliveries to the endpoint immediately after deletion.
To create webhooks and subscriptions programmatically, see Manage webhooks via the API.
- Webhooks — What webhooks are, how delivery works, and subscription domains
- Receive webhook deliveries — Verify signatures, handle retries, and process events safely
- Webhook event reference — The envelope and the payload for each domain
- Manage webhooks via the API — Create webhooks and manage subscriptions through the API
- Audit logging — Stream all organization activity to AWS Firehose