Custom assets let your organization work with tokens that are not part of the Wallet-as-a-Service global catalog. This page describes how to view the registry and how to add, edit, enable, and disable custom assets in the console.
For the registry model — global versus custom assets, sources, and the verified and enabled properties — see Registry overview.
All roles can view the registry. Only owners and administrators can add, edit, enable, or disable custom assets. You can only manage assets with the Customer source — the rest of the catalog is managed by Wallet-as-a-Service.
- Go to Settings.
- On the Registry card, select Manage registry.
- Switch between the Assets, Blockchains, and Currencies tabs.
On the Assets tab, select Filters to narrow the list by blockchain, source, or status, or use the search box to find assets by name or symbol. Select a column heading to sort.
On the Assets tab, select Add asset. The Add asset page opens.
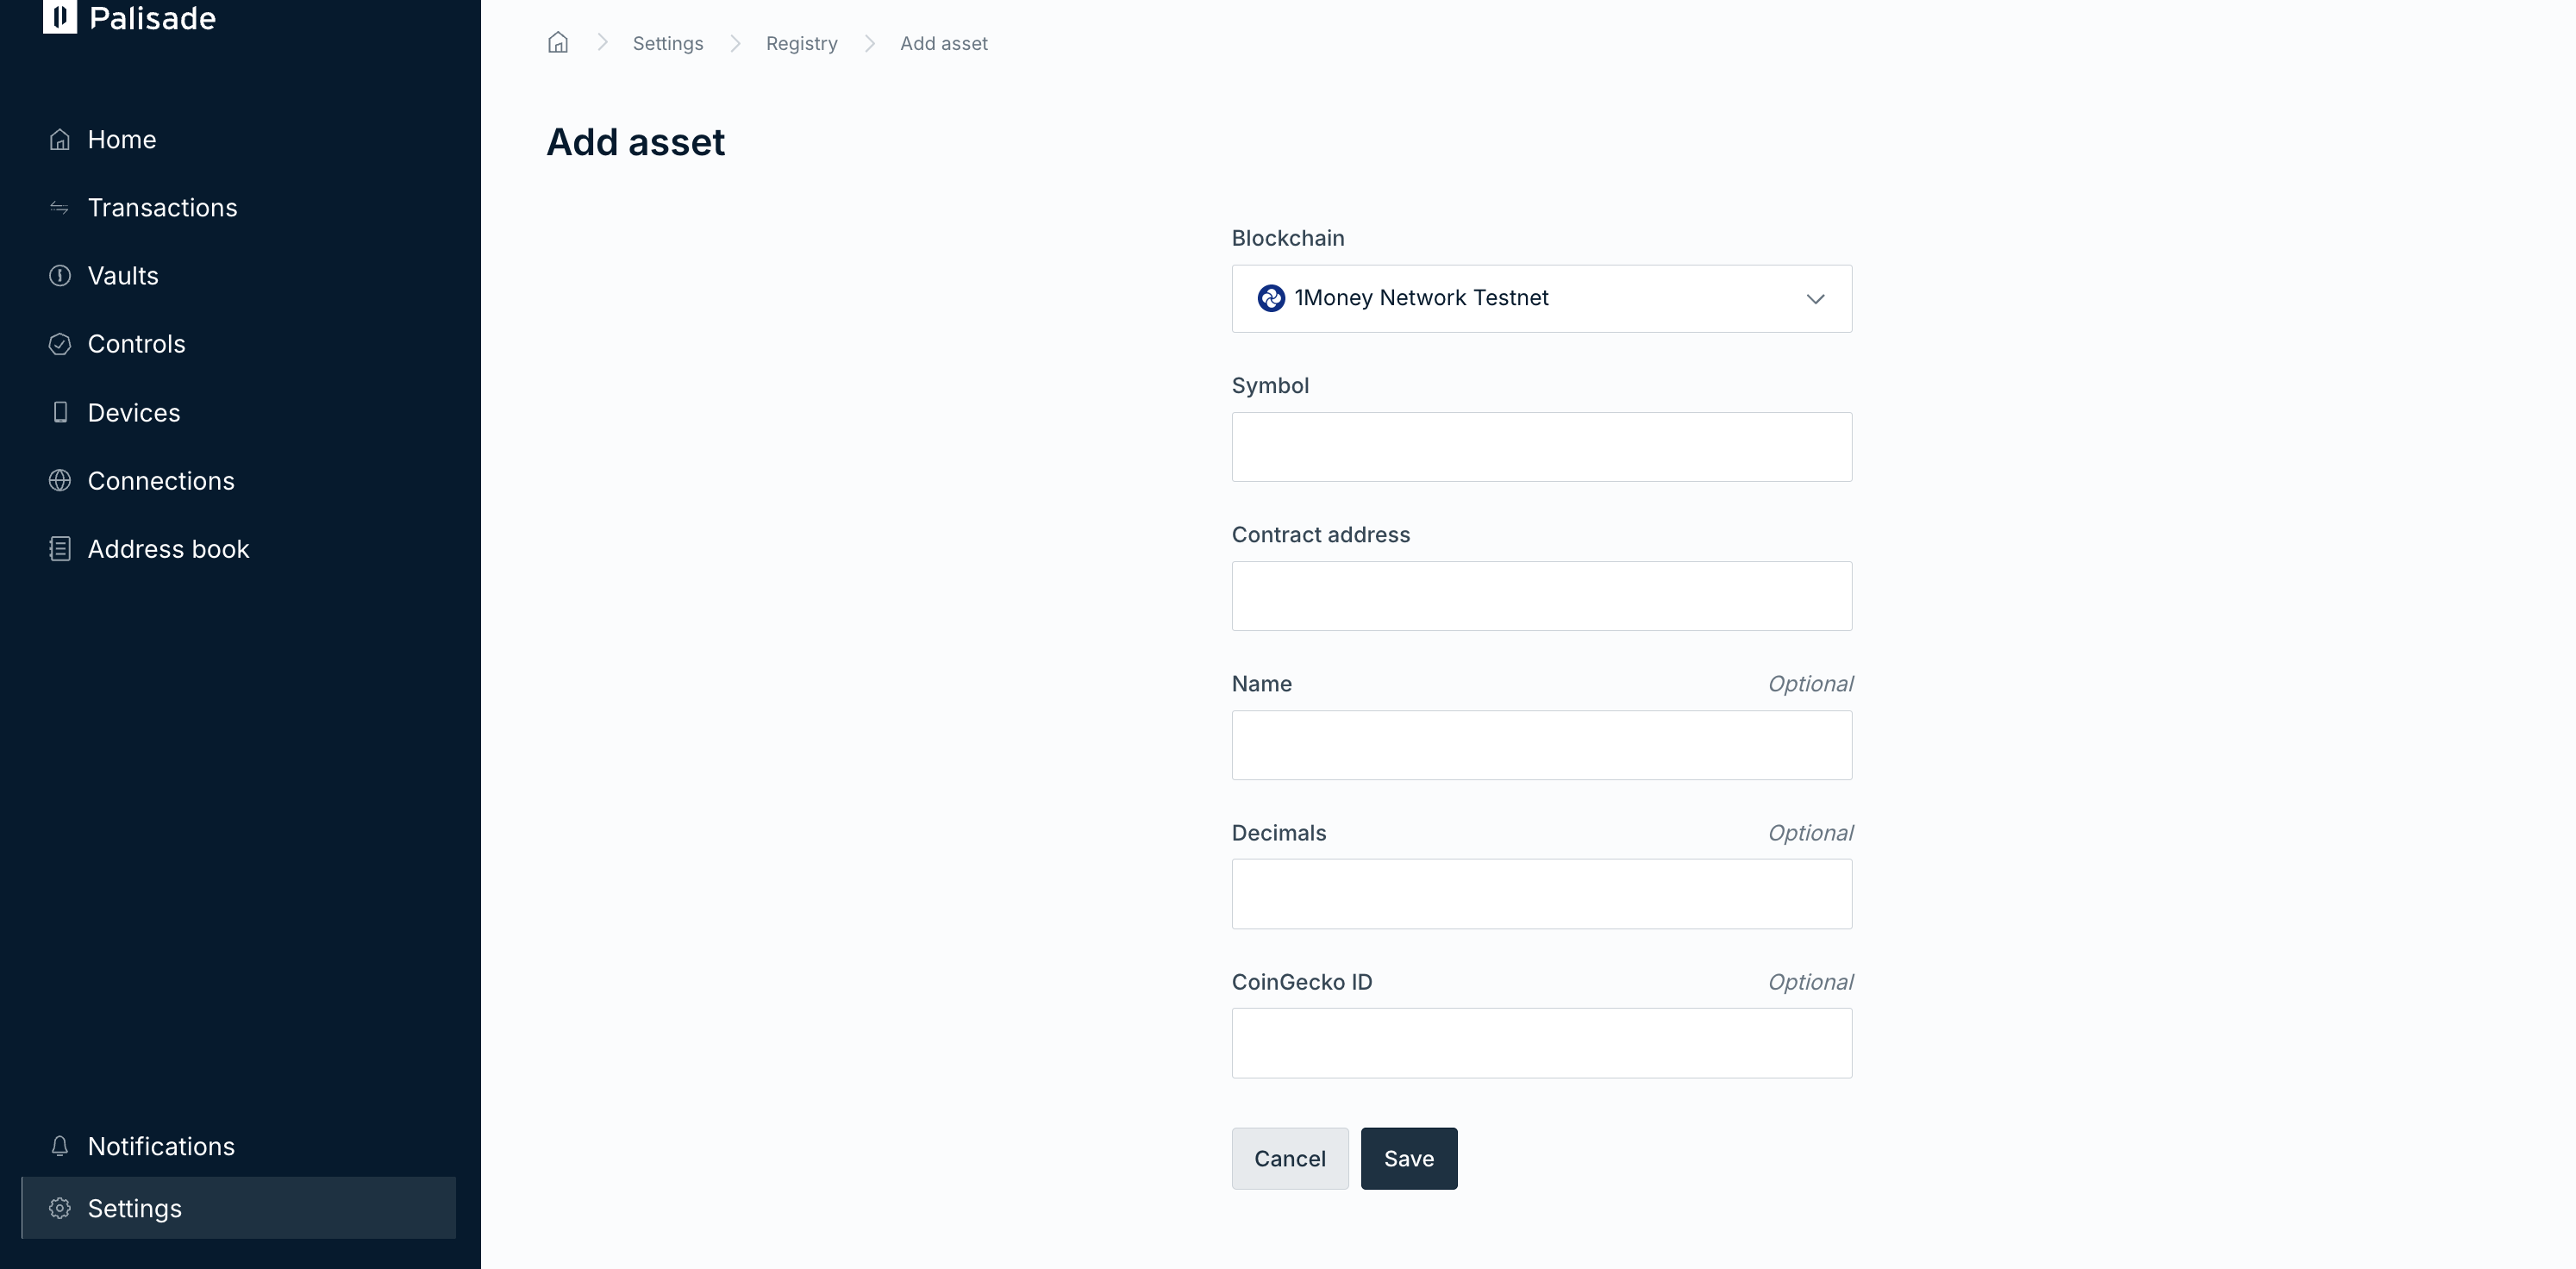
Complete the asset details:
Field Description Blockchain The blockchain network the token exists on. Standard The token standard. This field only appears when the selected blockchain supports more than one standard. Symbol The token's ticker symbol, for example USDC.Contract address The token's contract or issuer address on the selected blockchain. Name Optional. The token's display name. Decimals Optional. The number of decimal places the token uses. Must be a whole number of 0 or more. CoinGecko ID Optional. The token's CoinGecko identifier, used for pricing lookups. Select Save.
The new asset appears in the list with the Customer source.
Verify the contract address and decimals against the token issuer's official sources. Custom assets are not verified by Wallet-as-a-Service, and an incorrect contract address can result in transacting with the wrong token.
You can update a custom asset's name, decimals, and CoinGecko ID. The symbol, blockchain, standard, and contract address are fixed after creation — to change them, disable the asset and add a new one.
- On the Assets tab, find the custom asset.
- From the asset's actions menu, select Edit.
- Update the details and select Save.
Disable a custom asset to stop it from being offered for new activity without removing it from the registry:
- On the Assets tab, find the custom asset.
- From the asset's actions menu, select Disable.
- In the Disable asset confirmation dialog, select Disable.
To re-enable the asset, select Enable from the actions menu.