A payment preset records the sending account, receiving host, quote type, and payment currency for a payment. You can configure up to 20 payment presets; once configured, you simply enter the amount and quickly fetch a quote for the payment.
You can create and configure payment presets in two ways:
- Using the Settings page.
- Adding a payment preset on the New Payment form.
To create a payment preset from the Settings page:
- Go to the Settings page and click Payment Presets.
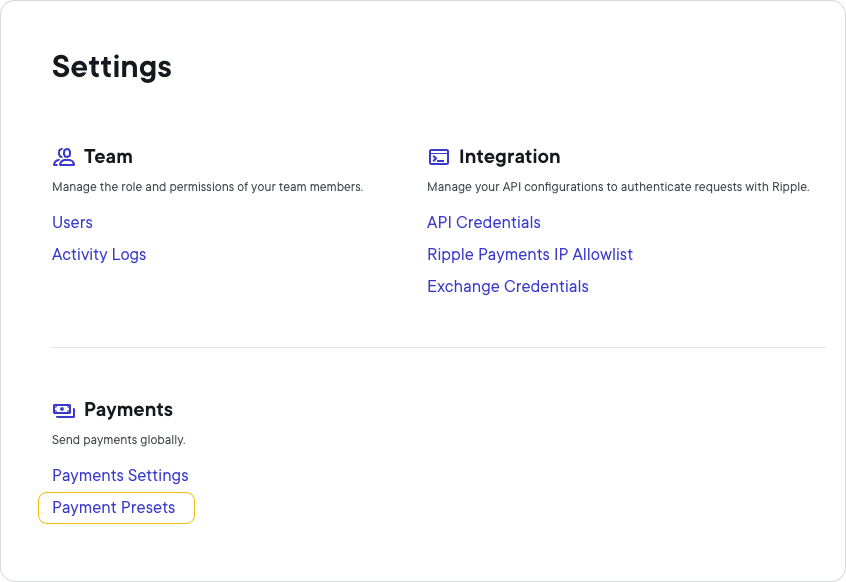
On the Payment Presets page, click Add Preset.
In the Add Payment Preset modal, specify the following:
- Preset Name
- Sender RippleNet Account
- Receiver RippleNet Host
- Quote Type
- Payment Currency
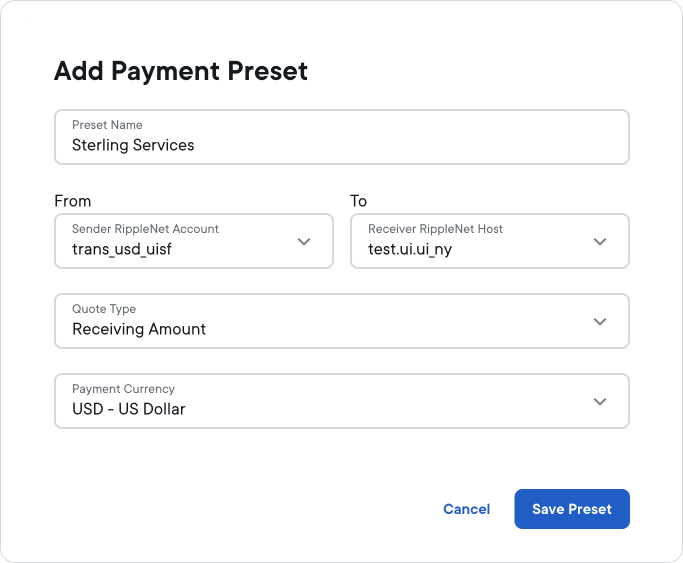
For more information about the payment settings on the Add payment preset modal, see Payment fields.
- Click Save Preset.
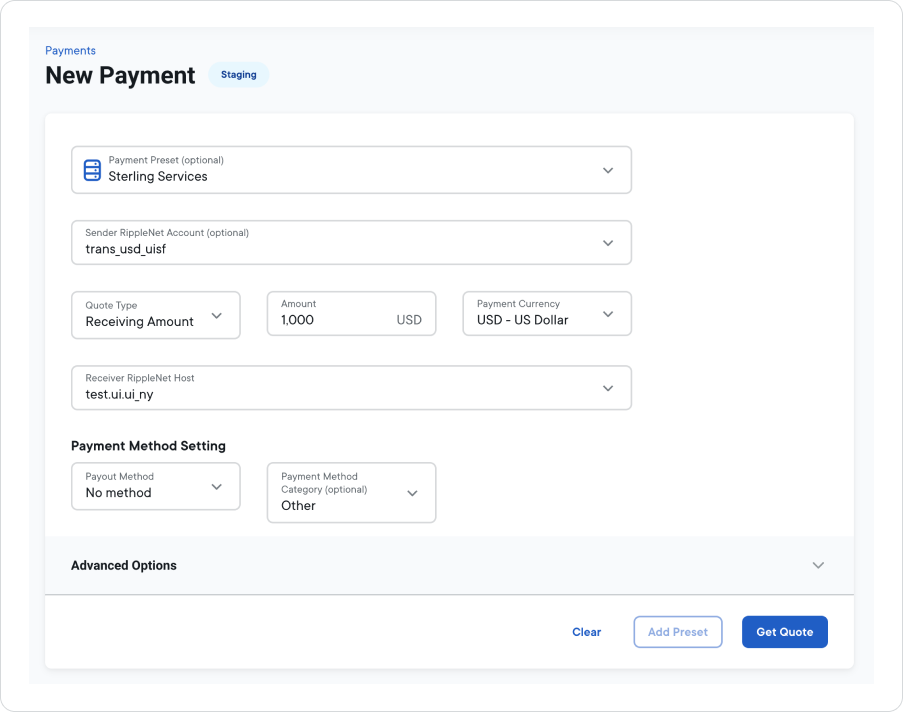
To create a payment preset from the New Payment page:
Go to the Payments page and click New Payment.
On the New Payment page, specify the following:
- Sender RippleNet Account
- Receiver RippleNet Host
- Quote Type
- Payment Currency
Click Add Preset.
On the Add Payment Preset modal, specify the Preset Name.
Click Save Preset.
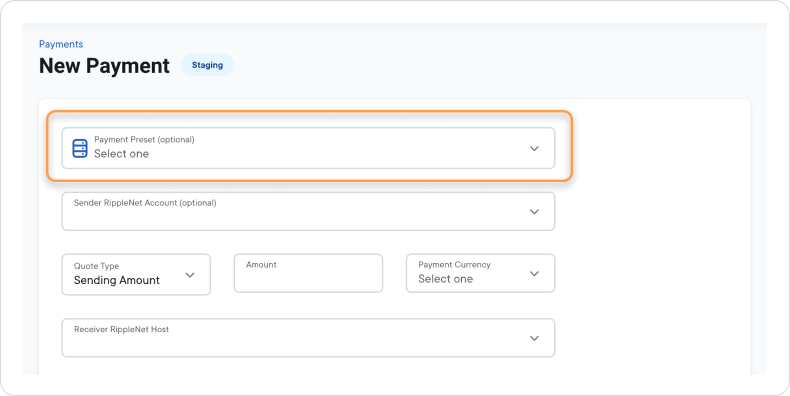
Once you have created and configured your payment presets, they will appear in two places:
- On the Home page in a dedicated panel.
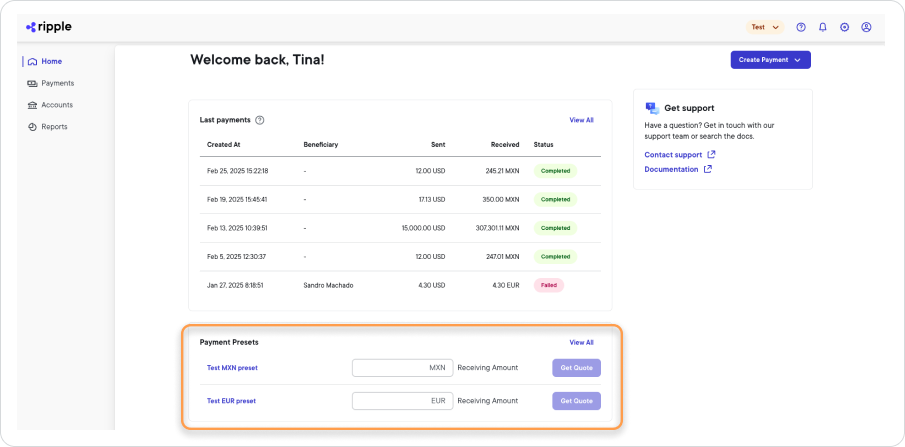
- On the New Payment page as a dropdown selection field.
To initiate a payment from the home page using payment presets:
- In the Amount field of the payment preset, enter the payment amount.

- Click Get Quote.
- On the New Payment page, review the quote details, add optional payment instructions, and then click Accept Quote.
For more information about providing payment instructions, see Optional sender information.
To initiate a payment from the New Payment page using payment presets:
- On the Payments page, click New Payment.
- On the New Payment page, click the Payment Preset (optional) field and select a preset.
- The fields auto-populate with the preset values.
- Enter an Amount.
- Click Get Quote.