This tutorial demonstrates how use Test Harness to receive and process a single payment from the RippleNet Server UI.
- To run sender tests, log on to a Test Harness that receives payments.
- On the Passive Mode tab, enable Auto Lock Accepted Quotes and Auto Complete Payments. Leave RPO Schema as
none.
To test against an RPO schema, upload one in Test Content.
If a test is
OPEN, click Close Test.In the RippleNet Server UI, click Create Payment or use your own payment application.
Enter payment details:
- Quote Type: Sender Amount
- Currency: USD
- Amount: 501
- Sender Account: (for example,
trans_usd_rn_sender) - End-to-end ID: (Any value such a randomly generated UUID)
- Internal ID: 001
- Receiver Host: (for example,
dev.rn_receiver) - Receiver Account: (for example,
trans_usd_rn_receiver) - Payout Method: Default
Click Get Quote, select the quote, and then click Select quote and continue > Save.
<!-- -->At this step, if an active mode test were open, and if you added Additional Information (
user_info) with a test case ID that matched one in the active mode test profile, you would trigger an active mode test.To view the new
OPENtest, in the Test Harness, refresh the Passive Mode tabClick through the Test ID of the
OPENtest. Your payment should be in theLOCKEDstate.In the RippleNet Server UI click Refresh to update the payment as Locked.
Click Settle > Settle payment to execute the payment.
In the Test Harness, the payment state should transition to
COMPLETED.Click Logs to see the messages.
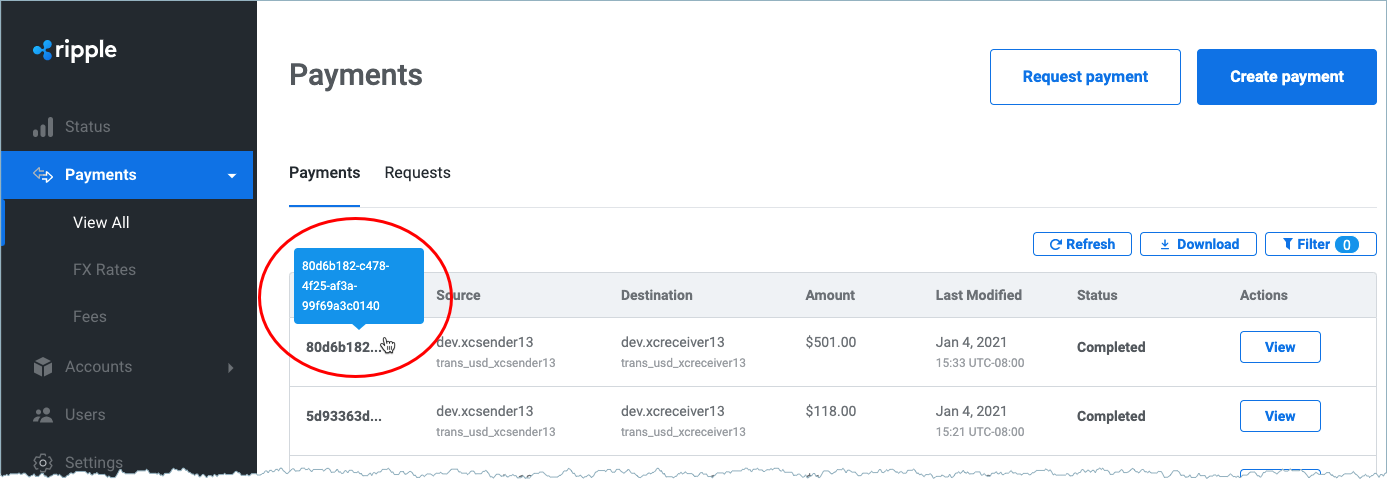
<center> Payment completed in Test Harness (Payment ID 80d6b182)

<center> Payment completed in RippleNet Server UI (Payment ID 80d6b182)