The Payments page in the Payments Direct UI displays a list of payments and information about each payment. Use this information for monitoring payment operations and reconciling payment activity.
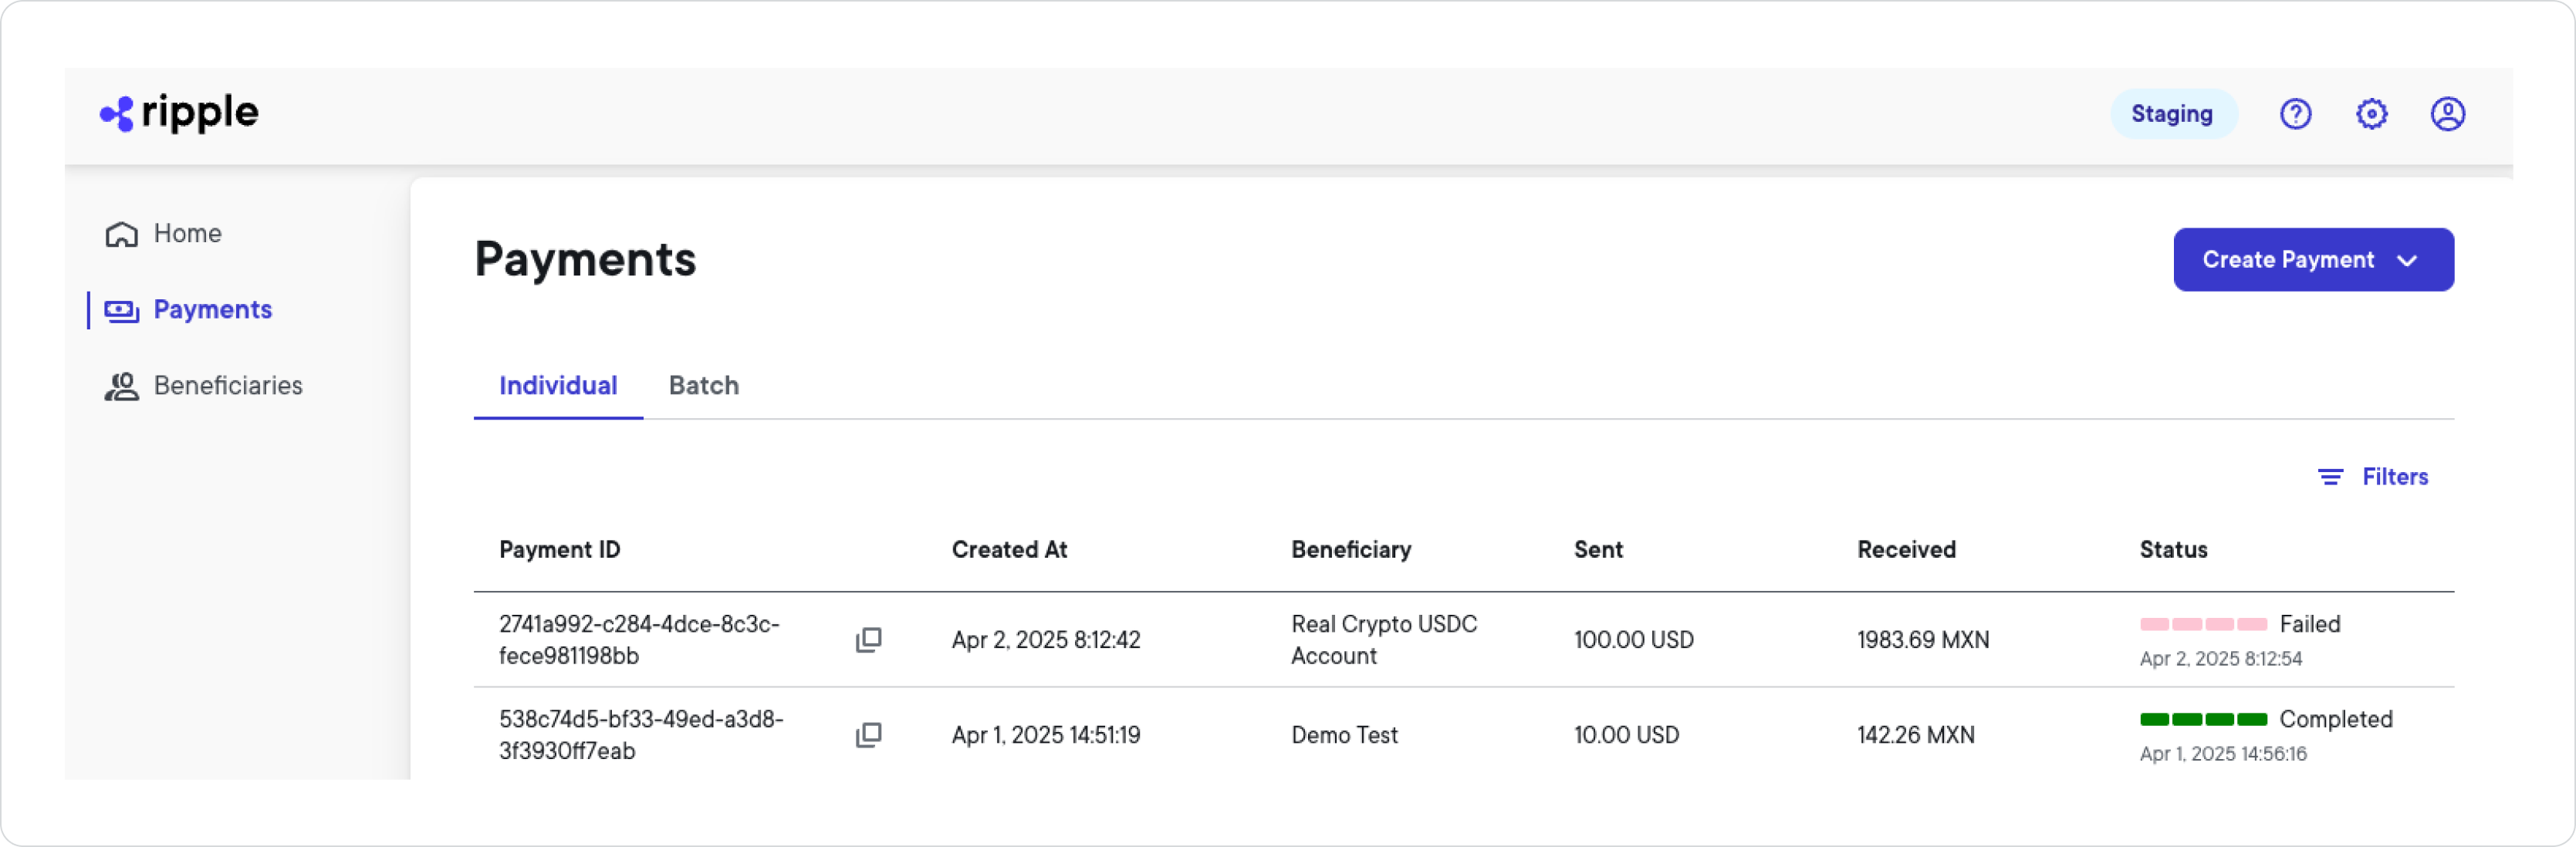
The Create payment button allows you to create a new payment transaction from within the Payments Direct UI. For more information about creating new payments in the Payments Direct UI, see User guides.
The columns in the payment list provide specific information about each payment.
| Column | Description |
|---|---|
| Payment ID | The unique ID assigned to the payment when the payment was created. |
| Created At | The specific date and time corresponding to the payment initiation. |
| Beneficiary | The beneficiary of the payment. |
| Sent | The sending amount and currency of the payment. |
| Received | The receiving amount and currency of the payment . |
| Status | The current status of the payment, represented by a set of four progress bars, followed by the payment state and the date and time of this status change. |
The payments most recently modified are listed first.
If the payment approvals feature is enabled for your account — in other words, a payment requires approval before it can be processed — you can see the Approval log tab. The Approval log displays all submitted payment approval requests and their current status.
For full details on how payment approvals work, including roles, approval statuses, and how to approve or reject a payment, see Payment approvals.
| Column | Description |
|---|---|
| Date | The date and time the payment was submitted for approval. |
| Beneficiary | The beneficiary of the payment. |
| Sending amount | The sending amount and currency of the payment. |
| Receiving amount | The receiving amount and currency of the payment. |
| Initiator | The email address of the maker who submitted the payment for approval. |
| Approval status | The current approval status of the payment: Pending, Approved, Rejected, Cancelled, or Expired. |
| Action | The Review button. Appears only for payments in Pending status. |
Select any payment in the approval log to open the approval review panel, which shows full payment details, quote information, and the complete approval activity history.
The payments list allows you to create your own filters for refining the set of payments displayed. To create a payments filter:
- Select Filters > + Add Filter.
- Select one or multiple filter items from the following:
| Filter | Description |
|---|---|
| Payment ID | Specifies the ID of the specific payment you want to see. |
| Payment State | Selects the payment state you want to filter payments by. The following payment states exist:
|
| Created Date | Specifies a date range based on when the payment(s) you want to filter by were created. Select a predefined date range from the drop-down list or enter a custom date range by selecting the start and end date from the calendar. The following predefined date ranges exist:
|
| Beneficiary ID | Specifies the ID of the beneficiary you want to filter payments by. |
| Beneficiary Nickname | Specifies the nickname of the beneficiary you want to filter payments by. |
| Destination Currency | Specifies the destination currency of the payment you want to filter payments by. |
| End to End ID | Specifies the end to end ID of the specific payment you want to see. |
Enter values for all filter items you selected.
Select Apply.
The payments now only shows payments that match the filter criteria you selected.
Select Filters again to see and modify all active filters.