Managing users and their roles and permissions is essential to keeping Ripple operations secure. The user settings available in the Ripple UI allow administrators to assign granular permissions to each user, giving them the appropriate level of access.
You must log in as an Administrator to access the Settings > Users page to manage user accounts.
Check your permissions in your user profile.
For information about logging into home.ripple.com, including setting your password for the first time, see Log in.
This section describes how to add, edit, and delete user accounts. For more information about user roles and permissions, see User settings below.
To add a new user account:
Using your Administrator's login, log into home.ripple.com and go to the Settings page.
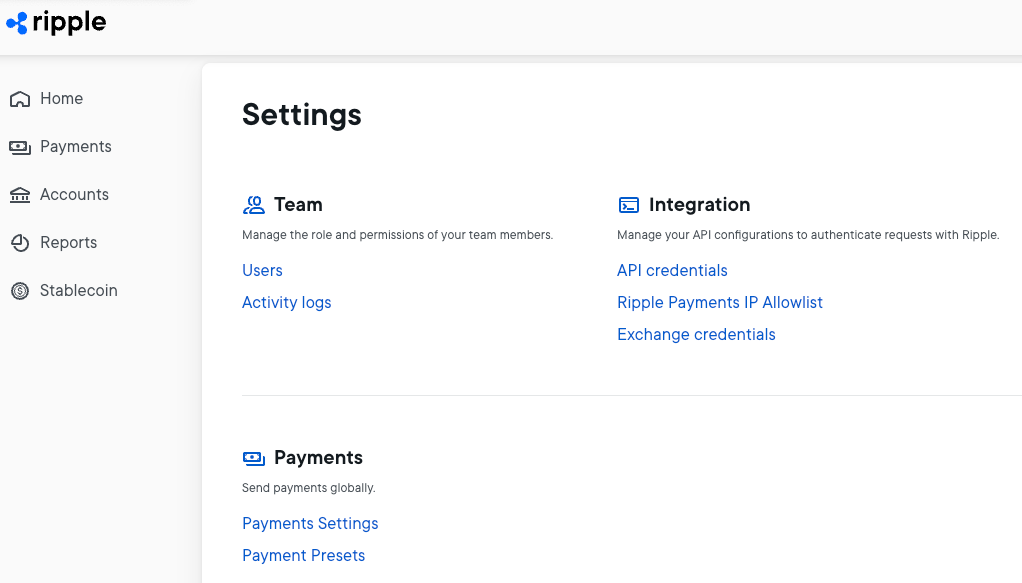
Select Team > Users to display the current list of user accounts.

Select the New User button in the upper right corner to display the New User page.
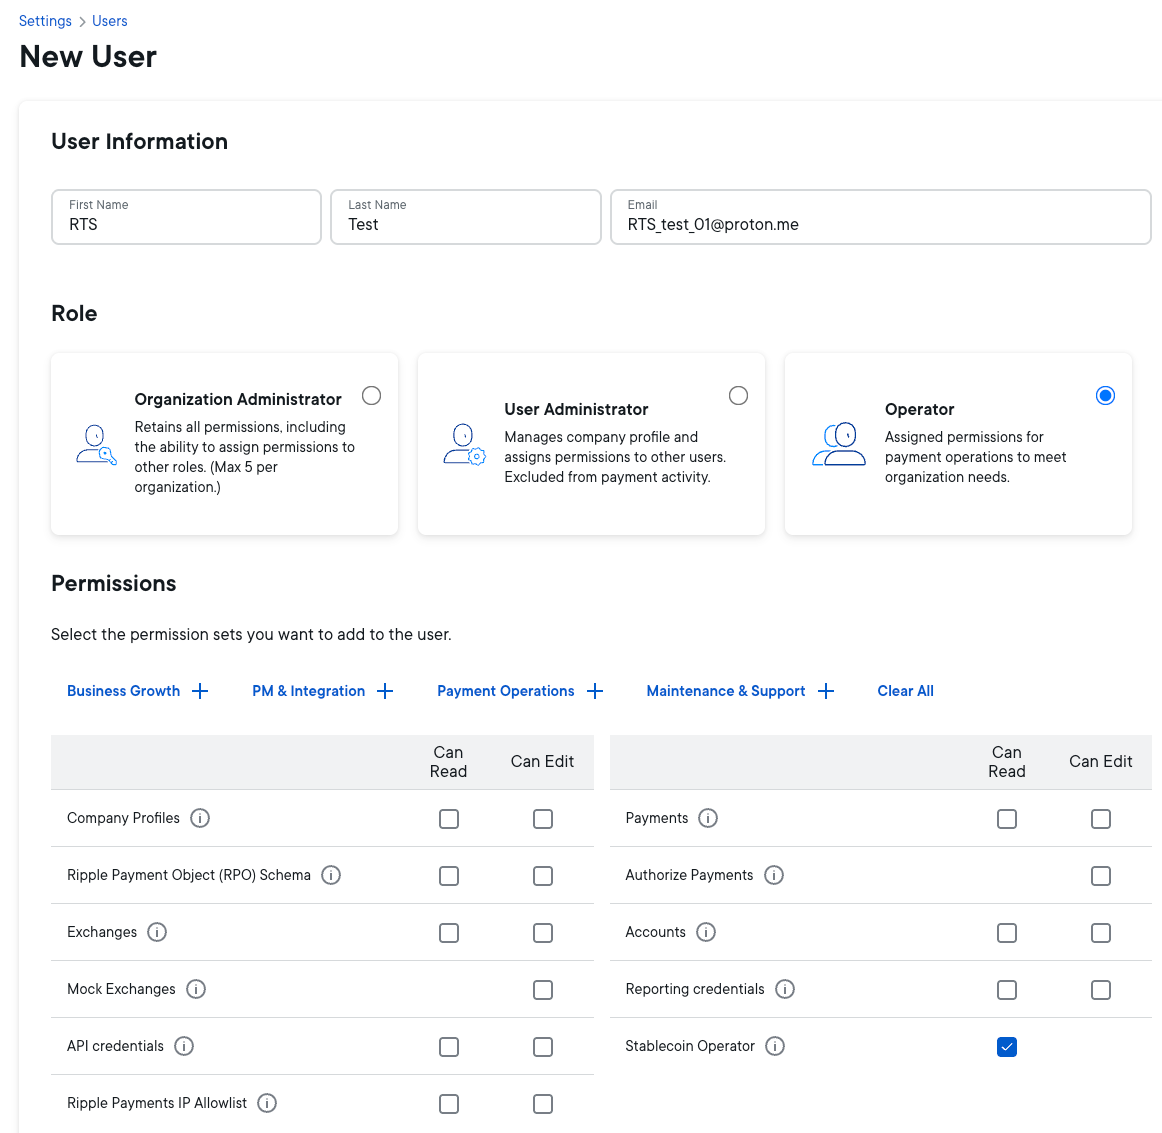
Fill in basic information for the new user account: First Name, Last Name, and Email address.
CautionThe email address cannot be changed once the user account is created — this is the permanent username for this account, and must stay the same for authentication purposes. To complete the account creation process, this is the email address that Ripple uses to contact the user to set up a password.
Select a Role — for most users this should be Operator. For more information, see Roles below.
Operator role only:
Start by choosing one of the four permission sets that most closely describes the type of activities this user will perform. This turns on the permissions granted for that permission set. For more information, see Permissions below.Note- To modify a set’s permissions, select the checkboxes for permissions you want to turn on or off.
- If you don't want to begin with a permission set, you can set permissions from scratch by selecting checkboxes of permissions you want.
Select the environments you would like this user to access. For more information see Environments below.
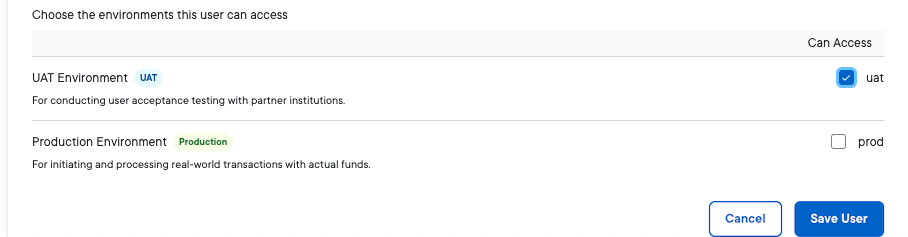
Select Save User at the bottom of the page.
This displays the Users page and lists the new user account.
Whenever you create a new user account, your Ripple instance sends an email to the user with subject line Welcome to Ripple! including a link to the Onboarding home page, and a second email with subject line Set your Ripple Onboarding account password and a link for setting up a password. It’s up to the new user to complete the creation of their new account using the emailed credentials. For more information, including requirements for setting the password, the user can go to Log in.
To edit an existing user account:
Using your Administrator's login, log into home.ripple.com and go to the Settings page.
Select Team > Users on the Settings page.
Find the user account you want to modify and select the user name link.
Edit the account parameters. For information about roles, permissions, and environments, see Roles, Permissions, and Environments below.
NoteYou can’t change the email address. It must remain the same for authentication purposes.
Select Save User to save your changes.
To delete an existing user account:
Using your Administrator's login, log into home.ripple.com and go to the Settings page.
Select Team > Users on the Settings page.
Find the user account you want to modify and select Delete User to the right.
This section provides more details on the roles and permissions you can set as the Administrator in the New User and Edit User pages.
The following roles are available in the Settings > Users page:
| Role | Description |
|---|---|
| Organization Administrator | A user in this role is automatically assigned all available permissions. |
| User Administrator | A user in this role may be assigned permissions by an Organization Administrator. |
| Operator | A user in this role may be assigned permissions by an Organization Administrator or User Administrator. |
If you are an Organization Administrator, you can perform the following user management actions from the Settings > Users page:
- Add a new user account
- Edit a user account
- Delete a user account
An institution can only have five Organization Administrator accounts with full permissions.
The following user permissions are available in the Settings > Users page:
| Permission | Description |
|---|---|
| Company Profiles | Ripple Payments partner company profiles and public information. |
| Ripple Payment Object (RPO) Schema | Repository of RPO schemas within each company profile. |
| Exchanges | (ODL only) Credentials for connected Digital Asset Exchanges. |
| Mock Exchanges | (ODL only) Accounts for exchange connection tests. |
| API Credentials | Credentials for connecting to your Ripple Payments instance. |
| Ripple Payments IP Allowlist | IPs that allow your team to connect to your Ripple Payments instance. |
| Payments | Access to payments in test, UAT, and production environments. The Edit permission enables users to initiate payments. |
| Authorize Payments | Users with this permission may authorize or reject payments that have been initiated. |
| Accounts | Access to both sender and receiver accounts involved in Ripple Payments. The Edit permission enables you to create, edit, and manage accounts. |
| Reporting Credentials | (Ripple Payments On-prem only) Credentials that allow you to access usage reports. |
For a user with the Operator role, select one of the four permission sets Business Growth, PM & Integration, Payment Operations, or Maintenance & Support to use preselected read/edit permissions. You can always modify the preselected permissions.
The Settings > Users page lets you choose different environments that a user can access, corresponding to the different phases of your implementation.
The environments are defined as follows:
| Environment | Description |
|---|---|
| Test | An environment that developers can use when integrating with Ripple, and has no production consequences. |
| UAT | A user acceptance testing environment with simulated transactions. |
| Production | The production environment, where the transfer of actual funds takes place. |
In many cases, only the UAT and Production environments are available. The Test environment is only available for some products, and can change regularly as integration proceeds.
Whenever a UI page offers activities that can take place in different environments that the user has access to, an environment dropdown is displayed at the top of the page, allowing the user to choose the environment in which to work.

Some activities, such as managing users, occur in all environments so there’s no environment choice on a page offering these activities. These activities have real-world consequences, but you can usually undo them (for example, by deleting a test user).