Use this page for gas station operations in the Ripple Custody console. For API procedures, see Manage a gas station with the API. For the sponsorship model, see Gas Station.
These steps describe the new Ripple Custody console — the interface with the Home, Intents, Accounts, Endpoints, and Transactions navigation. The console displays the Gas station pages only when the HMZ_FEATURE_GAS_STATION deployment flag is enabled. On-premise operators set the flag in the deployment configuration; Ripple manages deployment flags for SaaS.
| Action | UI procedure |
|---|---|
| Create a gas station | Create a gas station |
| Check balances | Check gas station balances |
| Fund the gas station | Fund the gas station |
| Release quarantined funding | Release quarantined transfers |
| Configure sponsorship and alerts | Configure sponsorship |
| Manage sponsored accounts and domains | Manage sponsored entities |
| View funding activity | View funding transactions |
A gas station acts as a sponsor: it holds native gas tokens — such as ETH, SOL, TRX, XRP, POL, BNB, or AVAX — and pays transaction fees for your other accounts, so wallets that hold only tokens can operate without manual native-token funding.
Before you create a gas station, confirm that you have:
- A vault in the domain to protect the account keys.
- Permission to propose account-creation intents in the domain.
To create the gas station:
In the left navigation, select Accounts.
Select Create account.
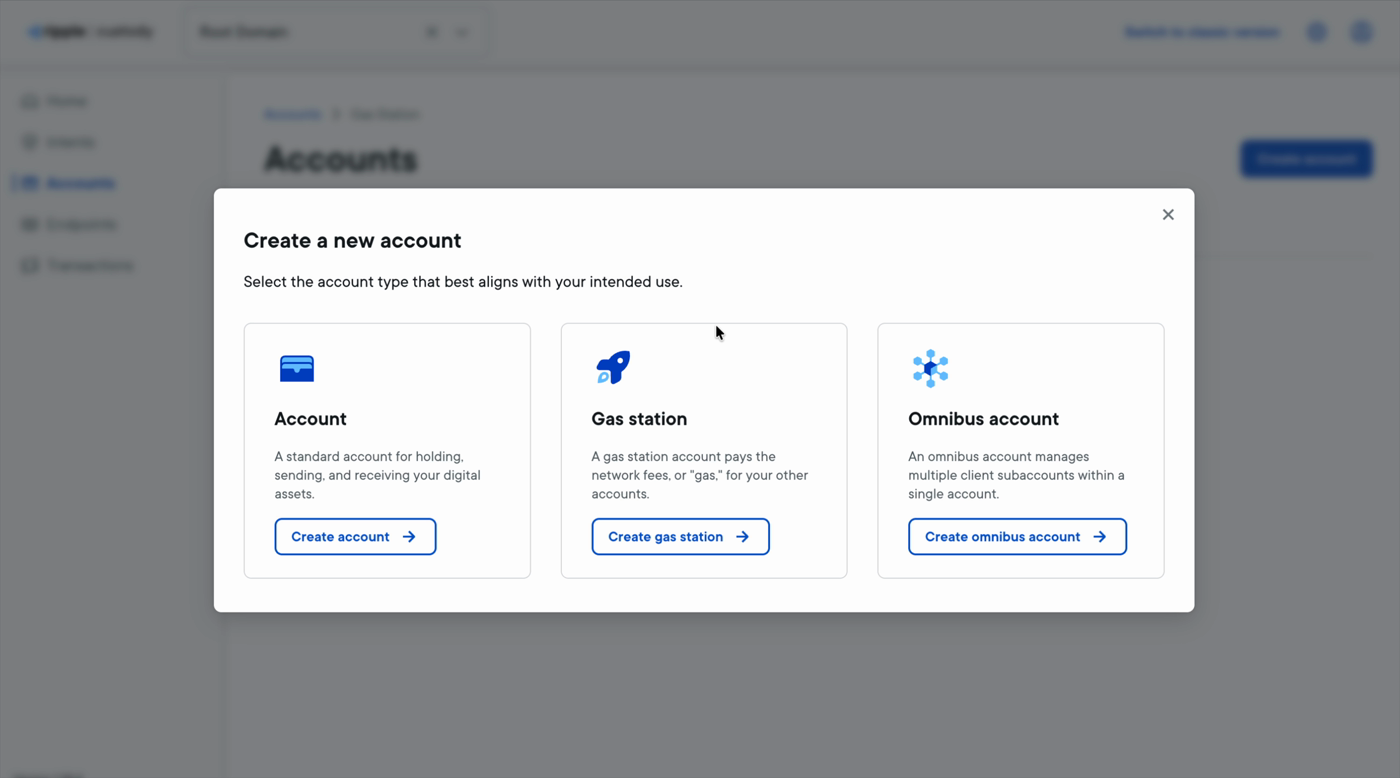
In the Create a new account dialog, select Create gas station.
Under Account details, enter an account name that reflects the account's function, and optionally select Add a description.
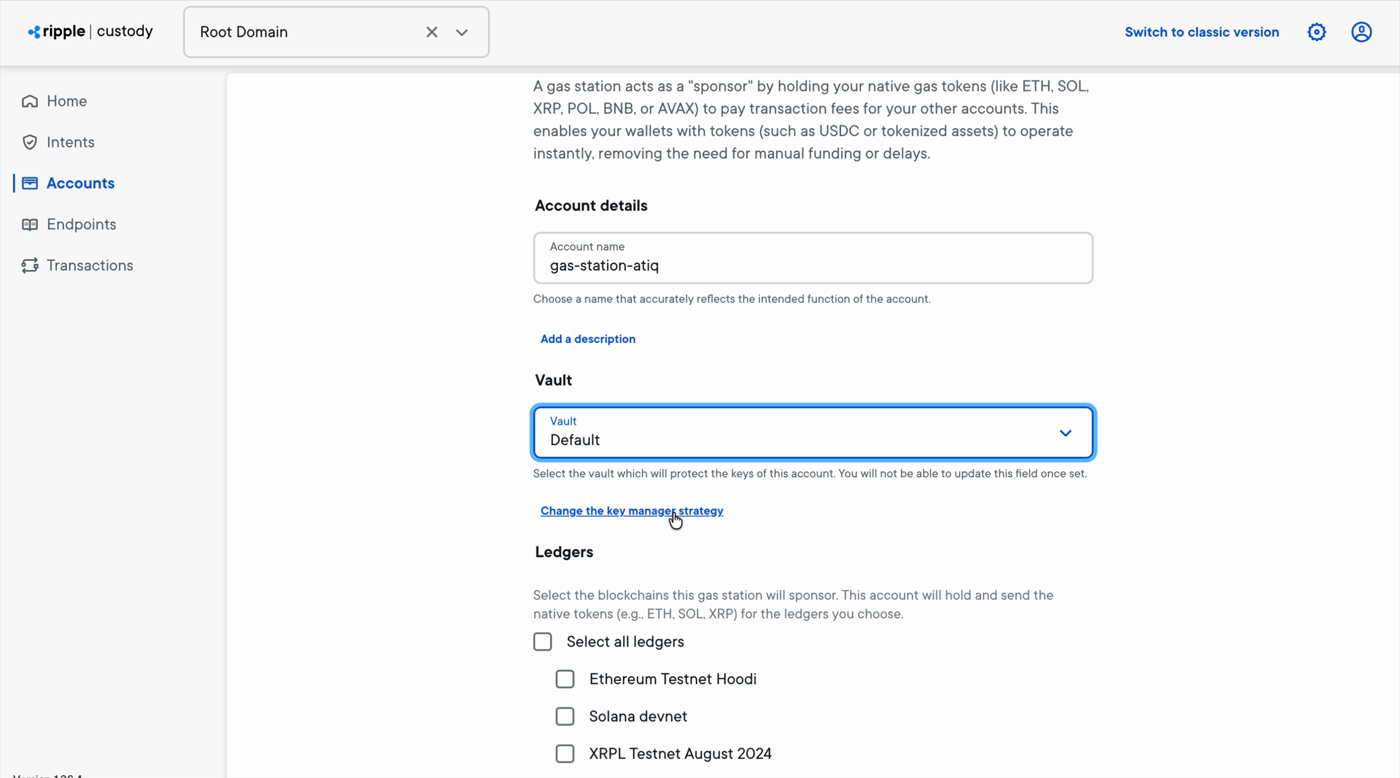
Under Vault, select the vault that protects the keys of this account. You can't change the vault after you create the account. To change the key manager strategy, select Change the key manager strategy.
Under Ledgers, select the blockchains this gas station sponsors. The gas station holds and sends the native token of each ledger you select. Select Select all ledgers to sponsor every available ledger.
Optionally, under Custom properties, select Add custom property to add key-value properties.
Under Initial lock status, select Unlocked or Locked.
Select Next, review the details, and submit.
The console submits a Create account intent and shows the All set! confirmation.
Once submitted, the intent is subject to your organization's policies: it requires signing and the approvals your policies define before Ripple Custody creates the account. Track its progress from the confirmation screen with View intent, or in the Intents view.
After the intent executes, the gas station appears on the Gas station tab of the Accounts view, which shows its sponsorship coverage, balance status, and lock status at a glance. Open it from there to reach its detail page — the header shows the Gas station badge and quick actions: Deposit and Release quarantined transfers.
The Overview tab lists the gas station's native-token balance on each ledger, with the total, reserved, and quarantined amounts and the asset's lock status. Select an asset row's actions menu to view details, transfer, deposit, or deny the asset. Filter the list by ledger.
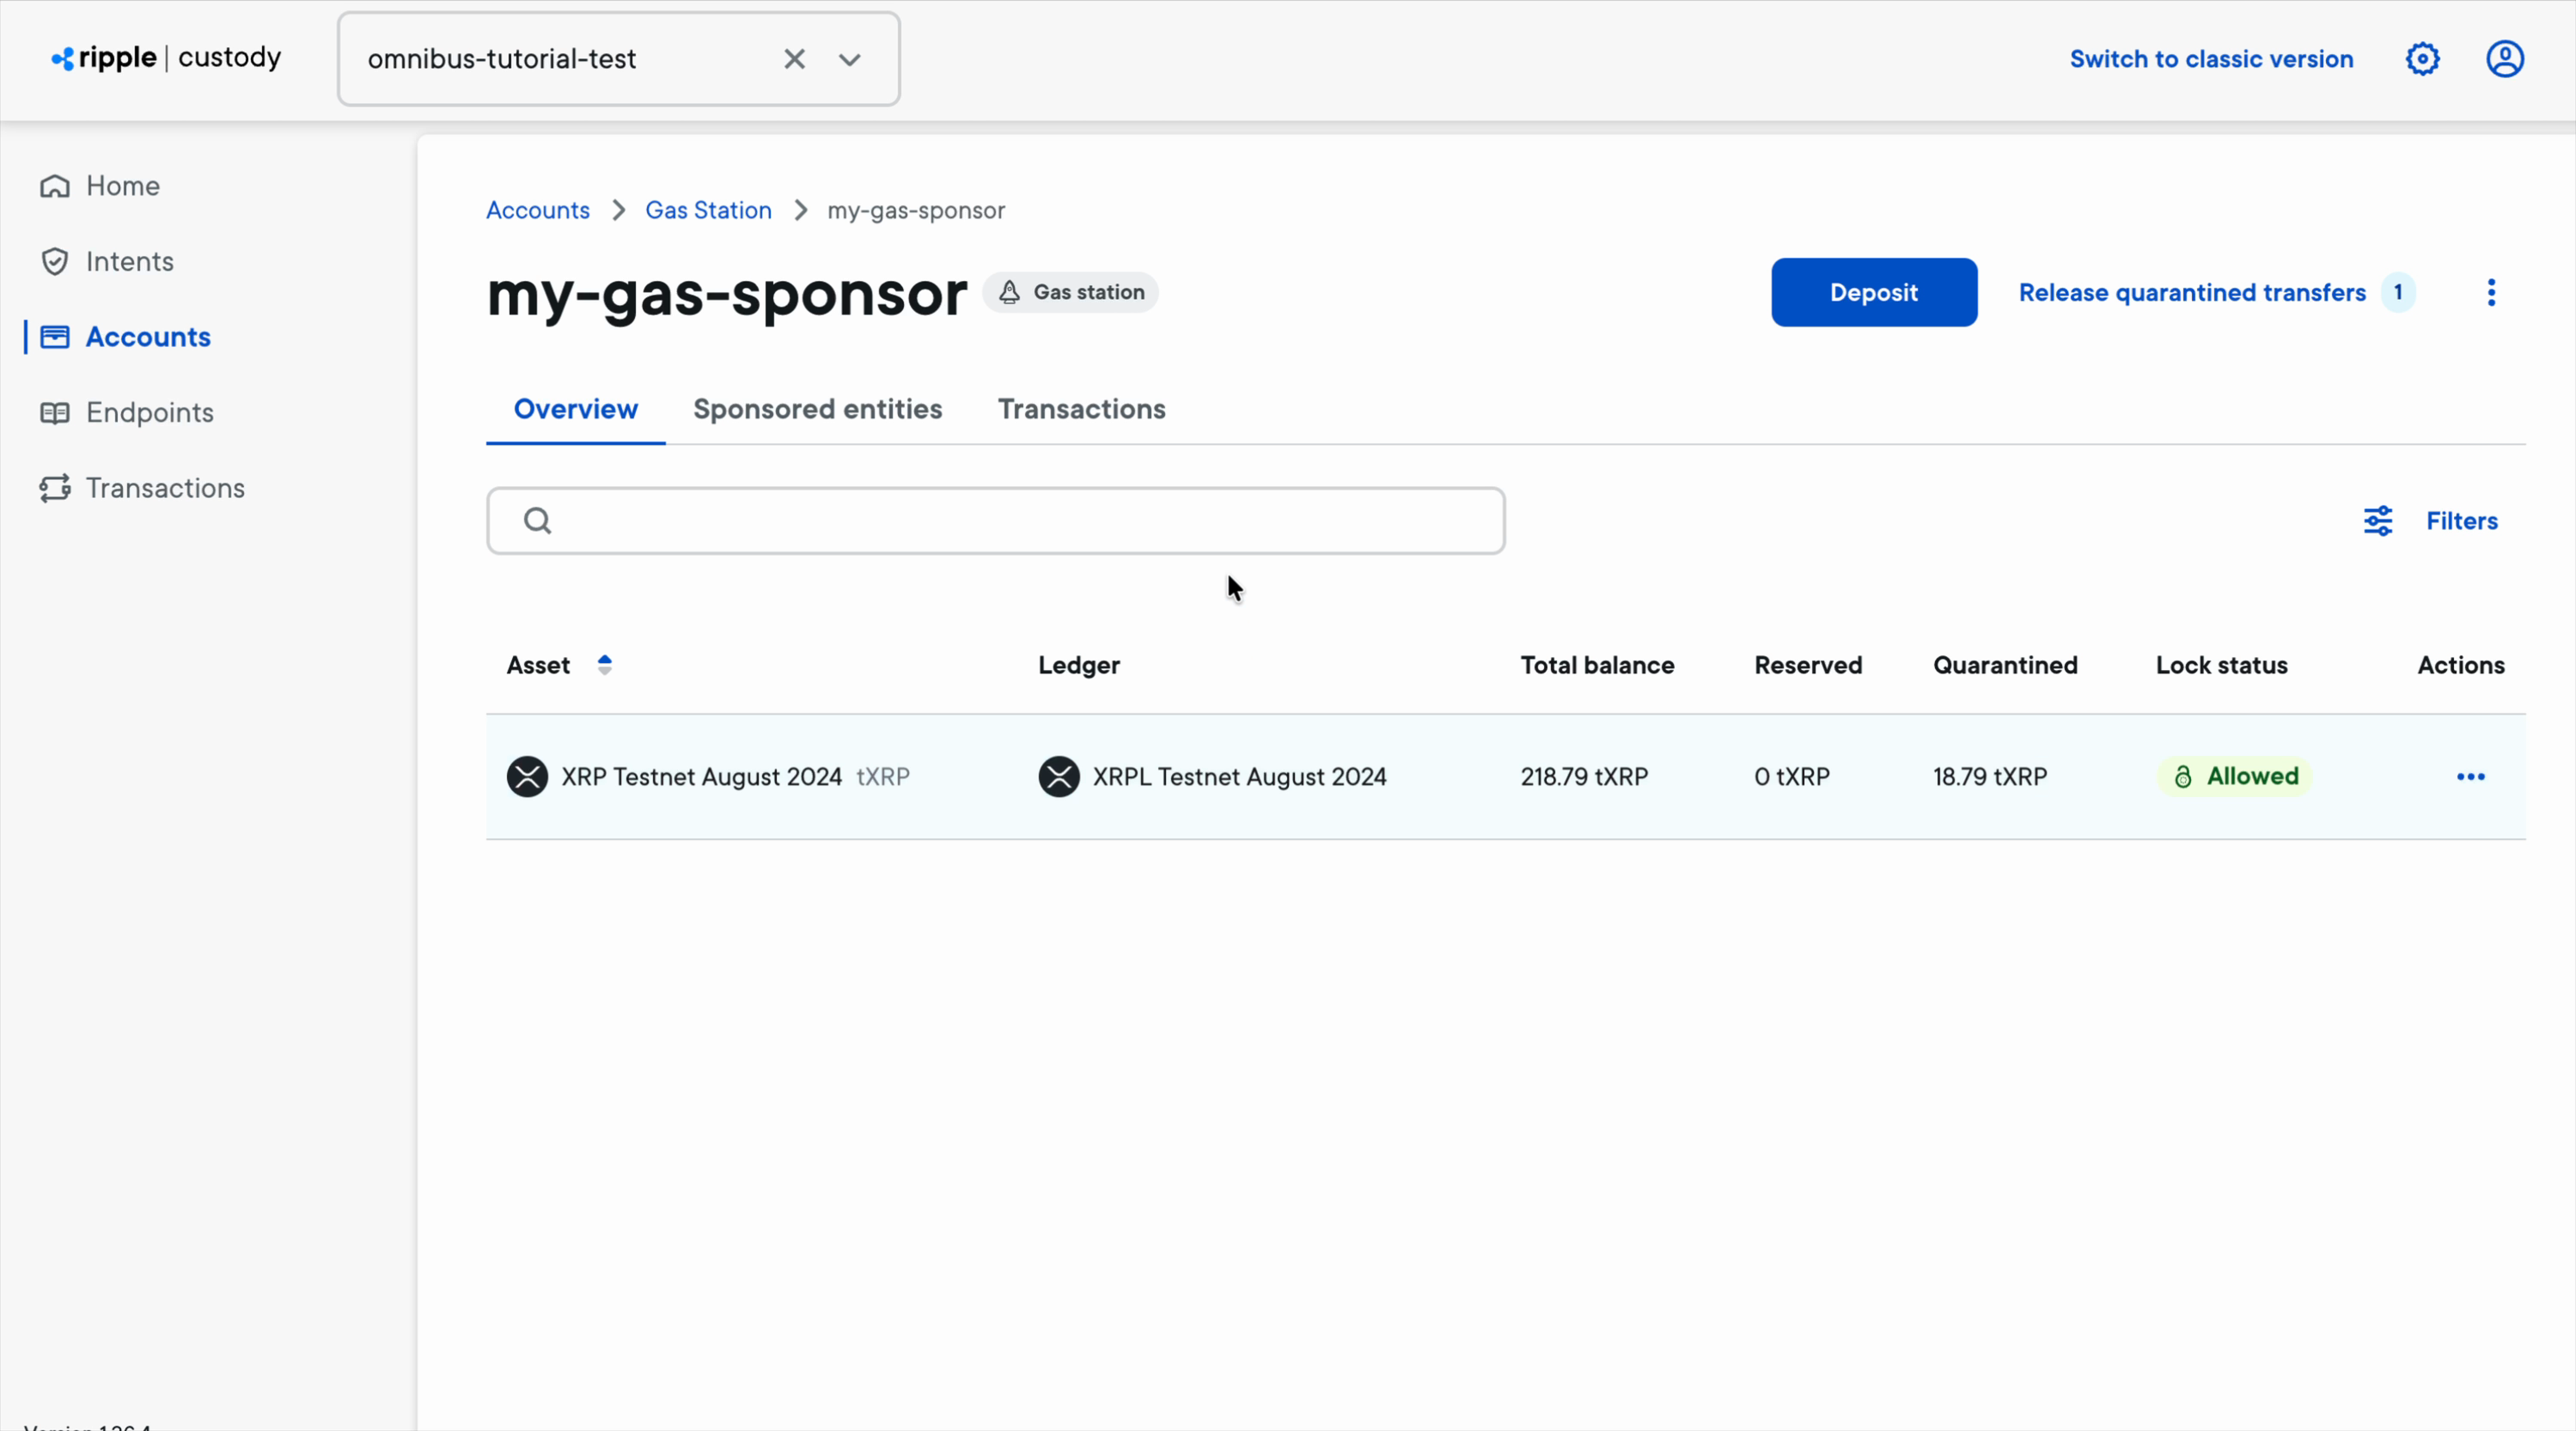
- Select Deposit to open the Quick transfer dialog.
- Choose the source account, the amount, the destination, and the fee priority.
- Select Submit for approval.
The transfer is an intent and follows your organization's policies.
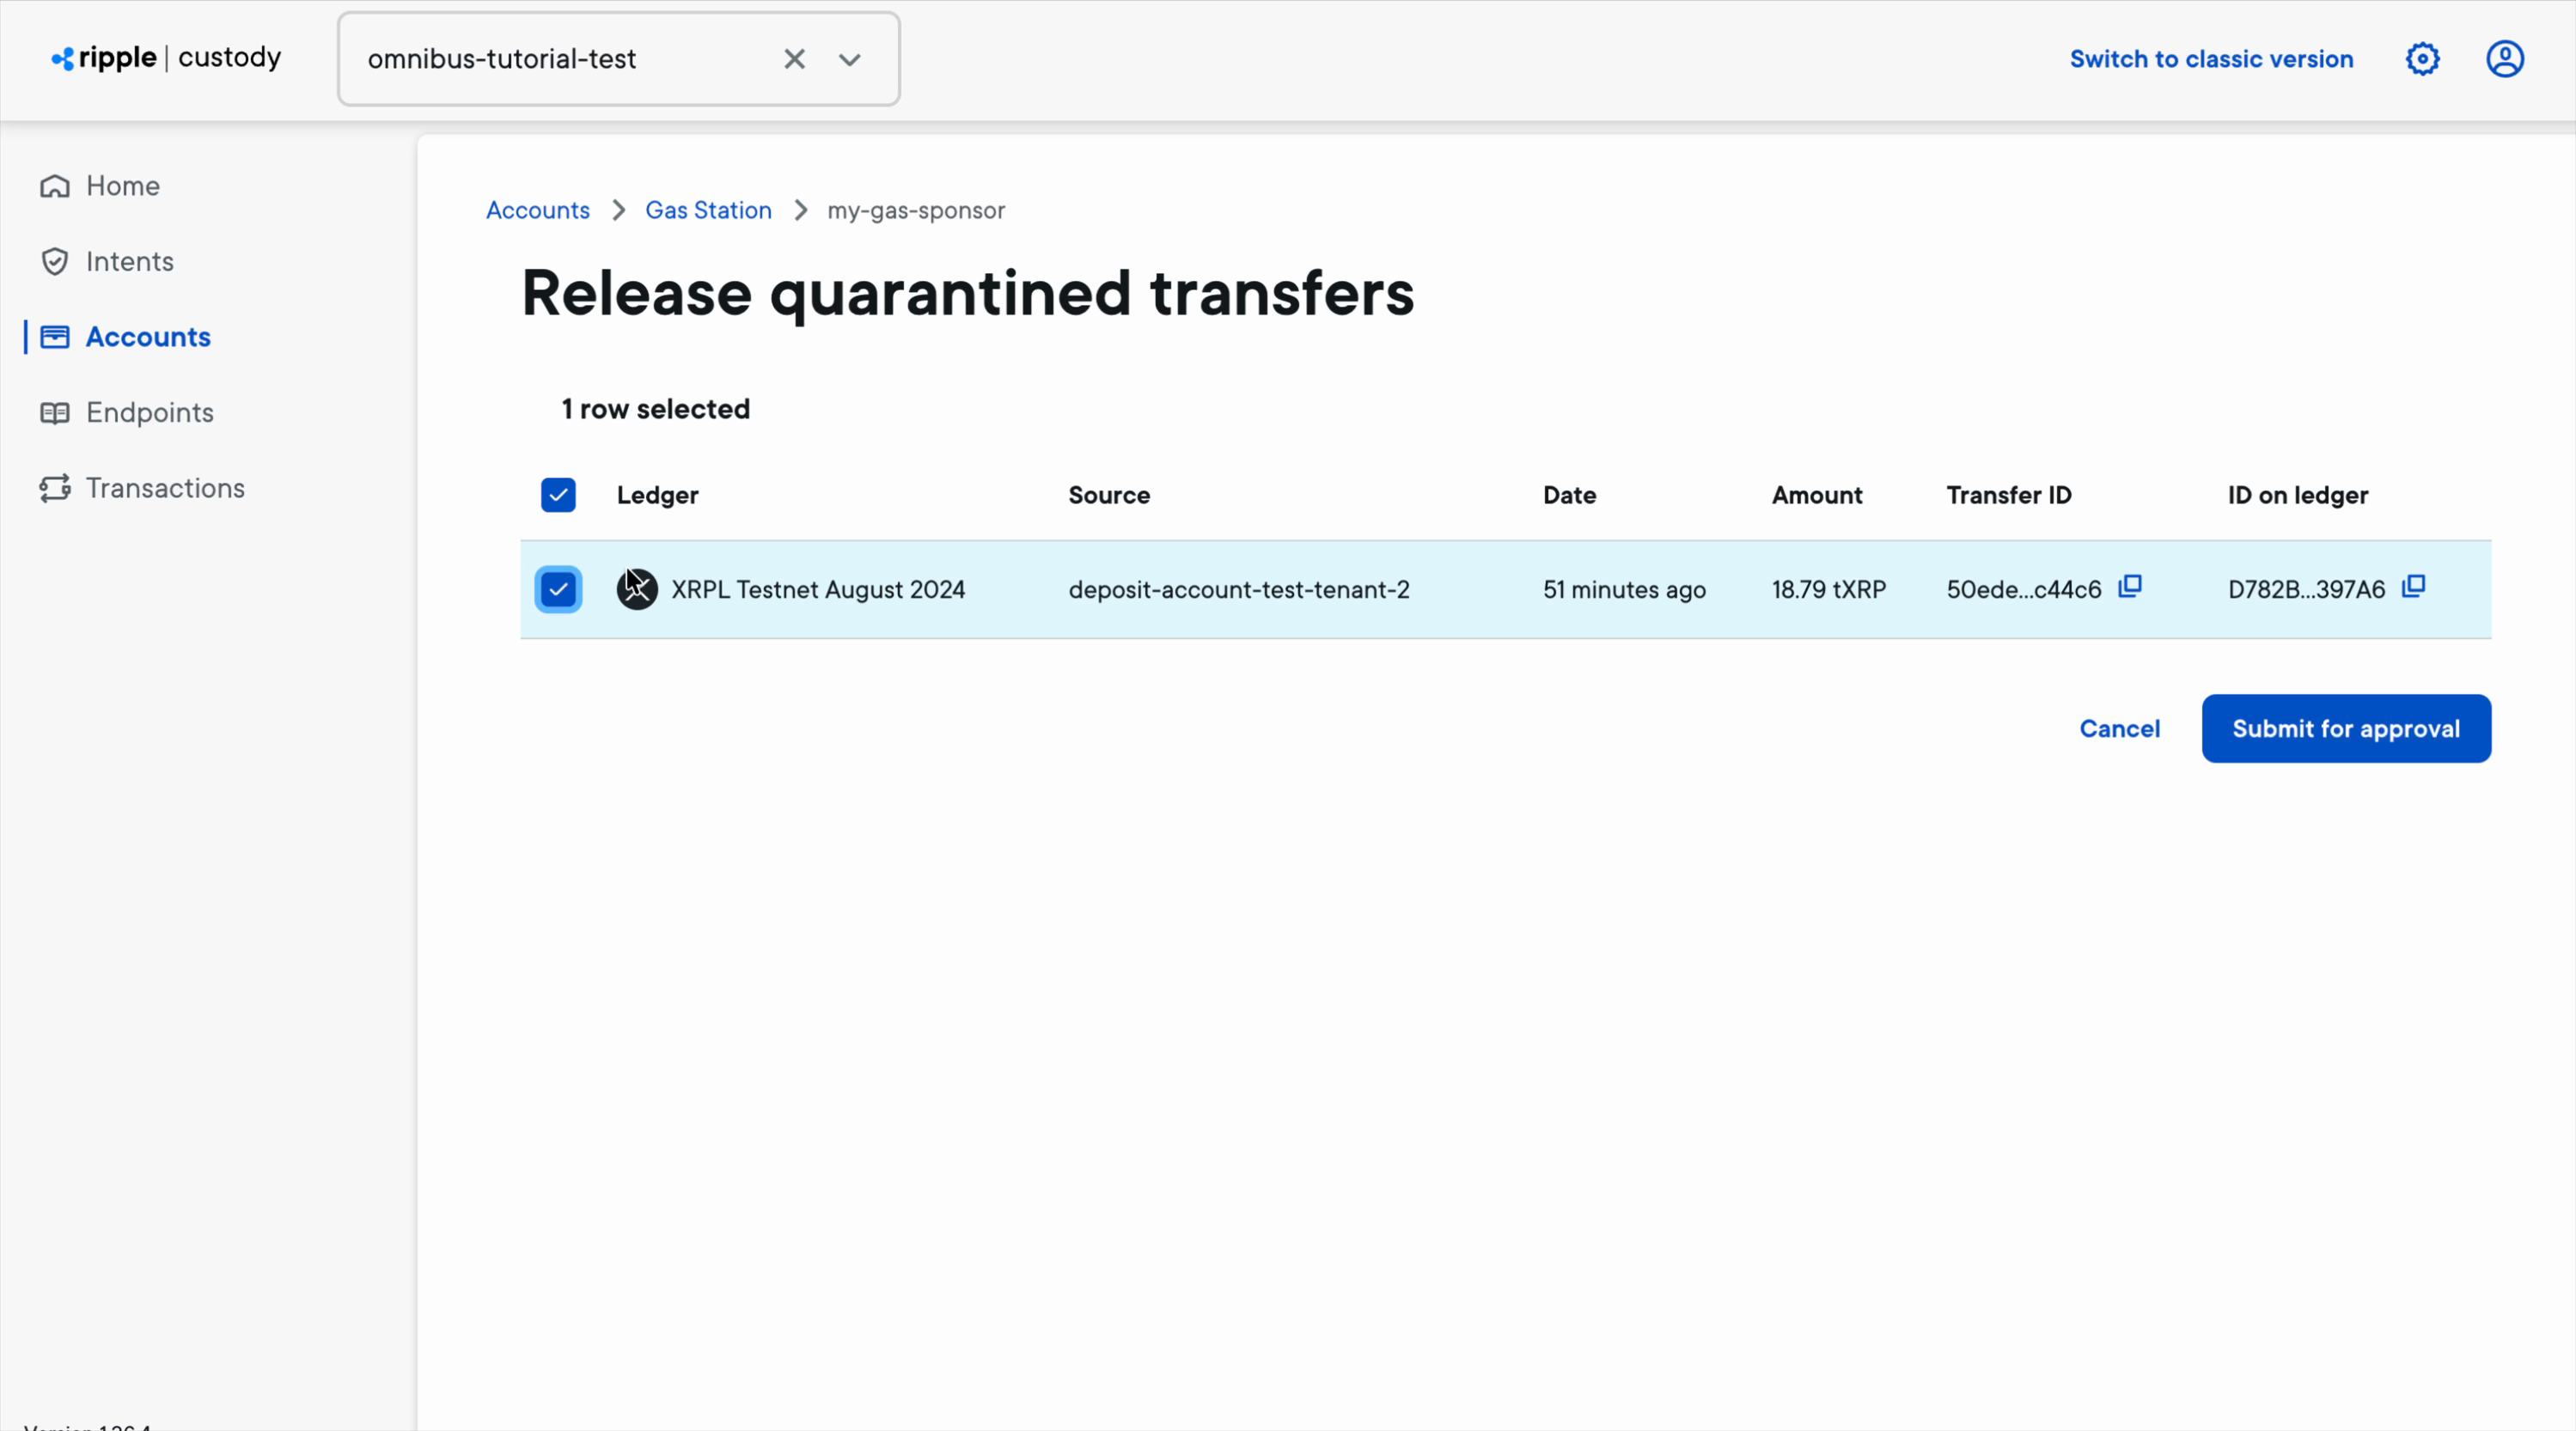
If transaction screening holds incoming funding, the Release quarantined transfers counter in the header shows it. The gas station can't spend quarantined funds, so release them before you rely on sponsorship.
- Select Release quarantined transfers.
- Choose the transfers to release.
- Select Submit for approval.
To release transfers automatically, configure an automatic quarantine release policy.
From the gas station's Sponsored entities tab, select Configure sponsorships to define the sponsorship configuration: whether the gas station sponsors specific accounts or a domain, whether domain sponsorship includes subdomains, and the low-balance alert thresholds per ticker. Submitted changes follow your organization's approval flow.
For the field semantics — sponsorship types, precedence, and alertLimit behavior — see Configure sponsorship in the API procedures.
The Sponsored entities tab lists the accounts and domains this gas station sponsors.
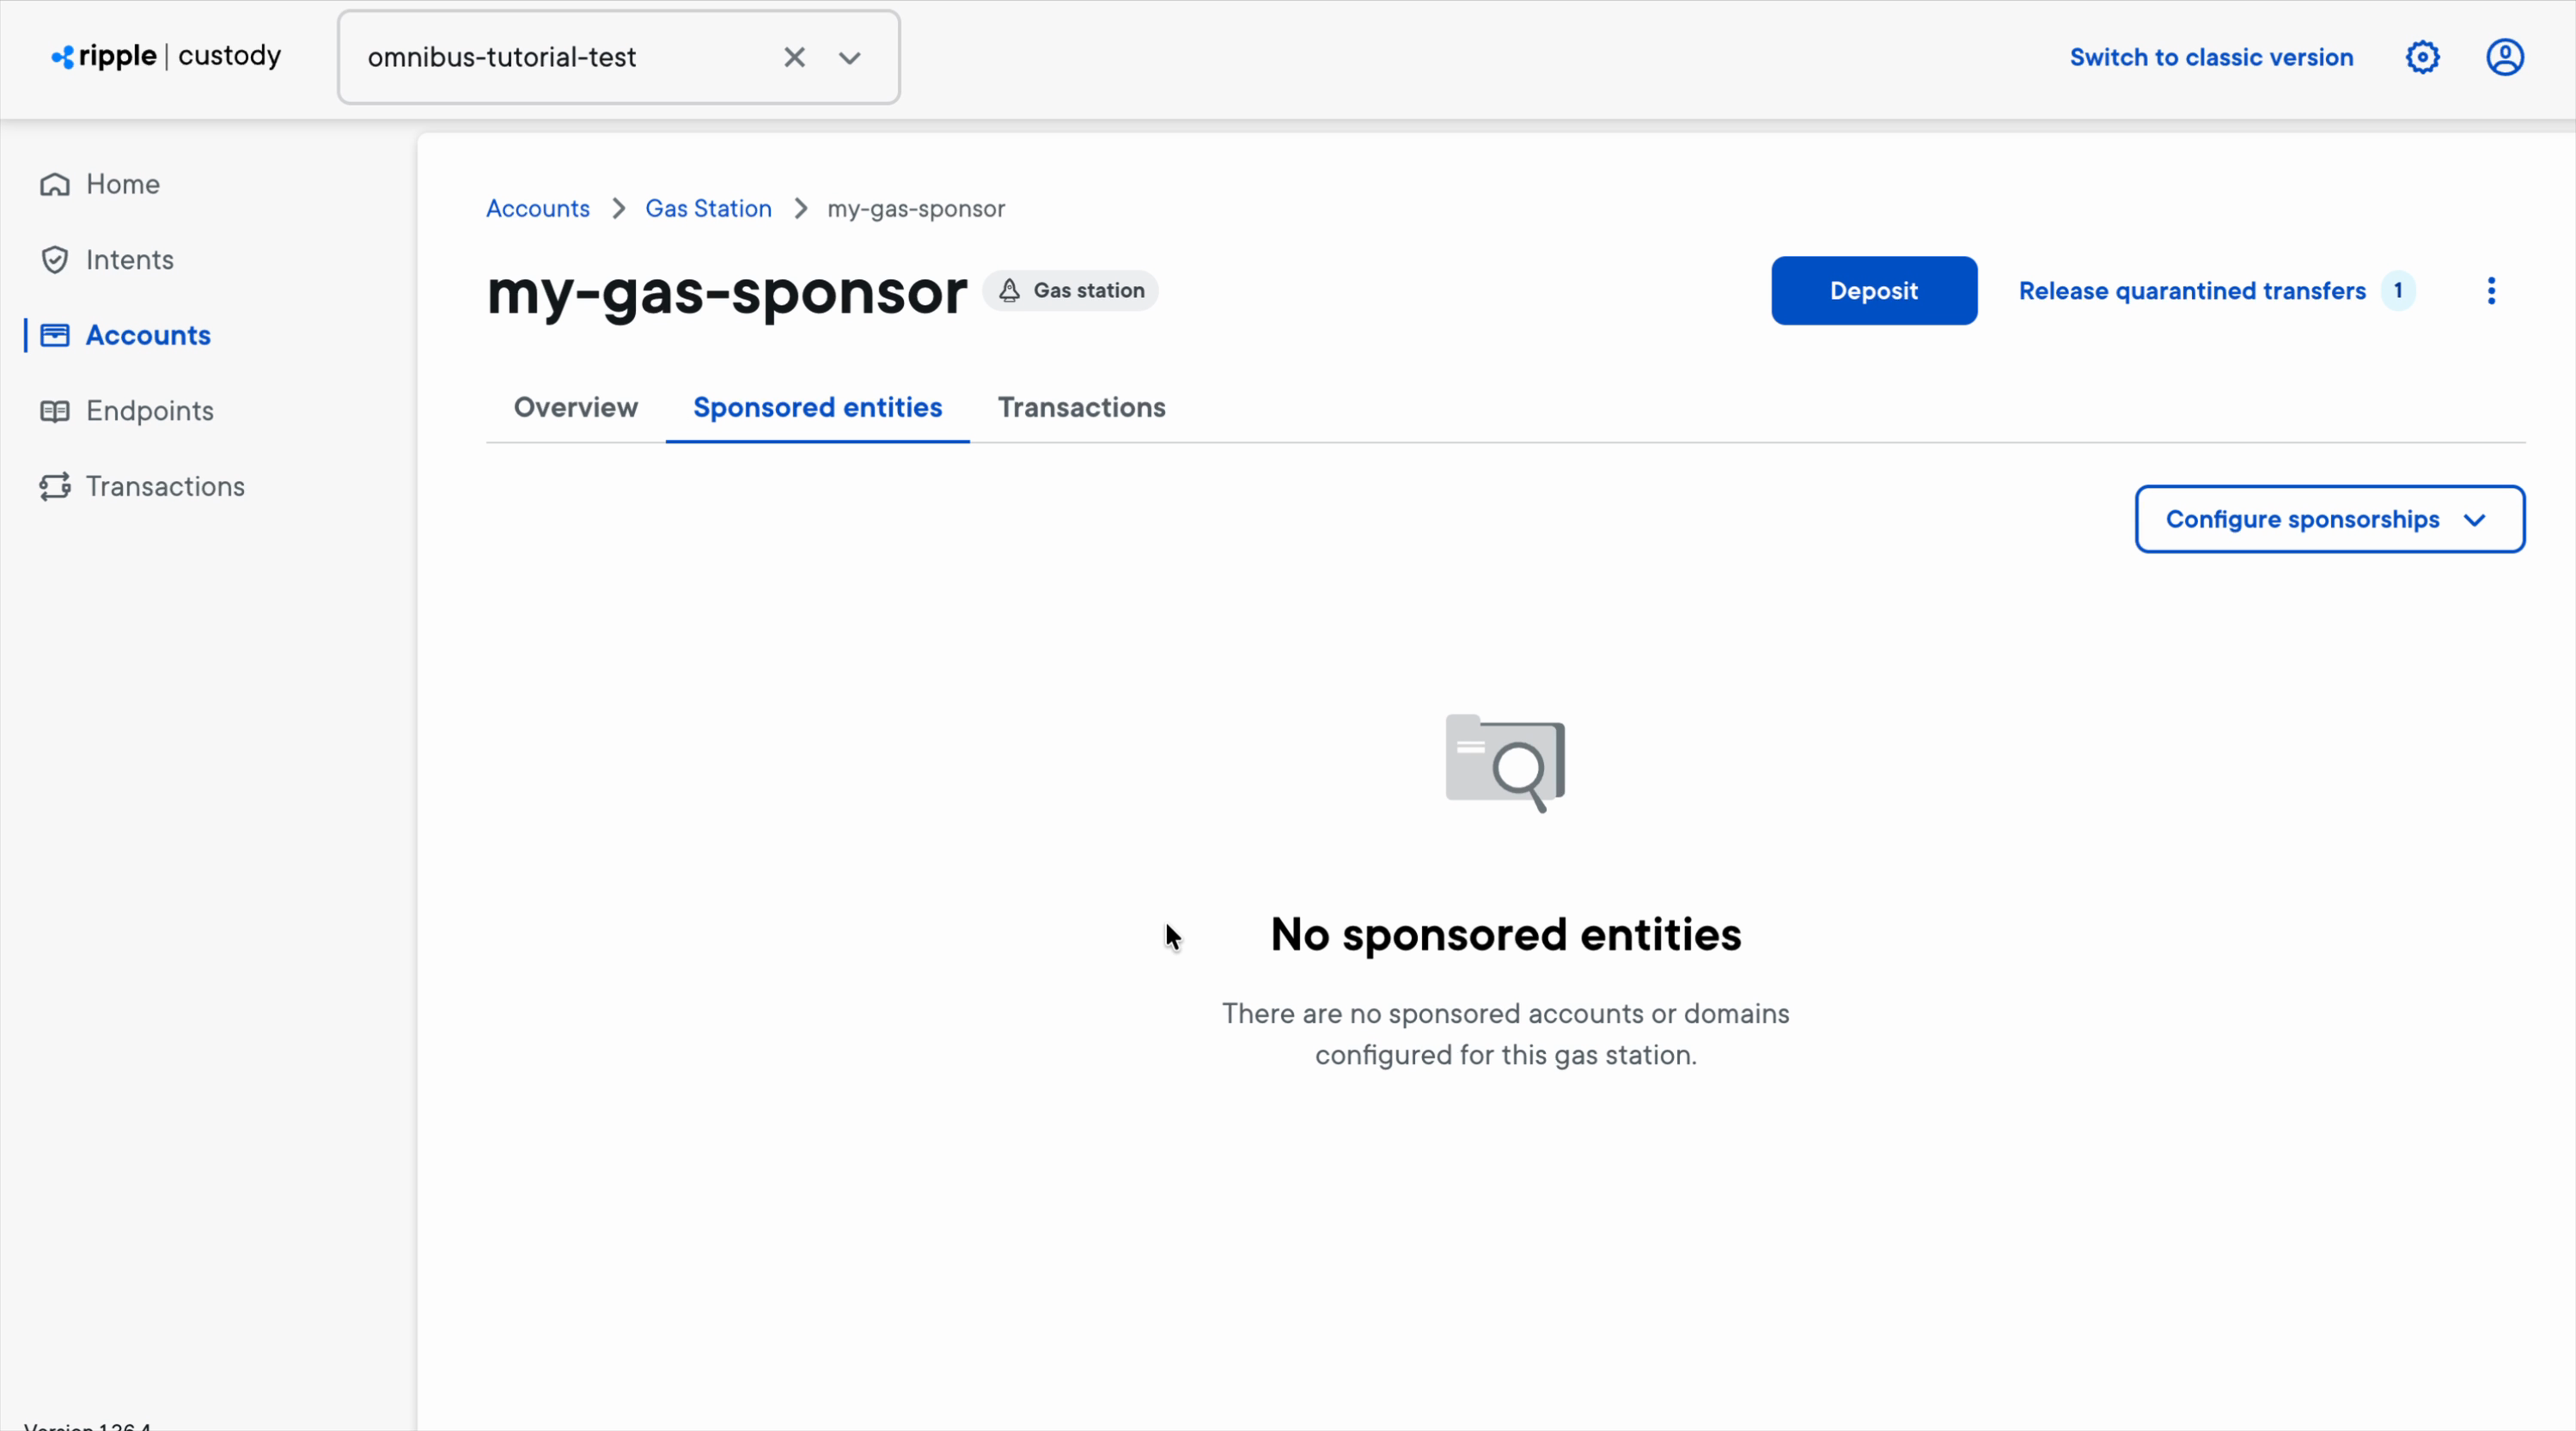
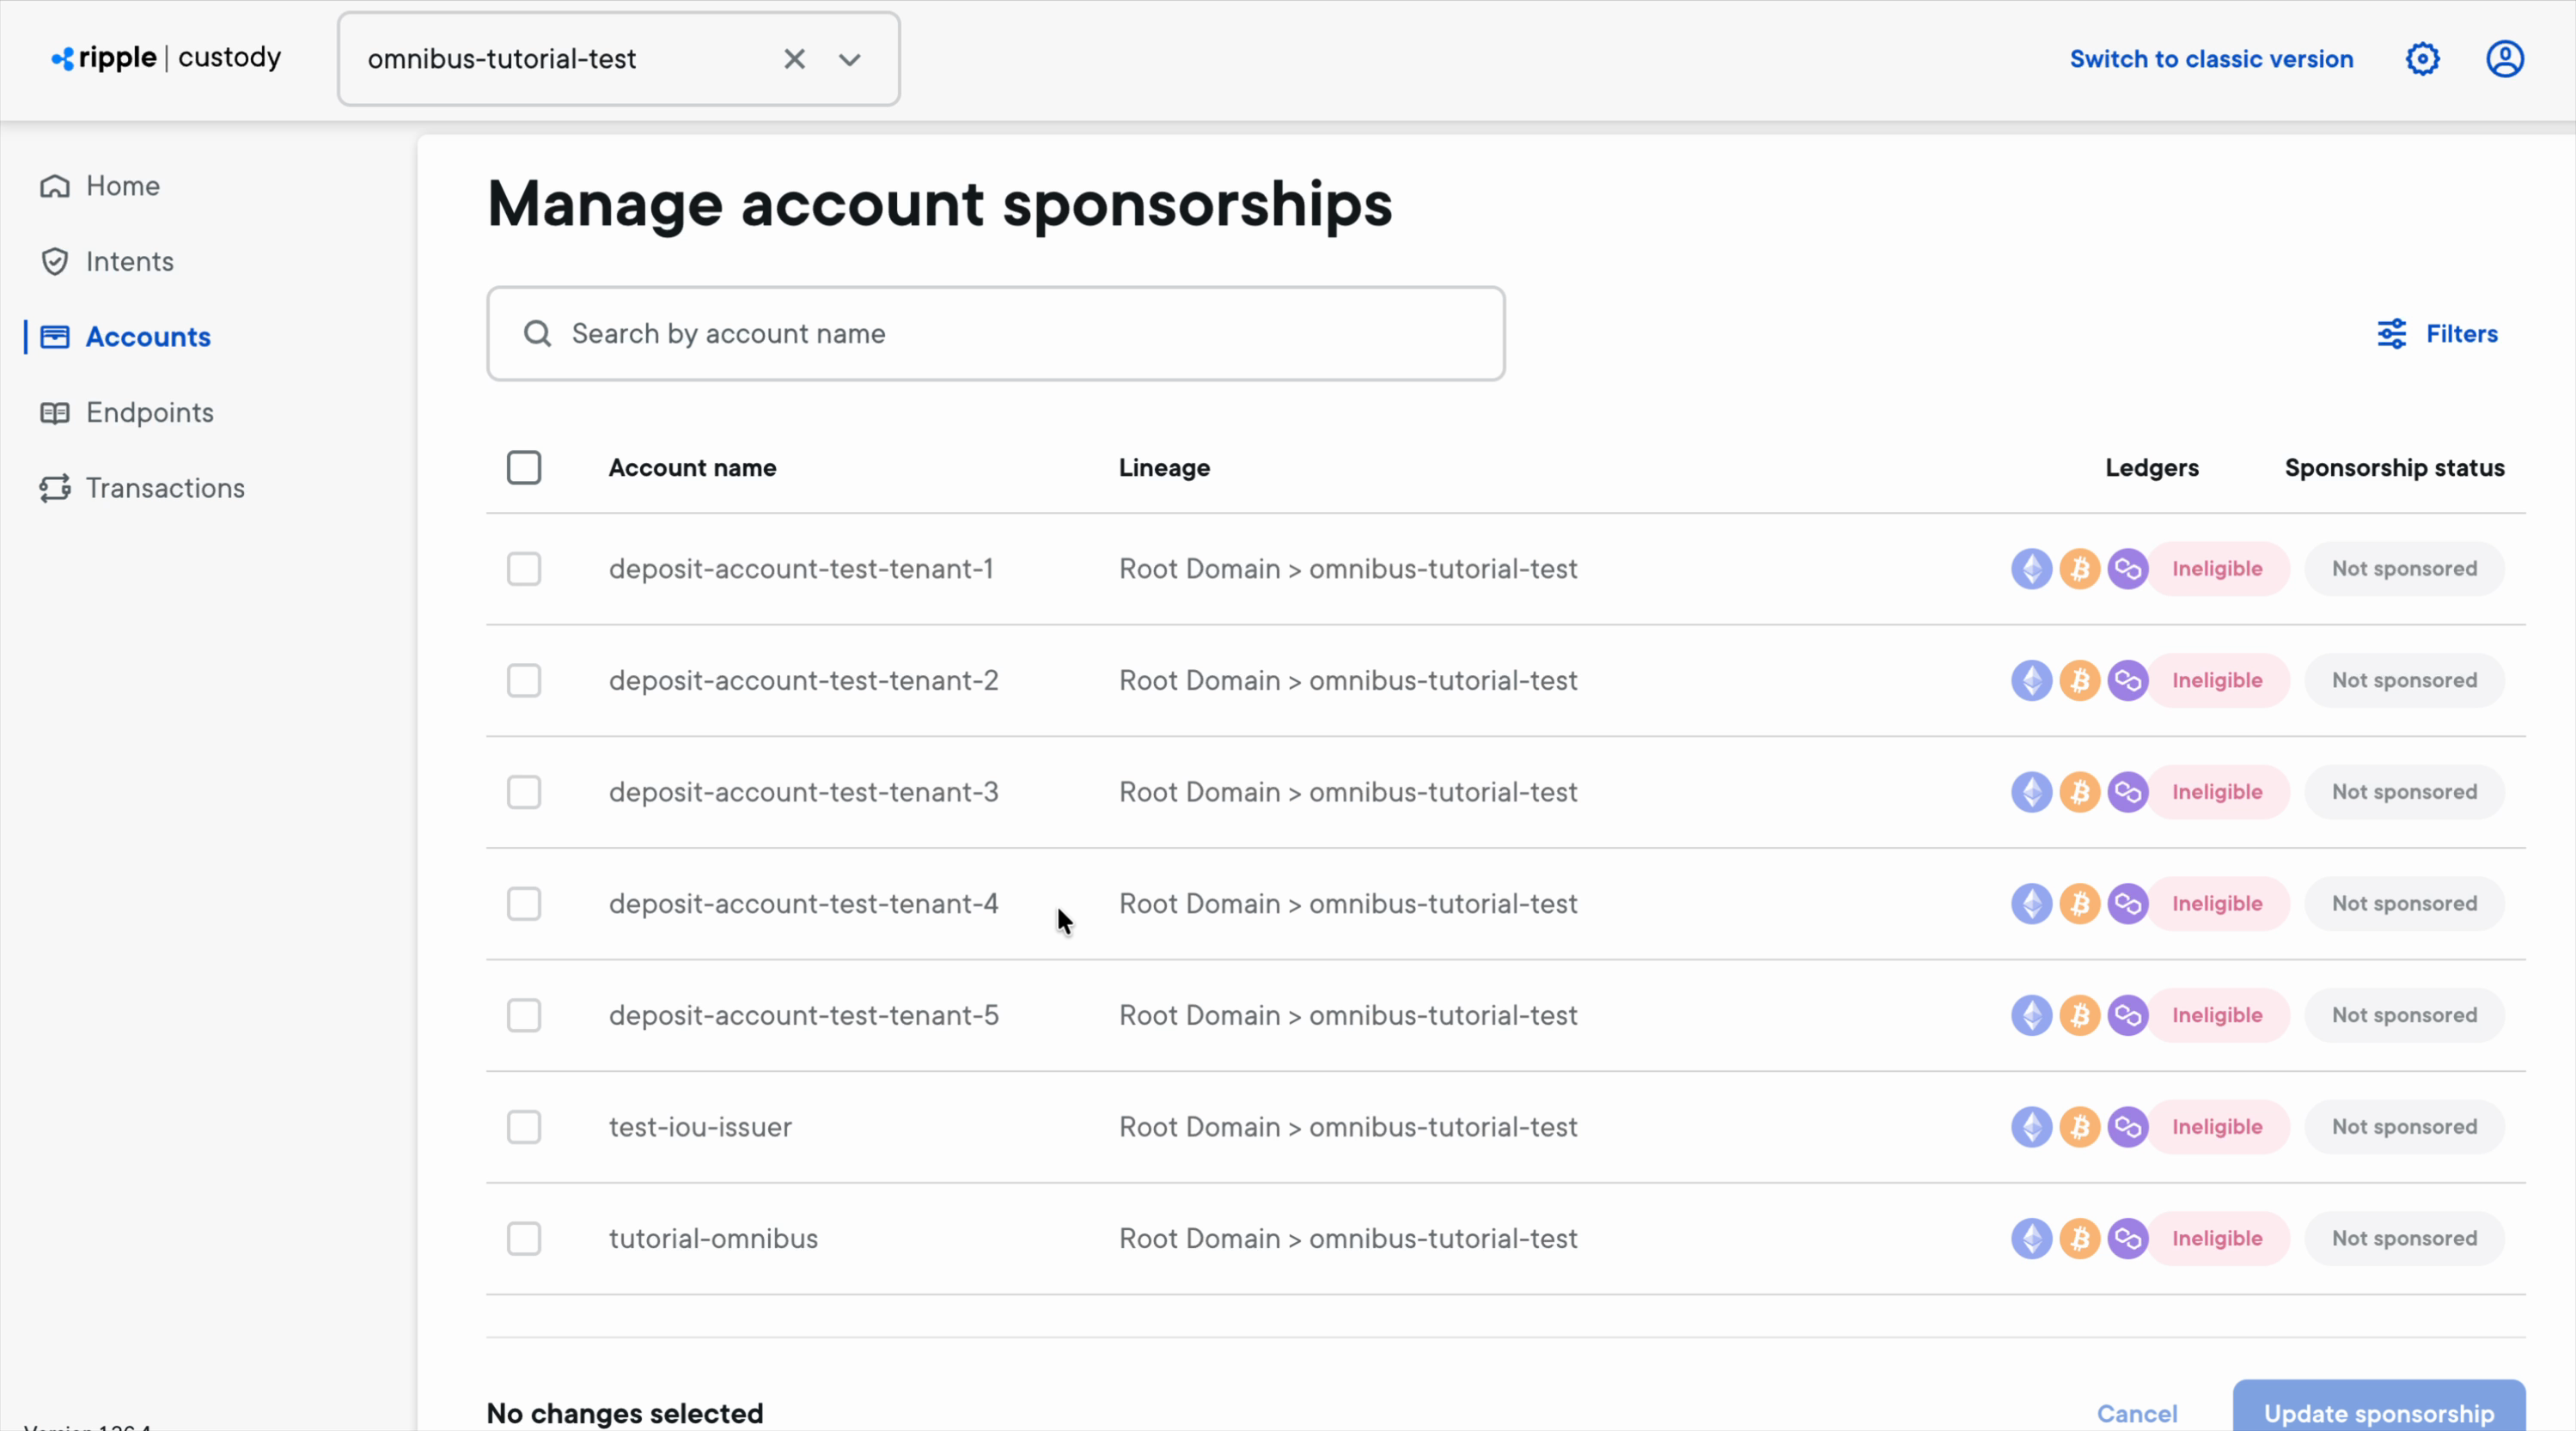
- Select Configure sponsorships to open the Manage account sponsorships page.
- Review each account's domain lineage, ledgers, eligibility, and current sponsorship status. An account is eligible only when it shares a ledger with the gas station.
- Select the accounts to change.
- Select Update sponsorship.
The Transactions tab shows the gas station's funding activity: each transfer's origin (INT for internal, EXT for external), its ledger ID, source, destination, value, and fee. Filter by ledger, ledger status, custody status, origin, or asset status, and export the list.
| Topic | Documentation |
|---|---|
| Gas Station concepts | Gas Station |
| API procedures | Manage a gas station with the API |
| Intents and approvals | Manage intents and approvals |