
The compliance feature is a beta feature, which means that:
- The feature is production-ready, but may have some gaps.
- The feature is available for new Custody instances only. It's not yet available for existing Custody instances.
- If you want to use the beta feature, contact the Custody support team.
We appreciate your feedback during this phase.
Ripple Custody includes a compliance service for transaction screening through an integration with Elliptic or Chainalysis, both providers of crypto compliance solutions. The integration with a compliance solution ensures consistent regulatory compliance and mitigates risks associated with financial transactions. Proposed outgoing transactions are screened on the receiver wallet. Incoming transactions are screened based on the details of entities that contributed funds to the transaction's source address. Based on this exposure, a risk score is calculated. The compliance service checks transaction risks and automatically approves or rejects transactions based on customer-defined risk policies and regulatory compliance.
Before you can connect Ripple Custody with Elliptic or Chainalysis, you must create a domain to manage compliance. This step ensures that compliance activities are isolated within a dedicated domain, enabling better control, auditing, and role-specific access for managing compliance-related tasks. Transaction screening will apply to all transactions associated with the accounts created in the child domains of the compliance domain.
To create the compliance domain:
Make sure that you're in the root domain.
From the left side navigation menu, select Domains and then Create a domain.
In the Create a new domain window, in the Compliance domain field, select Use template.
In the Create a compliance domain window, rename the domain to a unique name of your choosing.
In the User management section, enter a username, public key, and role as specified in the role prerequisites for this domain and then select Add user.
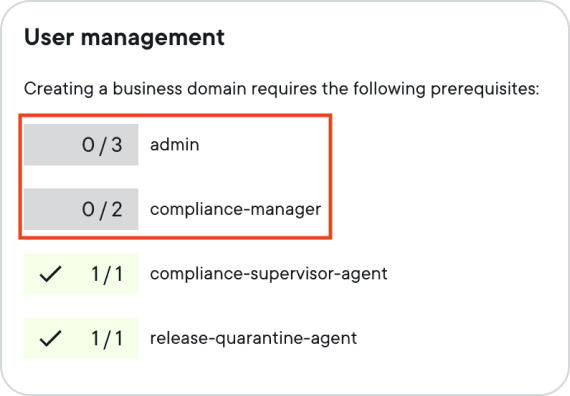 Note:
Note:Typically, a compliance domain requires three users with an admin role and two users with a compliance manager role in addition to the compliance supervisor agent and release quarantine agent roles that are automatically selected. Ripple recommends three users with the compliance manager role, even though only two are required.
Select Submit for approval.
On your security device or the desktop app, sign the operation. For more information, see Sign intents.
The compliance domain is now created. You can check the completed operations by reviewing the intents of the domain from the Intents menu in the left side navigation. You can now proceed to integrate with Elliptic or Chainalysis.
To use the compliance service, you must configure the integration between Ripple Custody and the compliance solution as described in the following sections.
You can only integrate with one compliance solution. Currently, you can choose between Elliptic and Chainalysis.
To connect to the integration with Elliptic, complete the following steps:
In the Ripple Custody UI, select Integrations and on the Elliptic tile, select Connect integration.
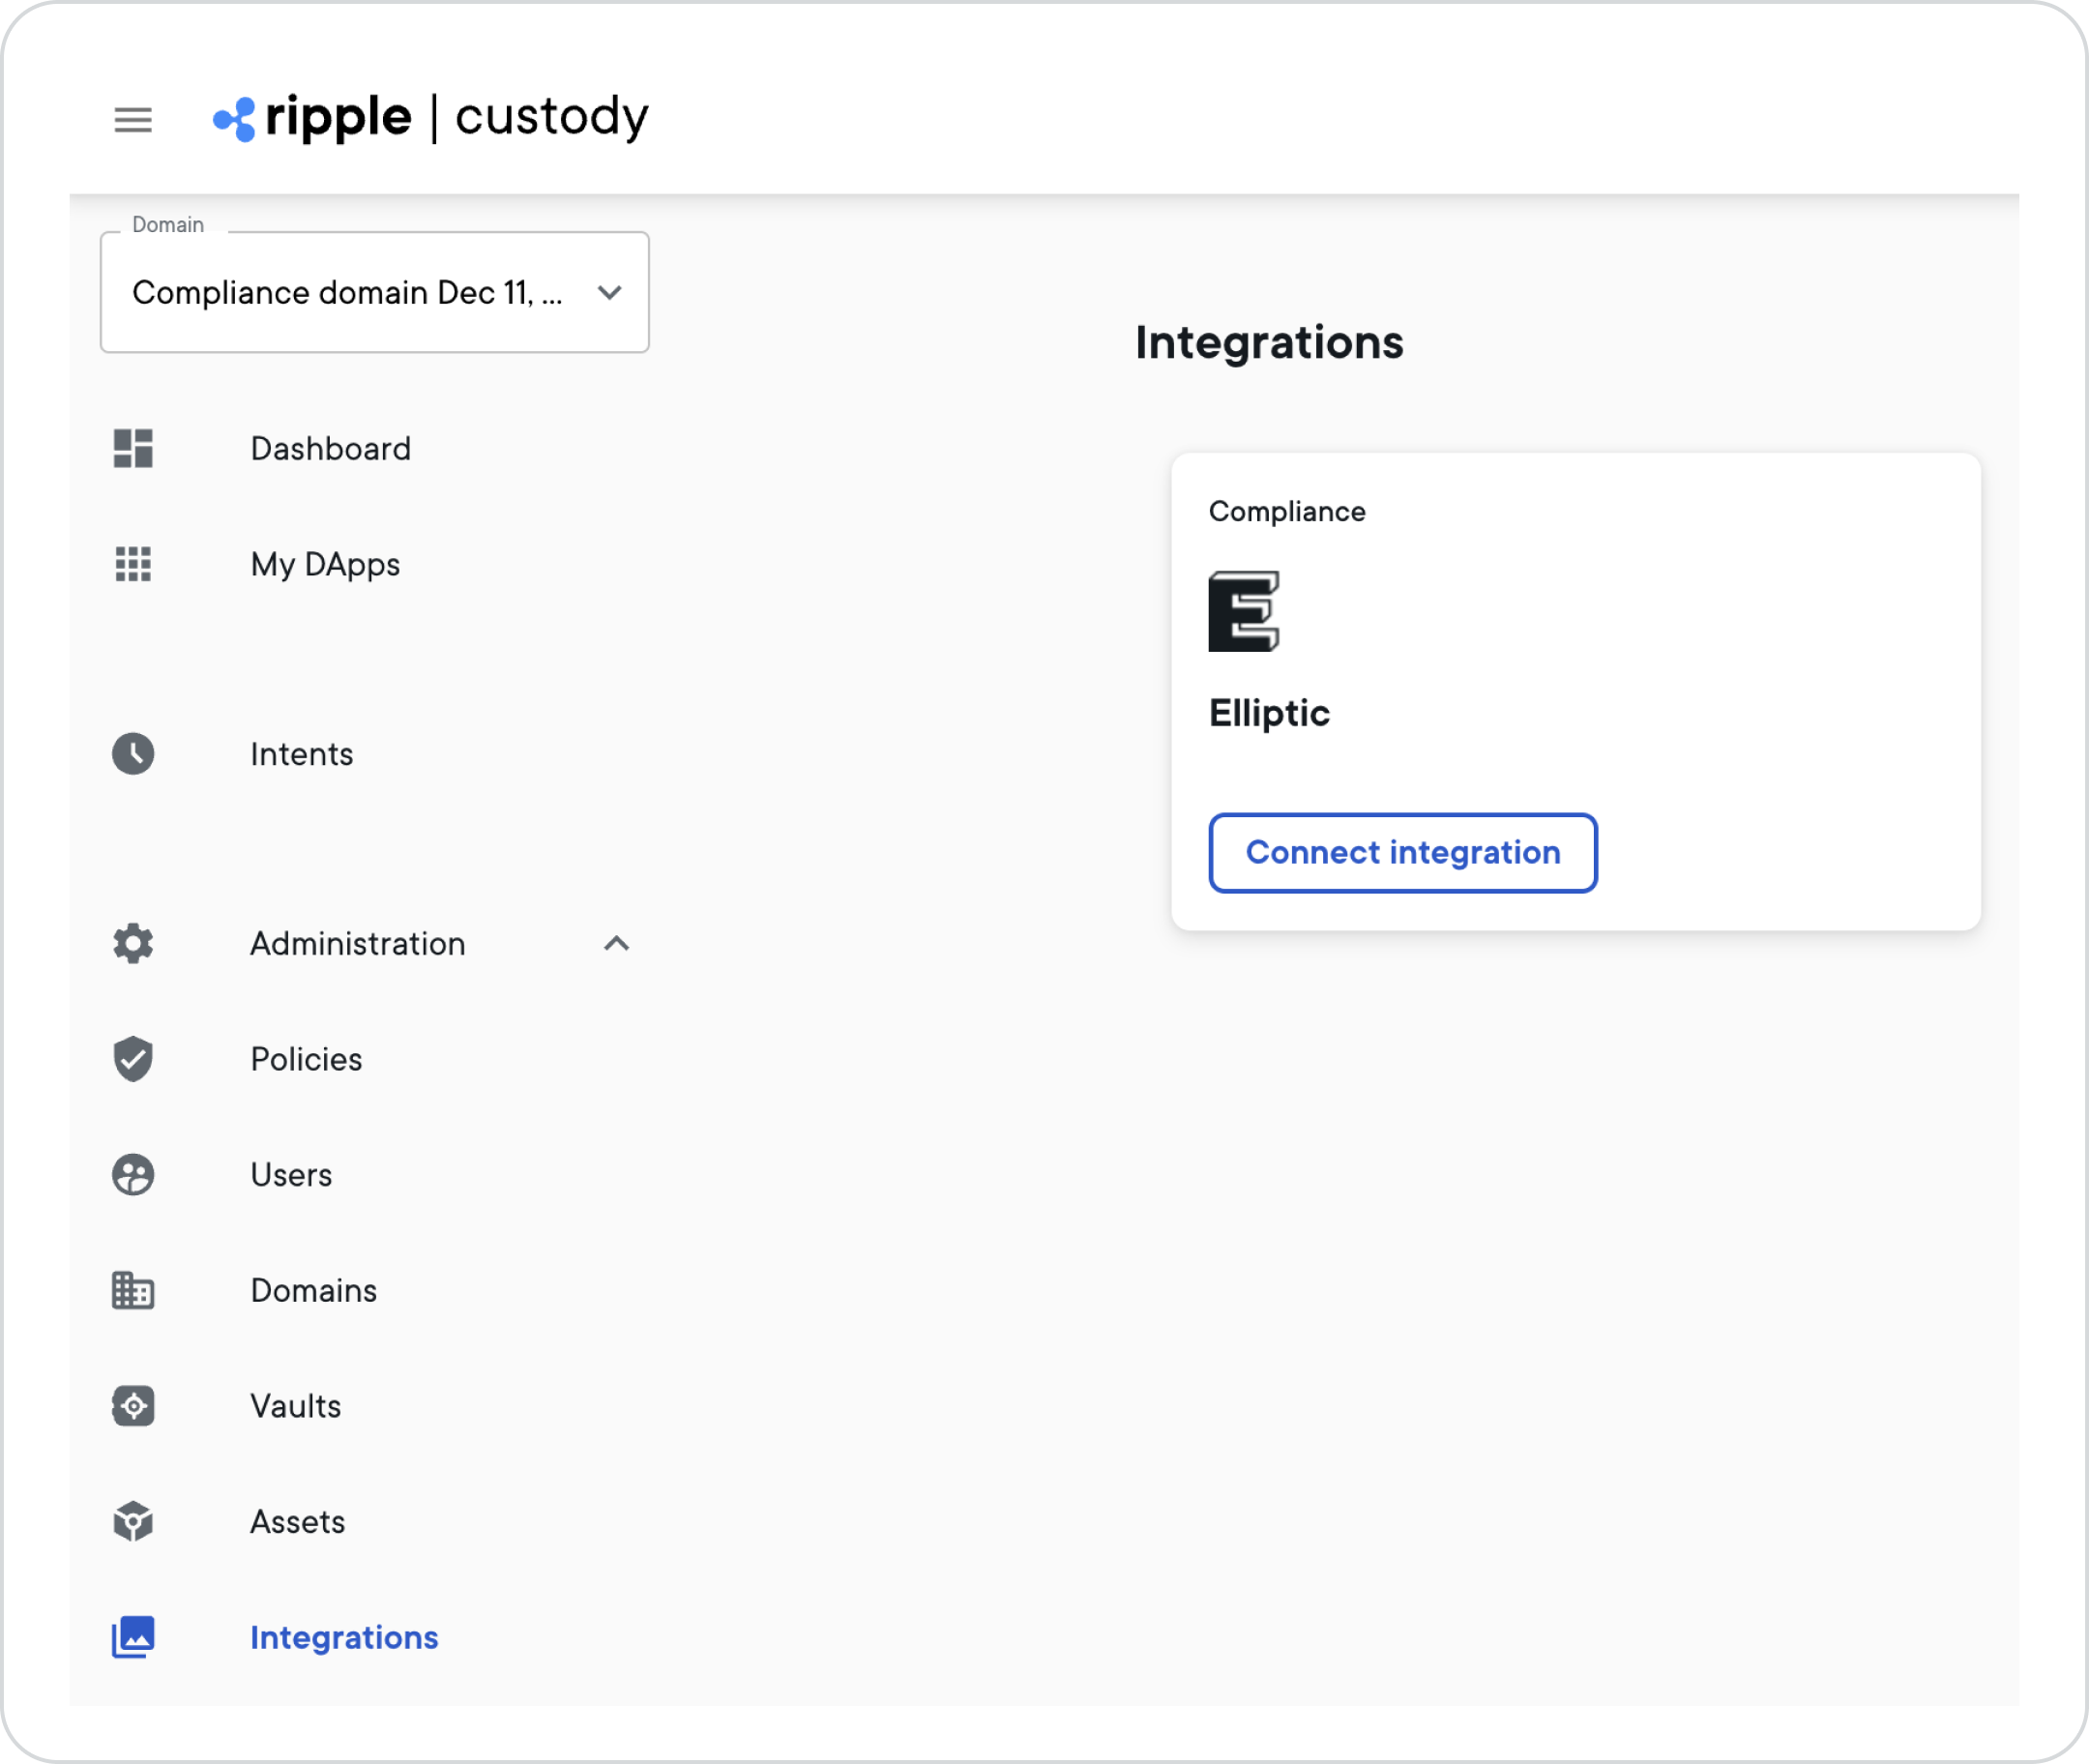
In the Connect Elliptic integration window, enter your Elliptic API key and API secret and select Connect.
Note:If you don't already have an Elliptic API key and secret, you can download them from the Elliptic app under Workspace settings.
If you entered the correct credentials, you should see the Elliptic is connected window.
Compliance managers: Select Start the configuration and continue to configure the integration.
To connect to the integration with Chainalysis, complete the following steps:
In the Ripple Custody UI, select Integrations, and on the Chainalysis tile, select Connect integration.
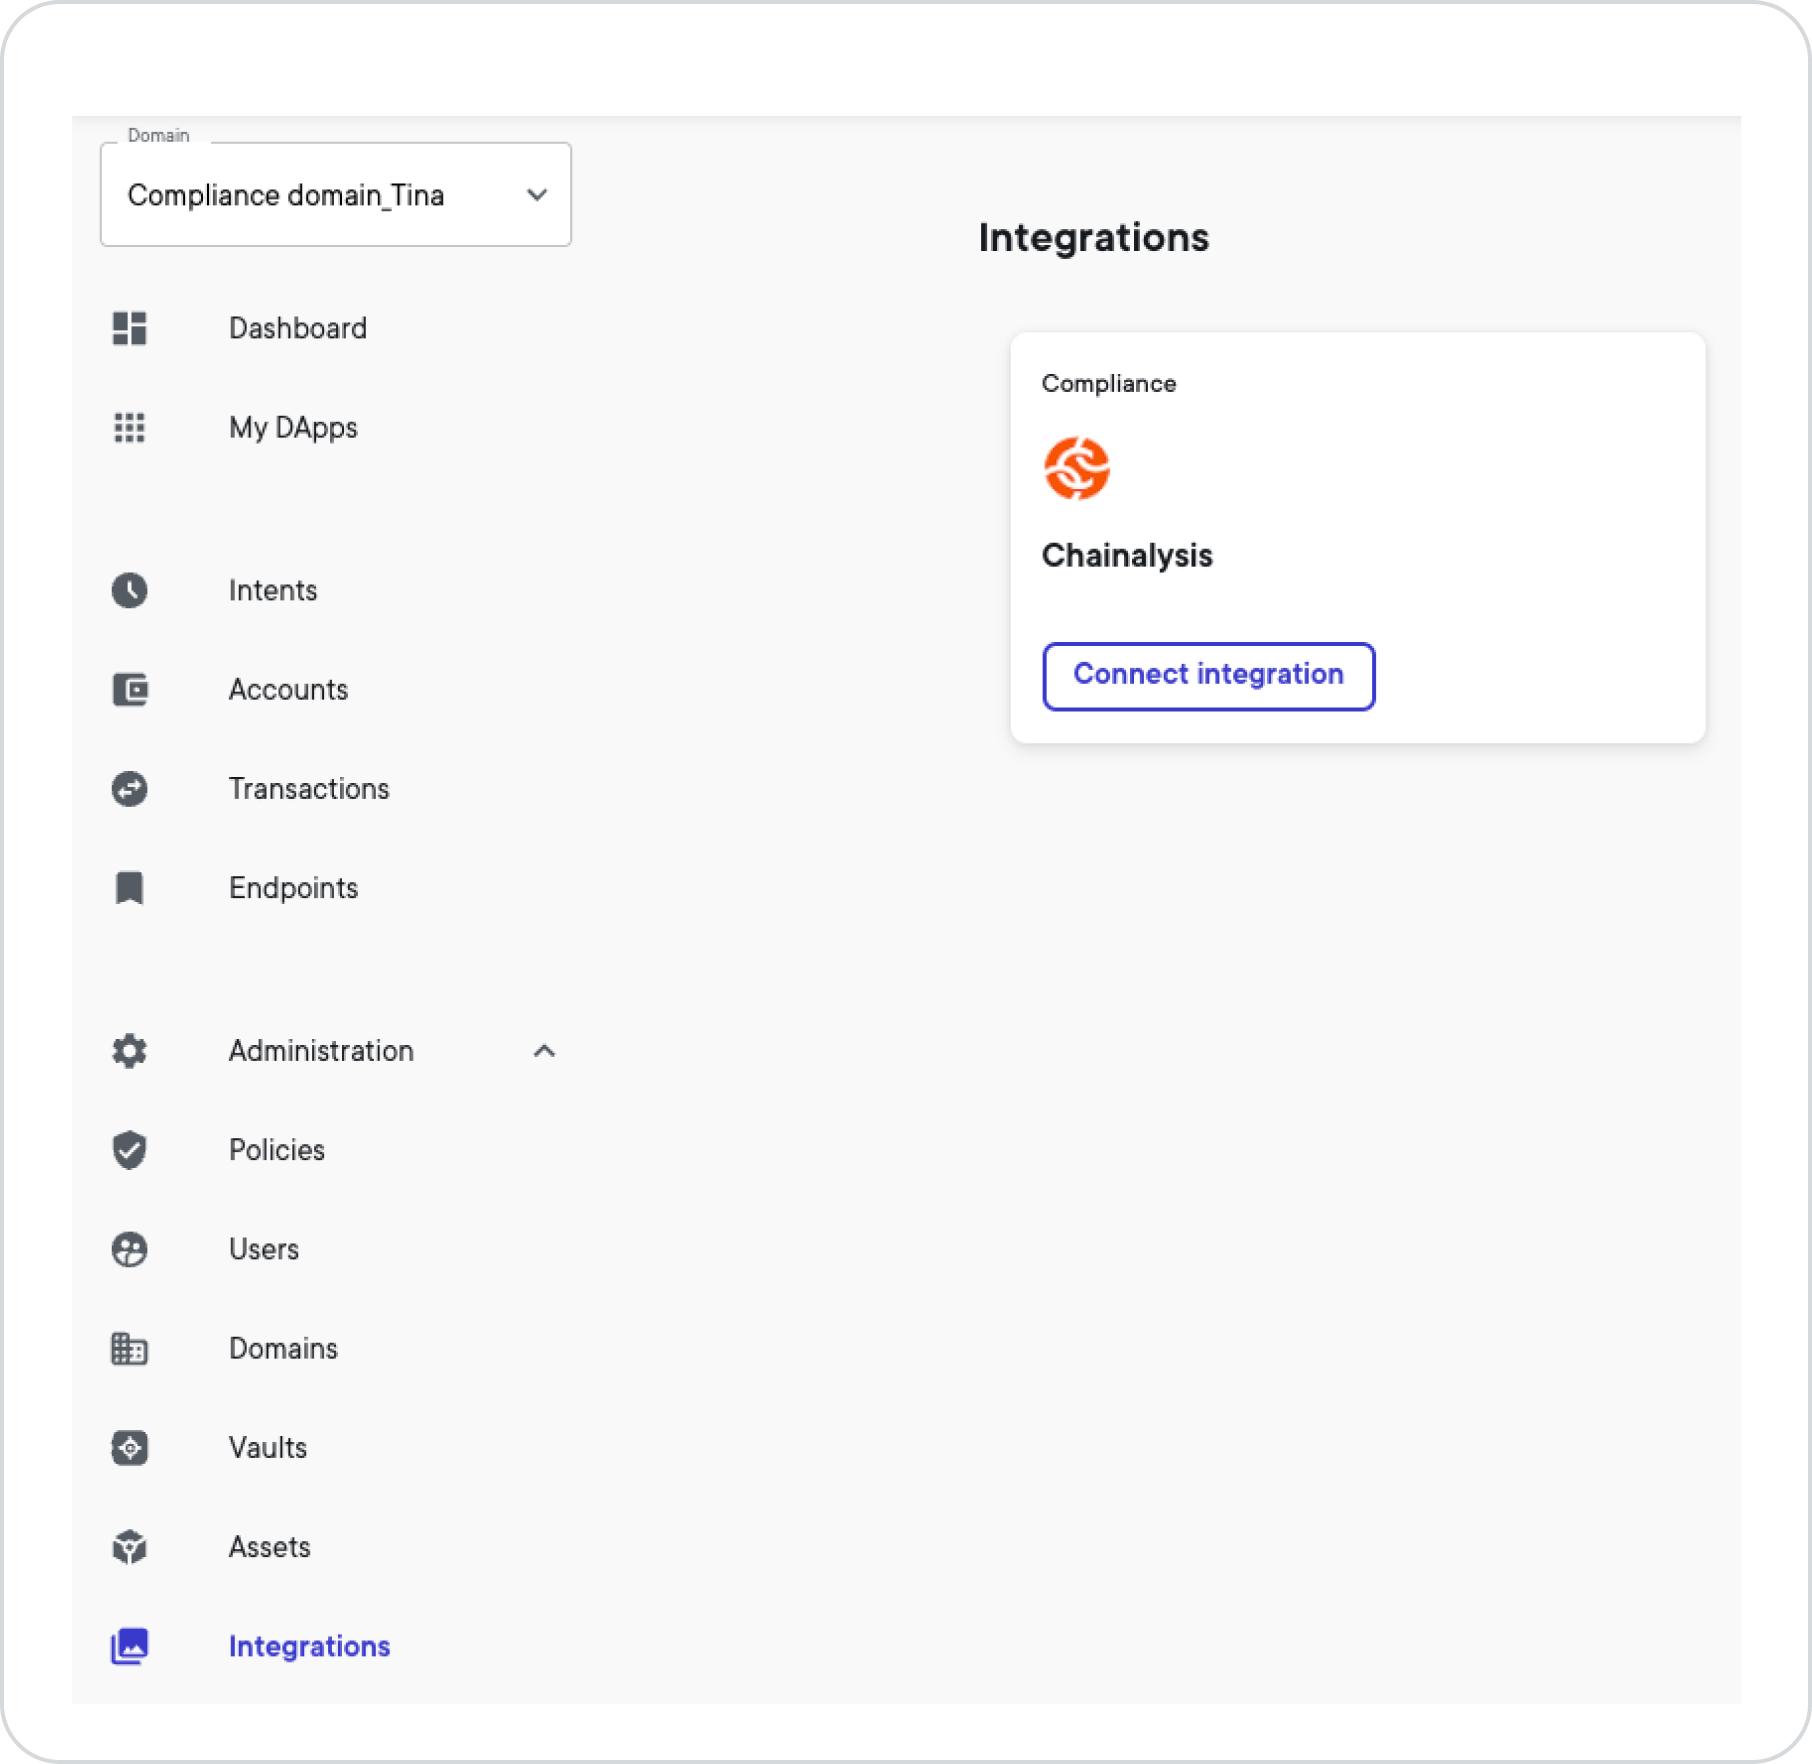
In the Connect Chainalysis integration window, enter your Chainalysis API key and select Connect.
Note:If you don't already have a Chainalysis API key, you can generate (and retrieve) one from Chainalysis under Tools > Developer > API keys.
If you entered the correct credentials, you should see the Chainalysis is connected window.
Compliance managers: Select Start the configuration and continue to configure the integration.
To configure the integration with the compliance solution you chose, complete the following mandatory tasks:
- Customize your risk core configuration.
- Add a policy rule for outgoing transactions.
- Add a policy for a manual release of quarantined transfers.
- Add a policy for an automatic release of quarantined transfers.
Optionally, you can also:
When you finish configuring the integration with Elliptic, select Intents from the left side navigation to see risk scores for your intents. From the intents list, select an intent to get more details on the transaction screening, such as the risk category and an analysis ID that you can use to view the analysis in your Elliptic account.