Home
The Ripple Payments UI lets you manage the operational and technical aspects of your payments business from one interface. You can access the Ripple Payments UI at home.ripple.com.
The Home page displays widgets containing tasks to complete before you can use Ripple Payments, payment statistics, payment presets, and support resources. The following sections provide more information about these widgets.
Get started
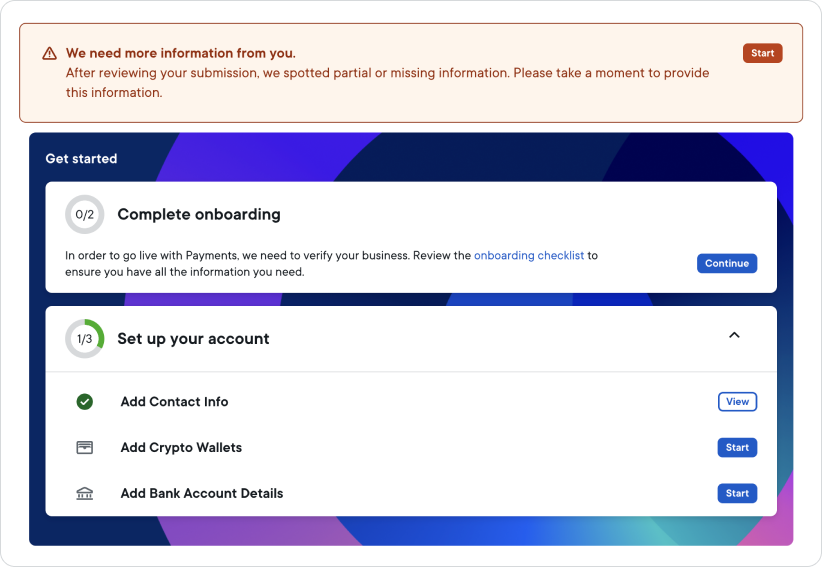
The Get started widget serves as your entry point into Ripple Payments. It shows which tasks you must complete before you can use Ripple Payments.
Note
This widget is available only as long as onboarding with Ripple Payments is in progress.
Once onboarding is complete, this widget disappears.
In the following example, the user has completed two out of three tasks related to onboarding, which must be completed to verify their business. The user hasn't completed any tasks related to account setup, which must be completed to make payments.

Make sure to complete all tasks before you attempt to use Ripple Payments for the first time. Depending on the status of your task, you'll see the following buttons next to it:
- Start -- indicates that the task hasn't been started yet.
- Continue -- indicates that the task has been started but not completed yet.
- View -- indicates that the task has been completed and you can review the information you've provided.
Note
Make sure the information you enter is complete and accurate before you complete the task. Once a task is completed, you can no longer edit any of the information.
For questions about onboarding, contact your Ripple liaison.
Account balance 
For accounts using the wallet funding method -- that is, the account's wallets are funded with fiat or stablecoin assets before a payment is processed -- the Account balance widget shows the balance for a given currency. Account balances aren't displayed in real time as it takes a moment to update the balance after a funds transfer, longer if the transfer was initiated on the weekend.

Note
The balances displayed represent the funds that are available for transactions, less Ripple incentives. Ripple does not host these funds, but only displays the balances hosted at your exchange. Make sure to check your wallet directly at the exchange for most up-to-date balances.
Last payments
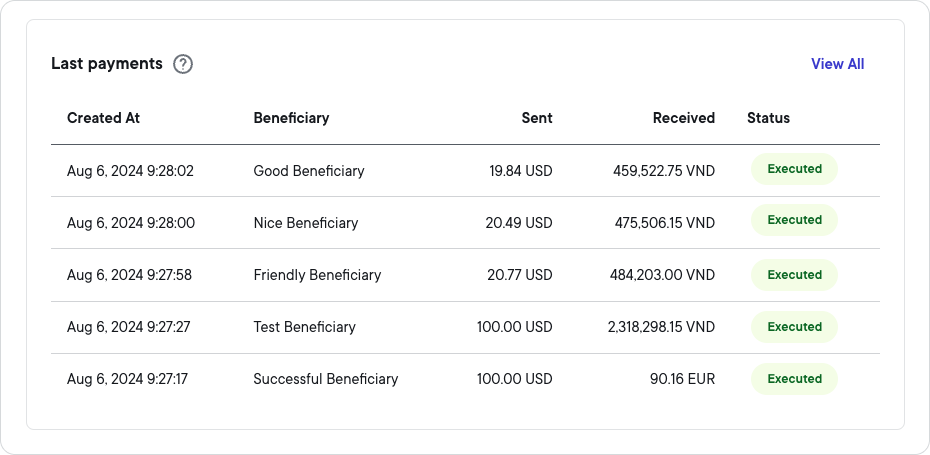
The Last payments widget shows you the last five payments you've created, including
- the date and time when you created the payment
- the name of the beneficiary
- the amount and currency sent
- the amount and currency received
- the status of the payment
The status can either be Executed, In Progress, or Failed. Select one of the payments to see its details or select View All to see a list of all payments you've created.

Payment Presets
The Payment Presets widget gives you quick access to the payment presets you have configured.
From the widget you can:
- Use a preset -- To use a payment preset, enter the sending or receiving amount as specified and then click Get Quote . On the New Payment page, you can then complete the payment information and get a quote.
- Edit a preset -- To edit a payment preset, select the preset's name, make your edits, and click Update Preset .
- View all configured presets -- To view all configured payment presets, click View all .

For more information, see Payment presets.
Get support
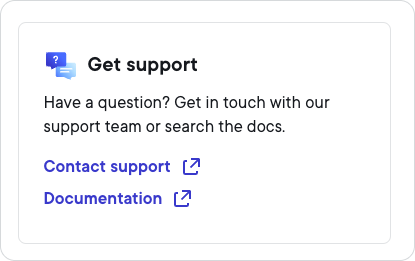
The Get support widget guides you to the contact page for Ripple's Technical Support team, and the technical documentation website.
