Run passive mode sender tests
This tutorial demonstrates how use Test Harness to receive and process a single payment from the RippleNet Server UI.
- To run sender tests, log on to a Test Harness that receives payments.
-
On the
Passive Mode
tab, enable
Auto Lock Accepted Quotes
and
Auto Complete Payments
. Leave
RPO Schema
as
none.
To test against an RPO schema, upload one in Test Content.
-
If a test is
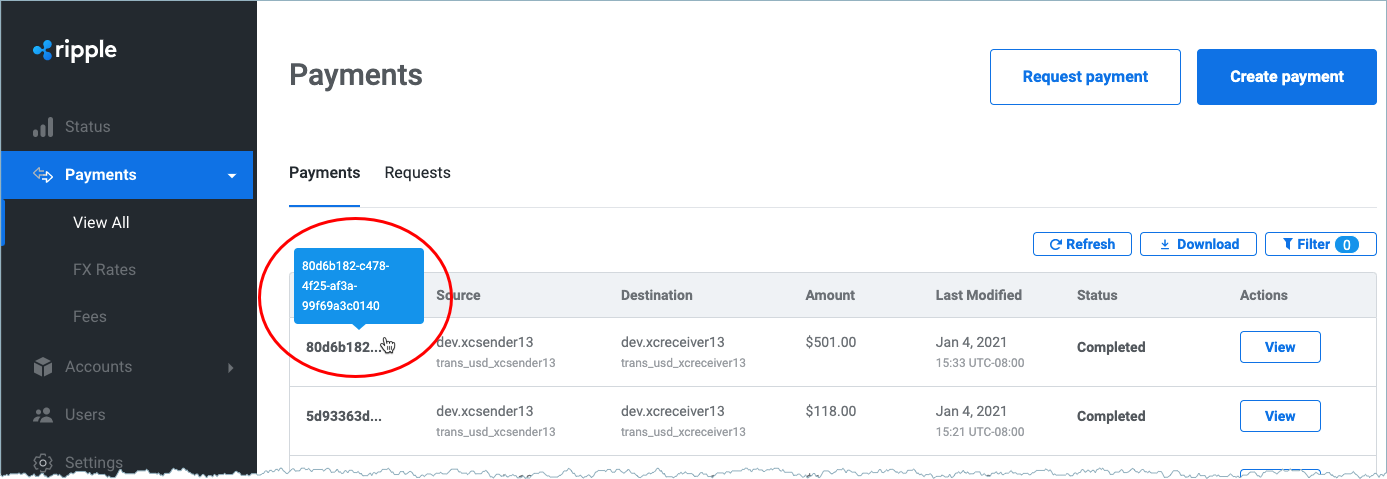
OPEN, click Close Test . - In the RippleNet Server UI, click Create Payment or use your own payment application.
-
Enter payment details:
- Quote Type: Sender Amount
- Currency: USD
- Amount: 501
-
Sender Account: (for example,
trans_usd_rn_sender) - End-to-end ID: (Any value such a randomly generated UUID)
- Internal ID: 001
-
Receiver Host: (for example,
dev.rn_receiver) -
Receiver Account: (for example,
trans_usd_rn_receiver) - Payout Method: Default
-
Click
Get Quote
, select the quote, and then click
Select quote and continue
>
Save
.
At this step, if an active mode test were open, and if you added Additional Information (
user_info) with a test case ID that matched one in the active mode test profile, you would trigger an active mode test. -
To view the new
OPENtest, in the Test Harness, refresh the Passive Mode tab -
Click through the
Test ID
of the
OPENtest. Your payment should be in theLOCKEDstate. - In the RippleNet Server UI click Refresh to update the payment as Locked .
- Click Settle > Settle payment to execute the payment.
-
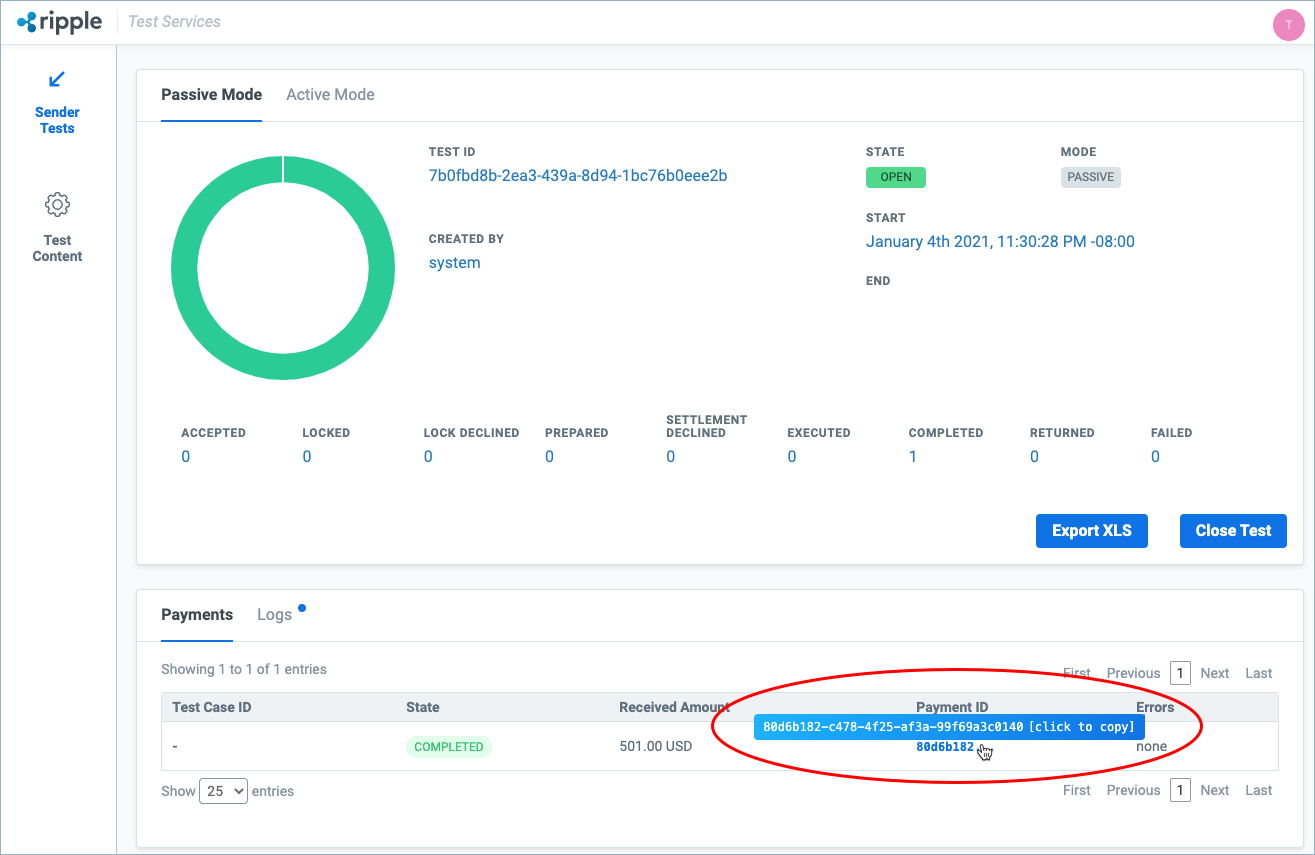
In the Test Harness, the payment state should transition to
COMPLETED. - Click Logs to see the messages.