Restoring a token returns it from the denylisted state to the allowlisted state. Use this when you need to re-enable a previously blocked token.
When you restore a token:
- The token moves from the denylisted tab to the Assets Management screen.
- Token balances become visible in account views.
- You can create transfer orders using the token.
- Historical transfers involving this token become visible.
Restoring a token returns it directly to the allowlisted state, not to unclassified. This is because the token was previously validated before being denylisted.
To restore a denylisted token:
Go to Settings and then Assets Management.
Click Manage unclassified or denylisted.
Click the Denylisted tab.
Find the token you want to restore.
Click Allow at the end of the token row.
Review the confirmation dialog.
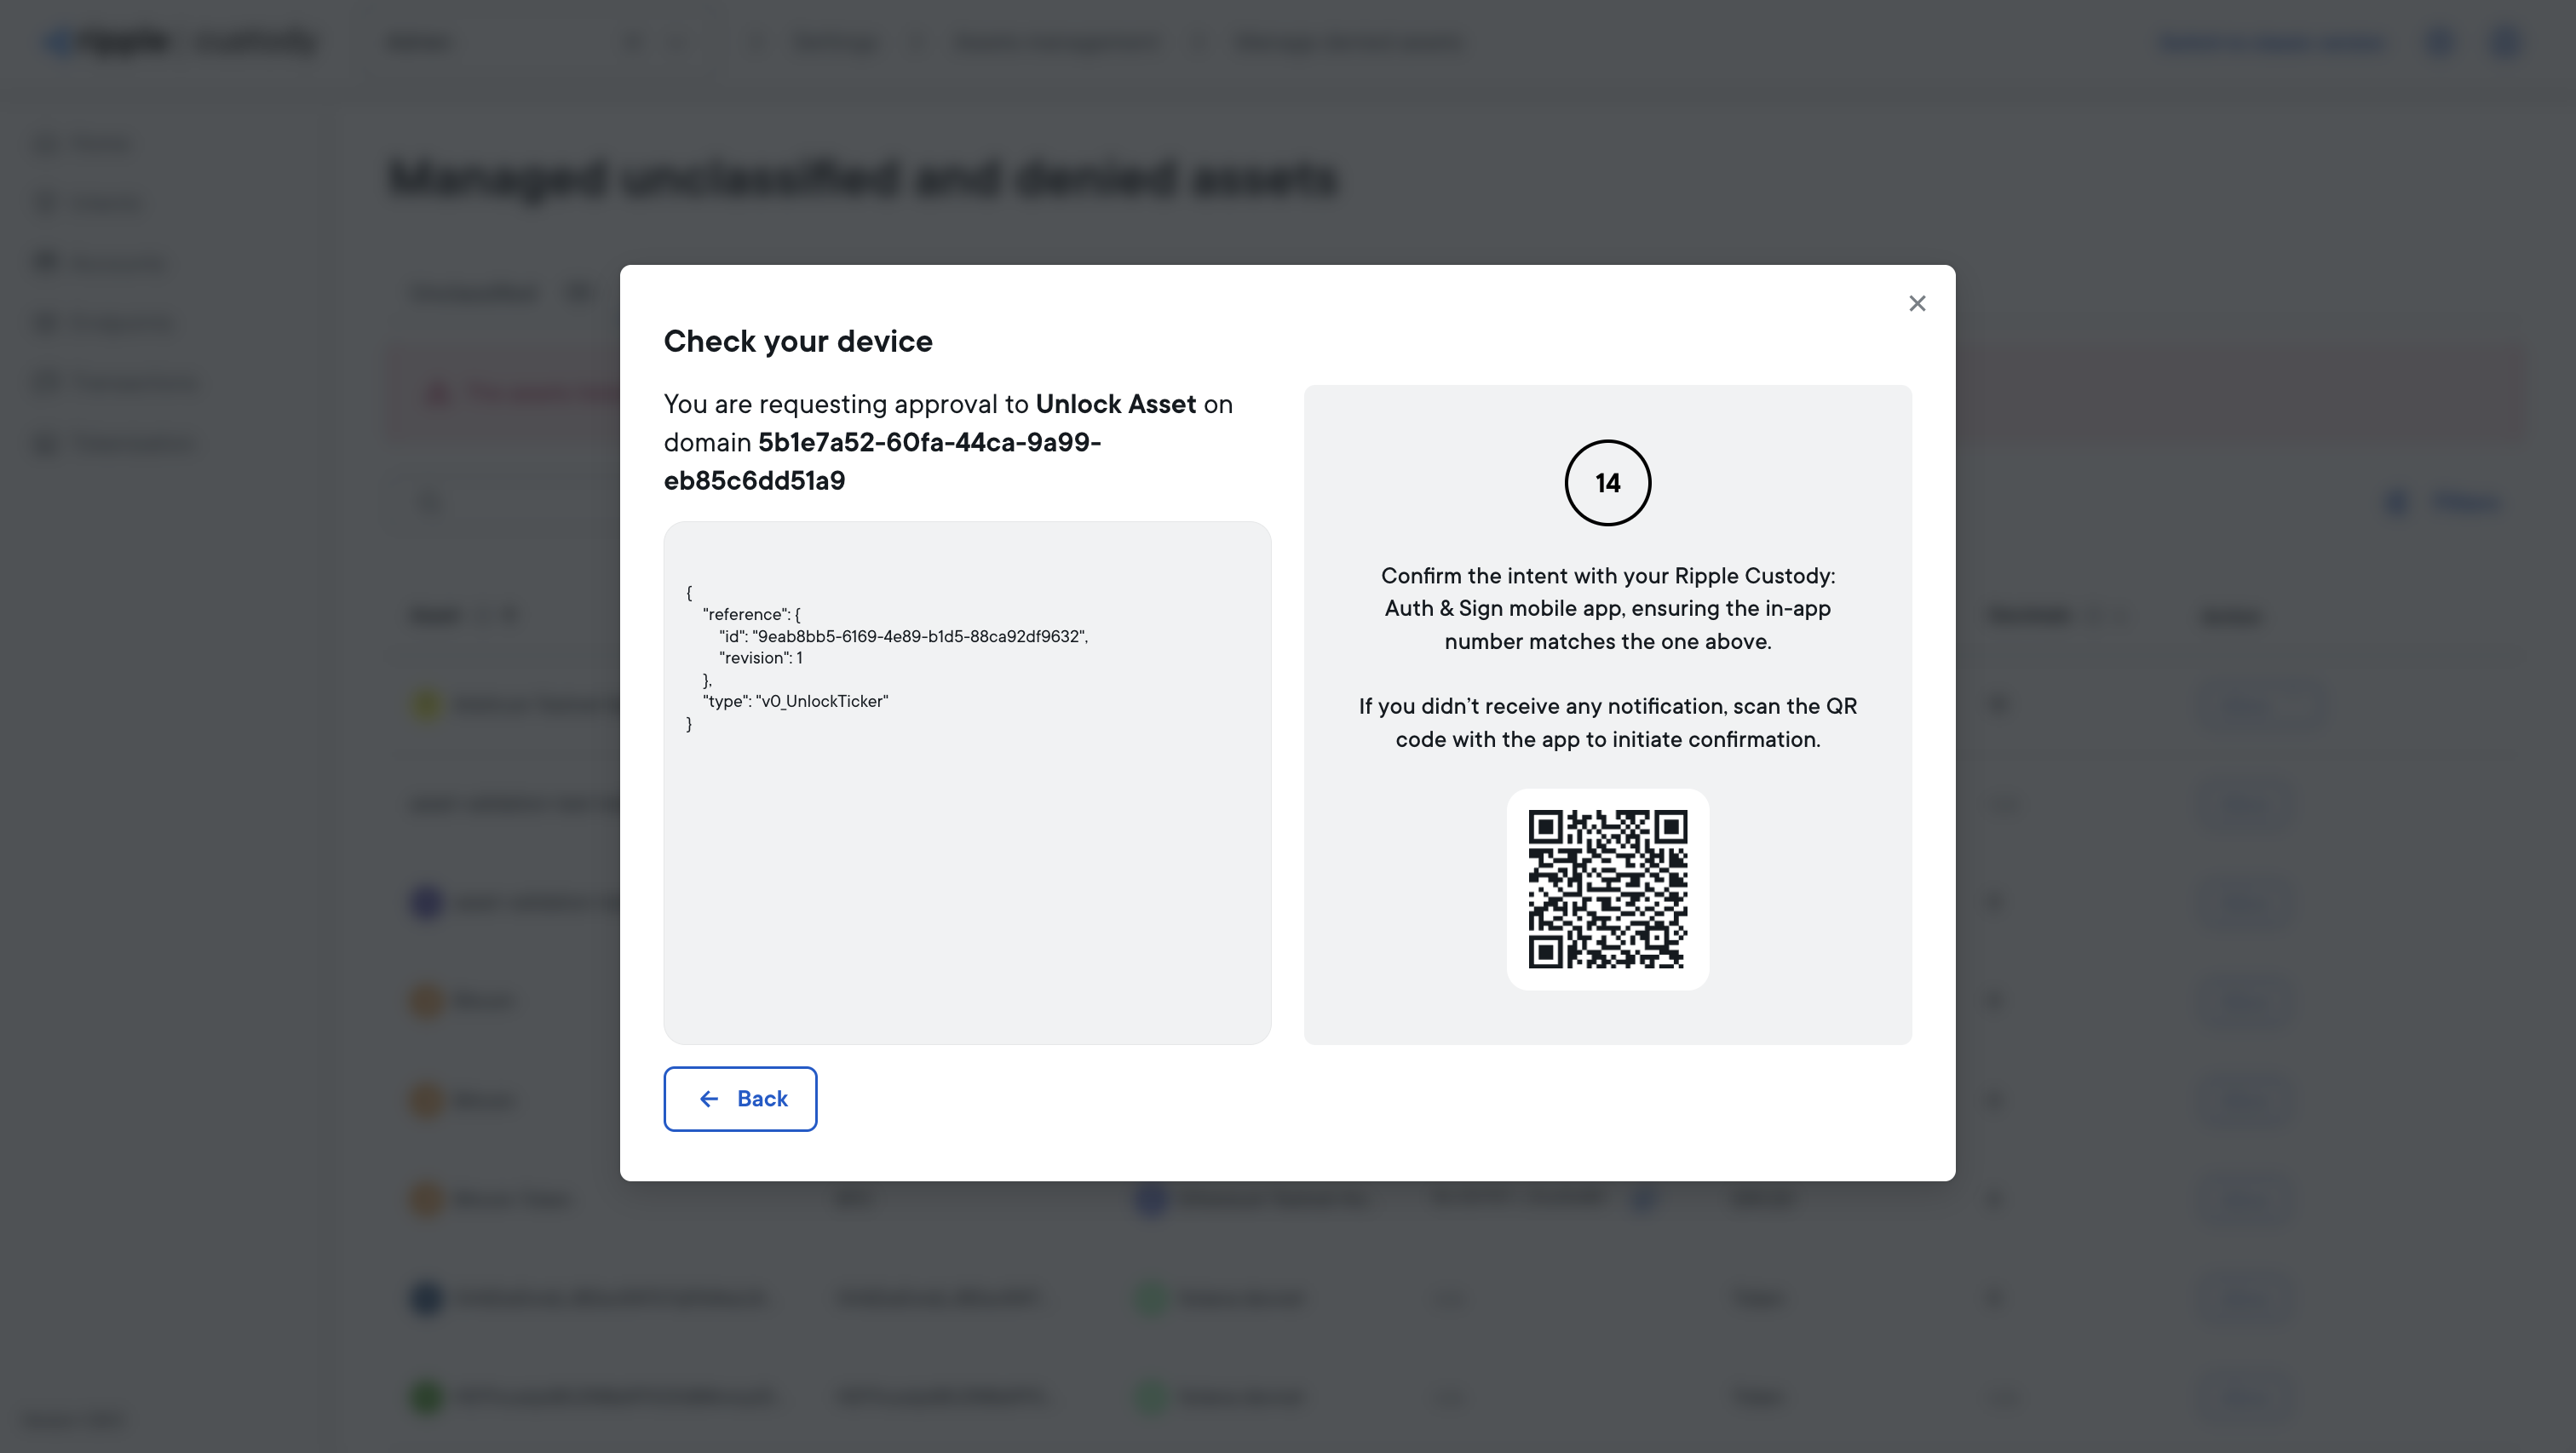
Click Submit for Approval.
On your mobile device, open the Ripple Custody Auth & Sign app and sign the intent.
You can only restore one token at a time. You must submit individual intents for each token.
The confirmation dialog displays:
- "Allowing this asset will enable transfers and display it across all accounts."*
- A reminder that you are restoring a previously denylisted token.
Before signing, you can expand the intent payload (labeled "Unlock Asset") to review the JSON. This includes:
| Field | Description |
|---|---|
| Asset details | Token name, symbol, and contract address |
| Ledger | The blockchain where the token exists |
| Action | The operation being performed (v0_UnlockTicker) |
| Intent ID | The unique identifier for this request |
The tokens are restored when the intent is successfully executed. The tokens now appear in the Assets Management screen and are visible throughout the UI.